Once a CSR code is generated and the certificate is issued, the codes with your domain certificate and CA bundle will be emailed to you by Certificate Authority, or you can download them from SSLs.com dashboard.
The installation implies performing 2 steps: uploading the required files to a needed directory on a server and creating an HTTPS server in node.js environment.
The main idea of node.js is creating an endpoint asynchronous server (something like a responder) in the command line interface. Thus, your server code should be corrected with the following lines:
var https = require(‘https’);
var fs = require(‘fs’);
var options = {
key: fs.readFileSync(‘/path/to/private.key’),
cert: fs.readFileSync(‘/path/to/certificate.crt’),
ca: fs.readFileSync (‘/path/to/bundle.ca-bundle’)
};
https.createServer(options, function (req, res) {
<!– server script ?
where:
/path/to/bundle.ca-bundle – full path to the uploaded .ca-bundle file
/path/to/private.key – full path to your private key generated along with CSR and stored on the server
/path/to/certificate.crt – full path to the end-entity certificate.
Note that a hostname and port should be declared earlier in the script as constants (const) or variables (var).
Note: Due to some peculiarity in node.js tls module, different node.js builds, and JavaScript construction, there is a possibility that the .ca-bundle file provided by Sectigo may not be recognized by the server. Only the first intermediate certificate from the chain will be returned (as a parser may skip other certificates apart from the first one) which will make the connections insecure in old desktop browsers and most mobile ones.
This issue happens in Node.js versions 0.5.x and further to 3.x.x.
Version 5.4.1 which was used in the demonstration displayed 3 certificates in the bundle.
In this case, there is a workaround of certificate array line-by-line parsing using the following (CoffeeScript-written) script:
ca = []
chain = fs.readFileSync(‘/path/to/mydomain.ca-bundle’);
chain = chain.split “n”
cert = []
for line in chain when line.length isnt 0
cert.push line
if line.match /-END CERTIFICATE-/
ca.push cert.join “n”
cert = []
After using this part of script, SSL-related options, specifically the “ca” directive, can be written down as:
ca: ca
where ca: ca will be executed by the server automatically, as it refers to the result of the script cycle segment above.
With the help of implementing these parts of code, the full certificate chain will be displayed.
The configuration can be done in a text editor and the server script can be saved as a .js file. The saved script can be executed using this command in node.js shell:
node < script name >.js
The test server has been brought up on a test machine, and the certificate has been displayed correctly:

Note: In newer node.js versions, the script output isn’t showing as it is saving in the /dev/null directory; however, if the script has been run in a node shell, the output will be as follows:
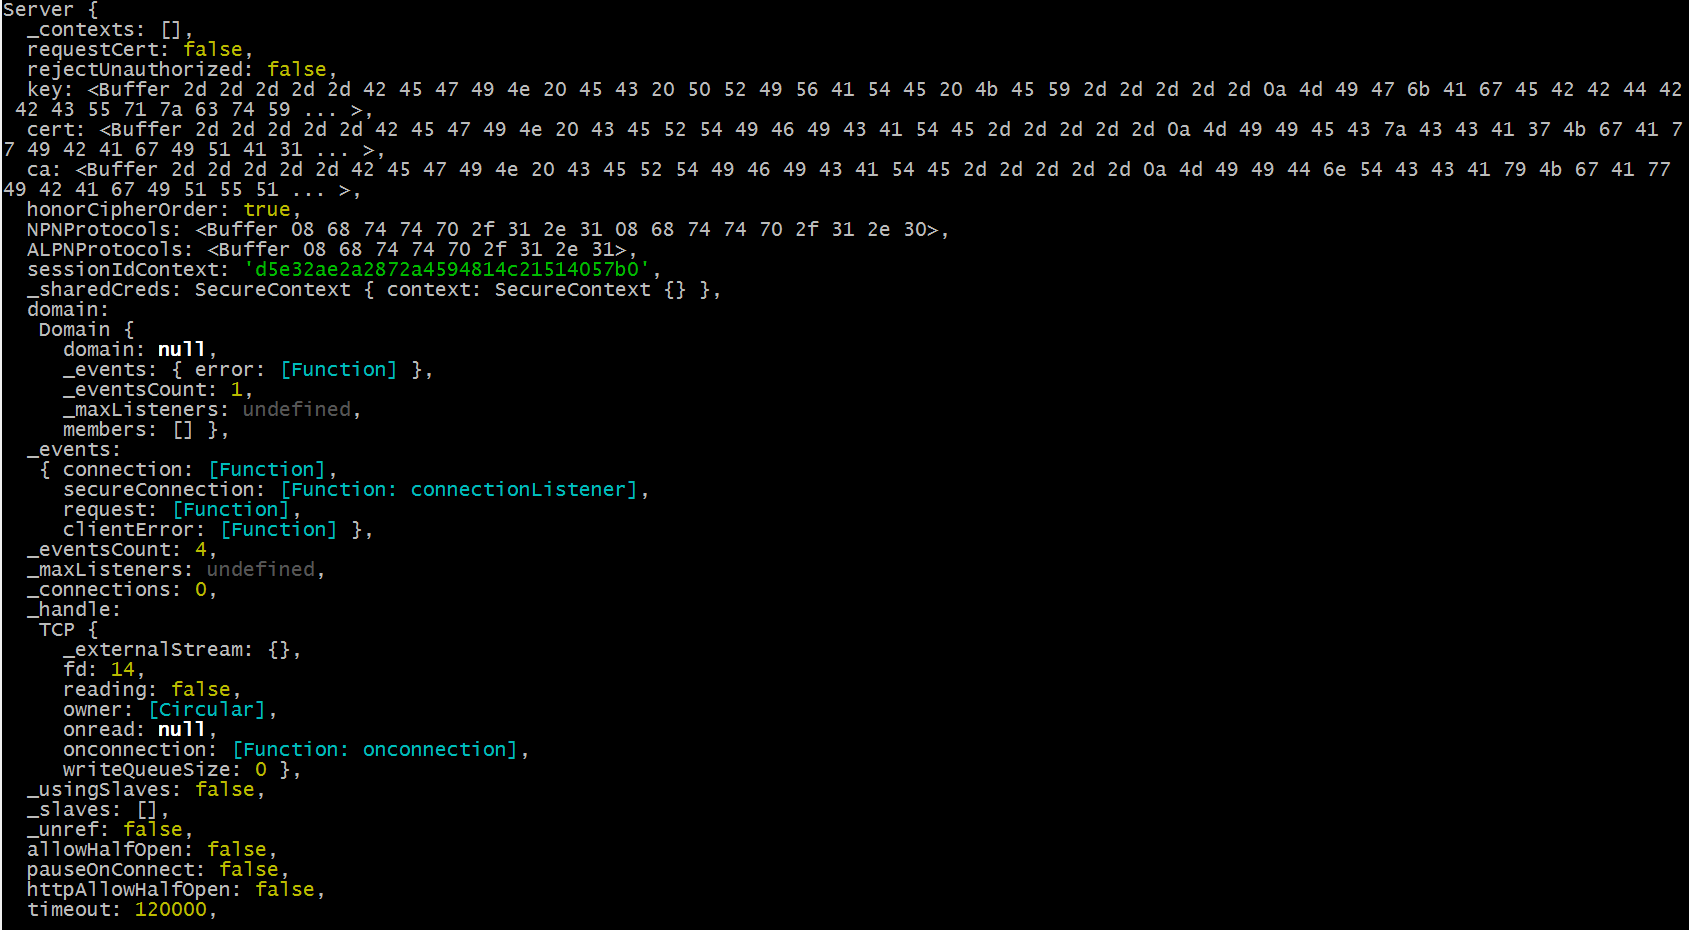
After the SSL certificate is configured and the server is started, you should notice the “secureConnection“ event in the output. This, however, should not be considered as a confirmation of a correct SSL installation since in terms of Node.js, there is no specific indicator that translates into a proper SSL setup.
Instead, online checkers can be used to verify the accuracy of SSL certificate configuration here or here.