Once your certificate is issued and sent to you by the Certificate Authority, you can proceed with the certificate installation in the Exchange Administration Center accessible through a browser.
The following steps describe the installation process:
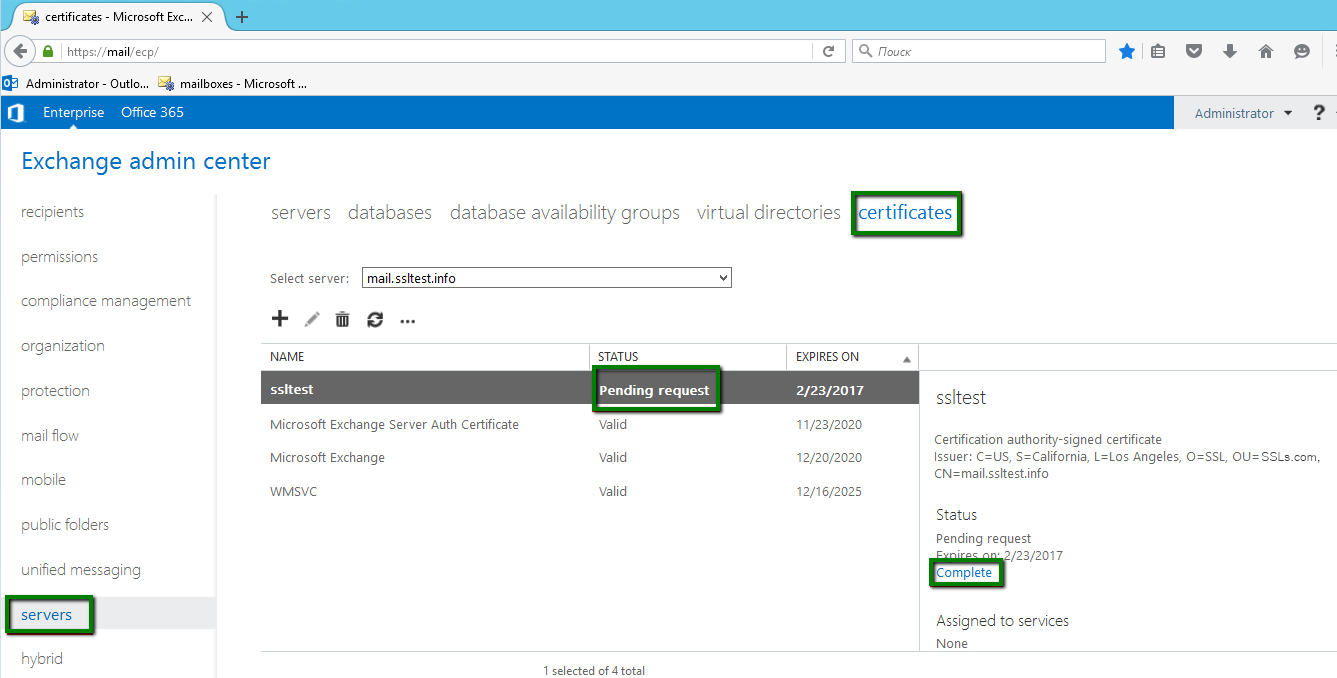
– Log in to your Exchange Administration Center in a browser via https://localhost/ecp and select Servers, then click on Certificates. Choose your certificate from the list and click on Complete button on the right side:
– Enter a path to the existing folder on your computer where the certificate file is stored:

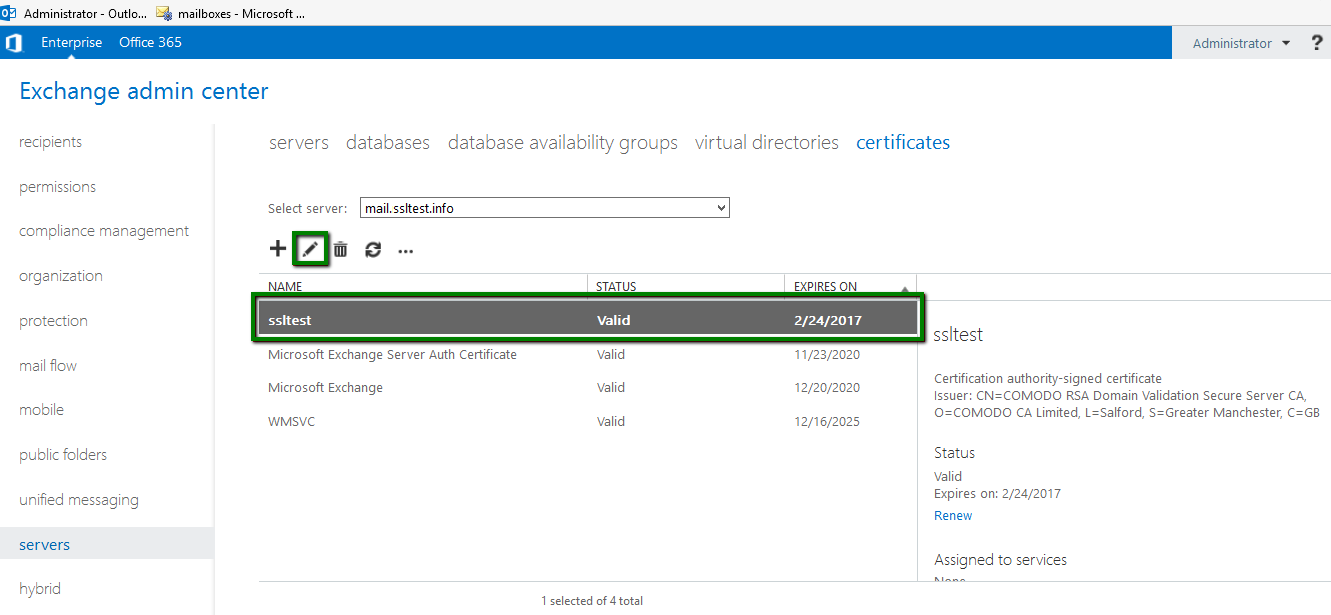
– The pending request is successfully completed now. The status of the certificate will be changed from Pending request to Valid in the Certificate menu.
Important: If you need to secure the Exchange services such as IIS (for OWA, Outlook Anywhere, ActiveSync, etc.), POP, IMAP or SMTP, your certificate needs to be manually enabled for them. Select the certificate from the certificate list and click Edit:
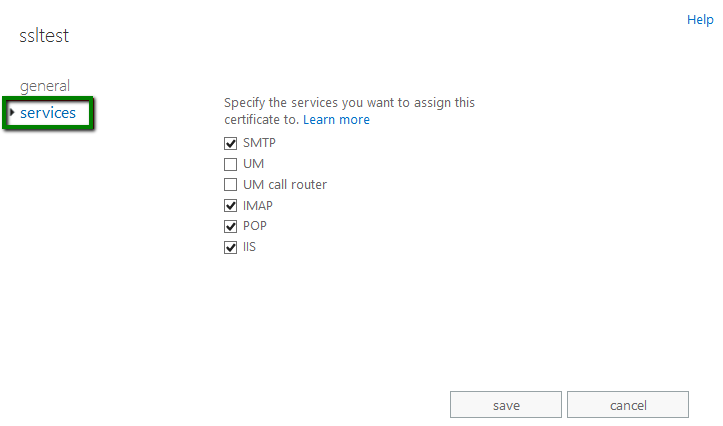
– On the next step, click Services on the left and check the services you would like to secure with the certificate. Usually, IIS (Outlook Web Access, Active Sync) and SMTP are selected by default:
– A warning may appear asking if you want to overwrite the existing/default certificate. In most cases, the self-signed certificate is installed by default:

– Click Yes to assign your new trusted certificate to the service and complete the installation process:
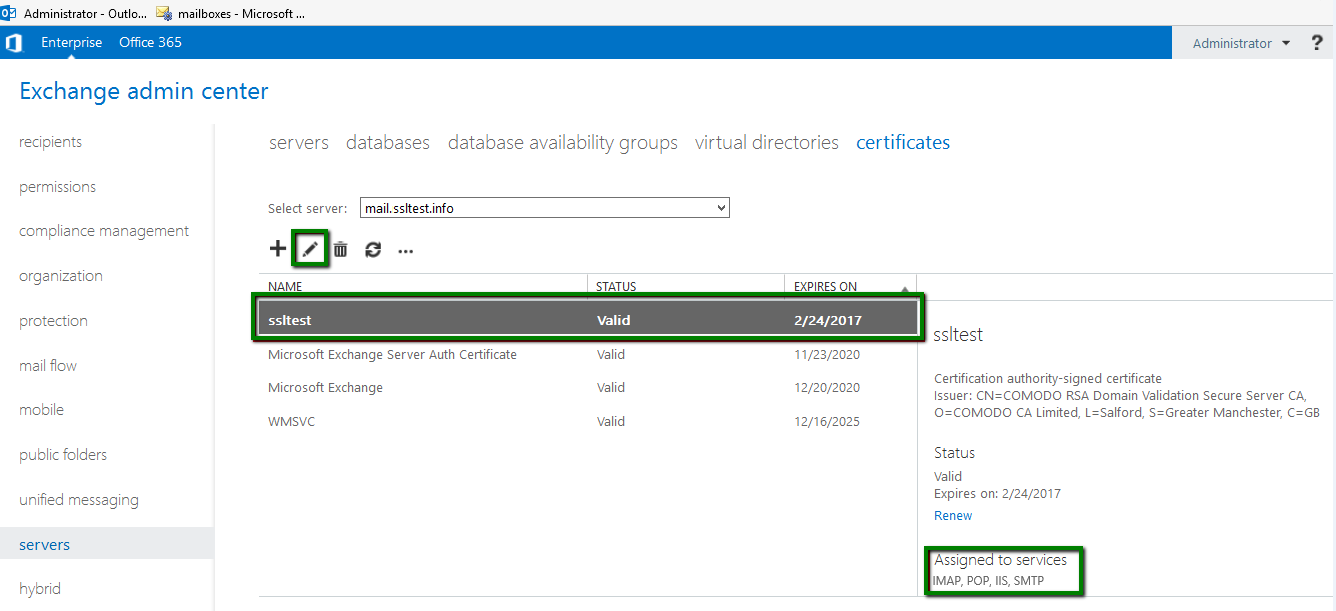
Your certificate is installed now. You can check if the installation was successful with this online tool: https://decoder.link.