Once you have your certificate activated, validated and issued (the issued certificate will be emailed to your administrative contact email mentioned during the activation or can be downloaded from the account by following this guide), it will be necessary to install it along with its CA bundle on your server and assign the certificate to different services, such as Mail (IMAP, POP and SMTP), File Sharing (iOS), Messages and Websites if needed.
CA bundle installation
CA bundle is a file that contains root and intermediate certificates. It is required to improve compatibility of the certificates with web browsers and other kind of clients so that browsers recognize your certificate and no security warnings appear.
If the certificate has been imported to the server without the CA bundle, it will be shown as “signed by an unknown authority”:

Note: If you installed the CA bundle for the same type of the certificate previously (e.g., this time you install a renewal certificate), there is no need to go through the whole procedure of the CA bundle installation once again. Thus, you can proceed with the installation of the certificate itself.
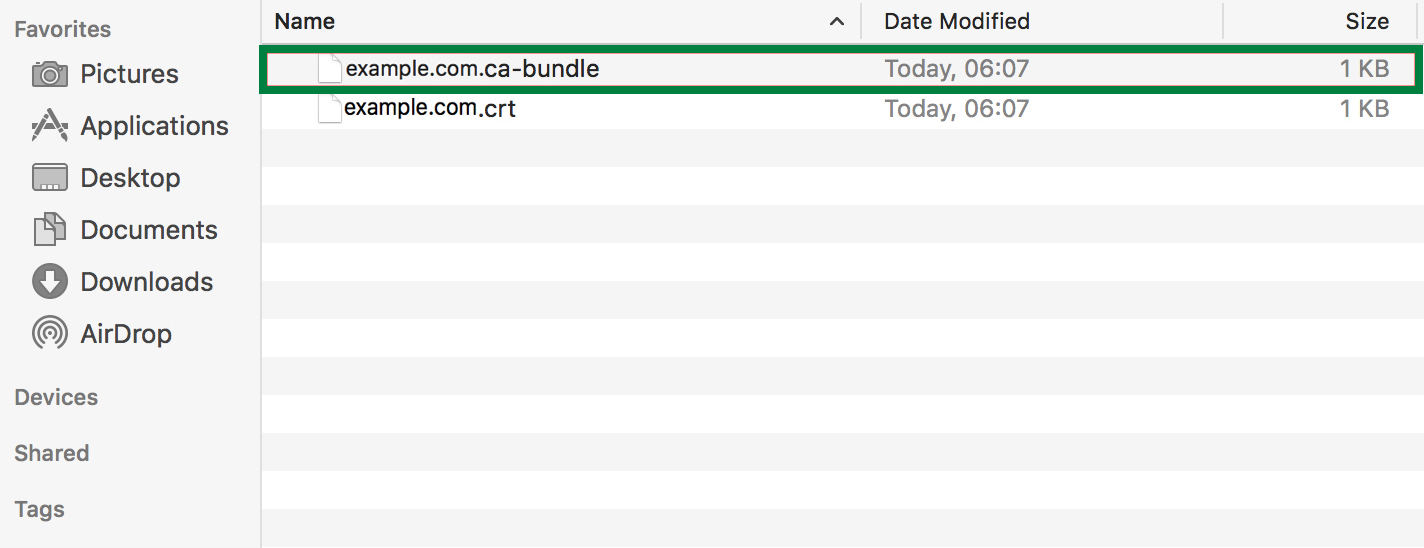
- First of all, you need to add the CA bundle (.ca-bundle) file you received to the keychain so the certificate can be trusted and signed by the Certificate Authority, Comodo CA (now Sectigo CA) in this case. In order to do this, please find the CA bundle that was received along with your issued certificate. The file in question has the .ca-bundle extension:
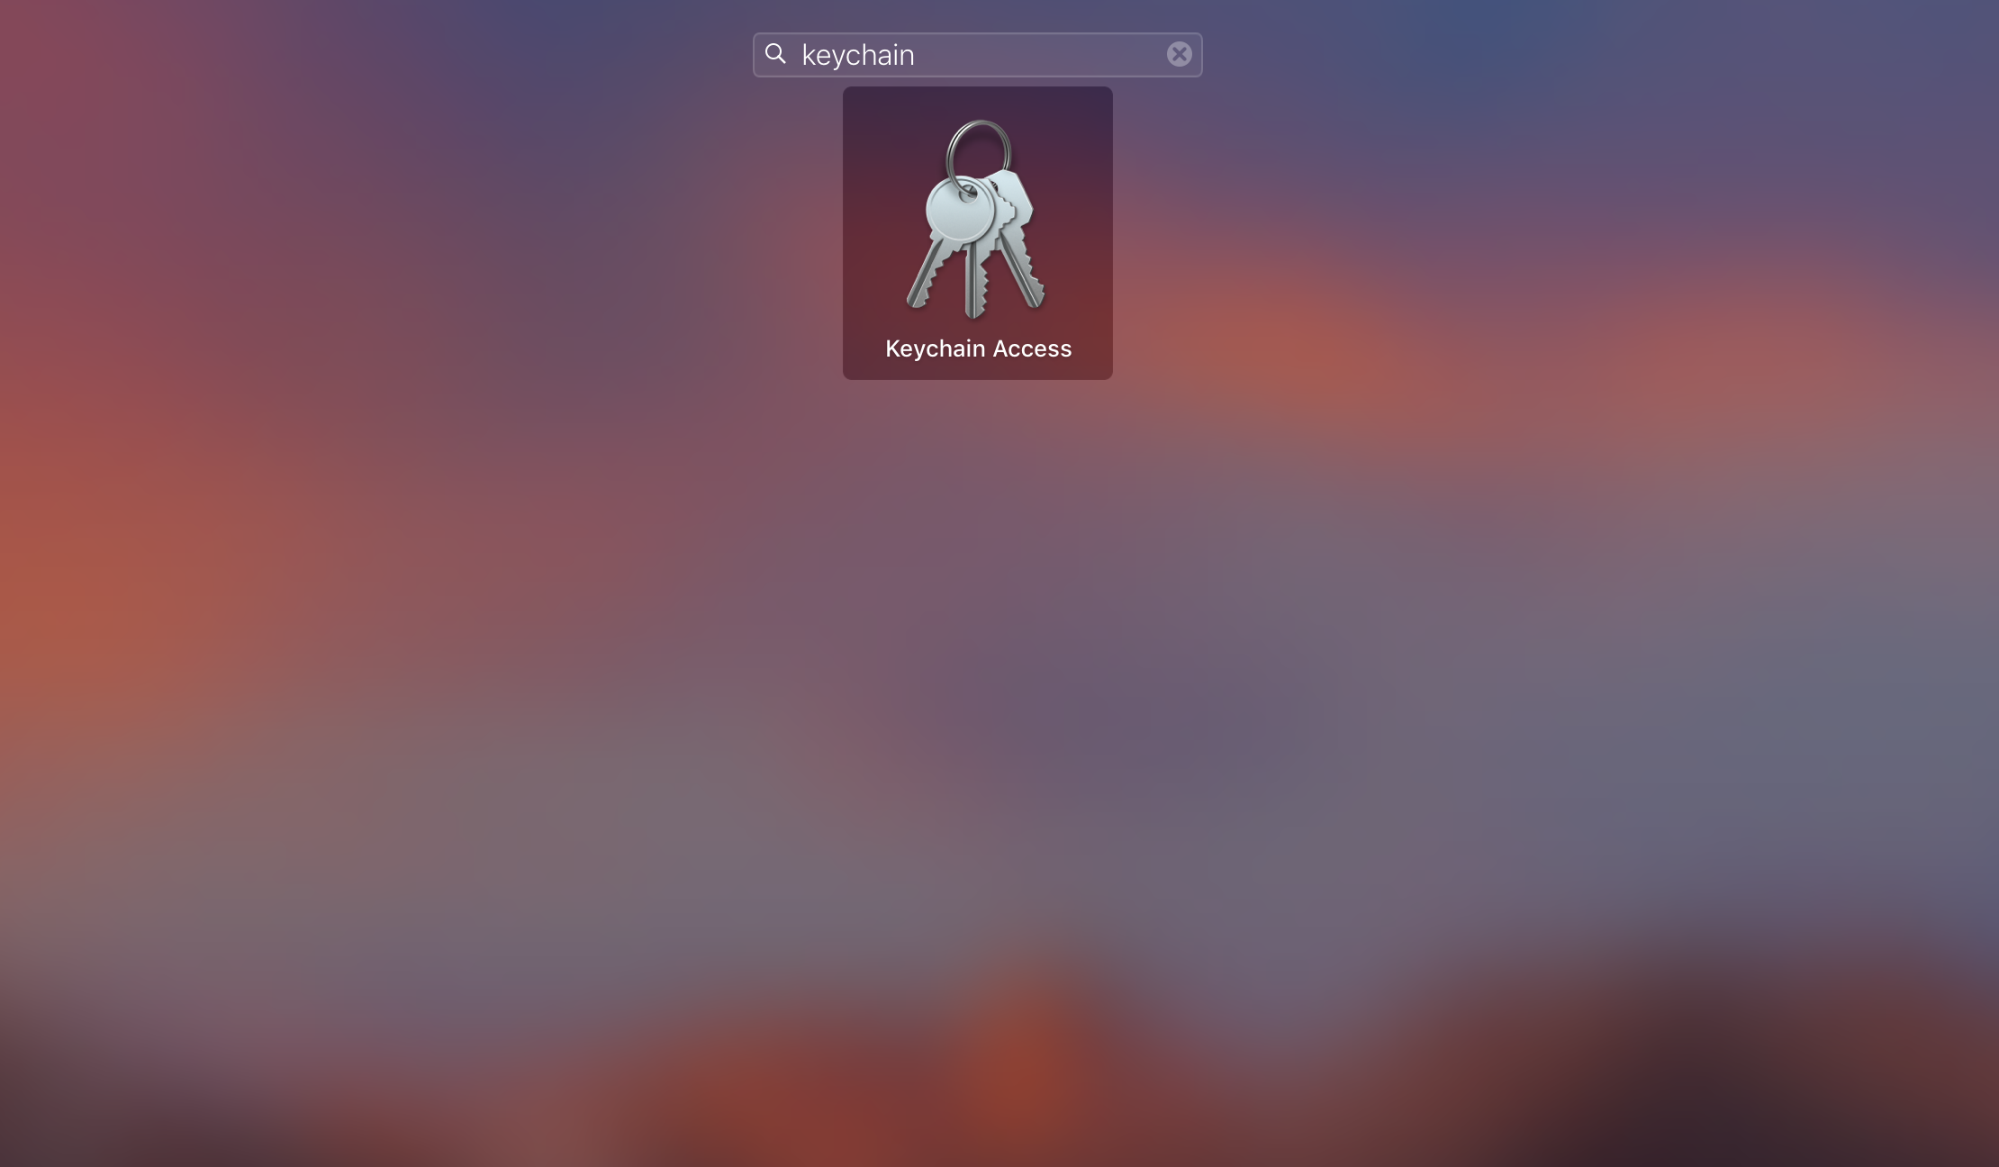
- Find Keychain Access on your Mac:
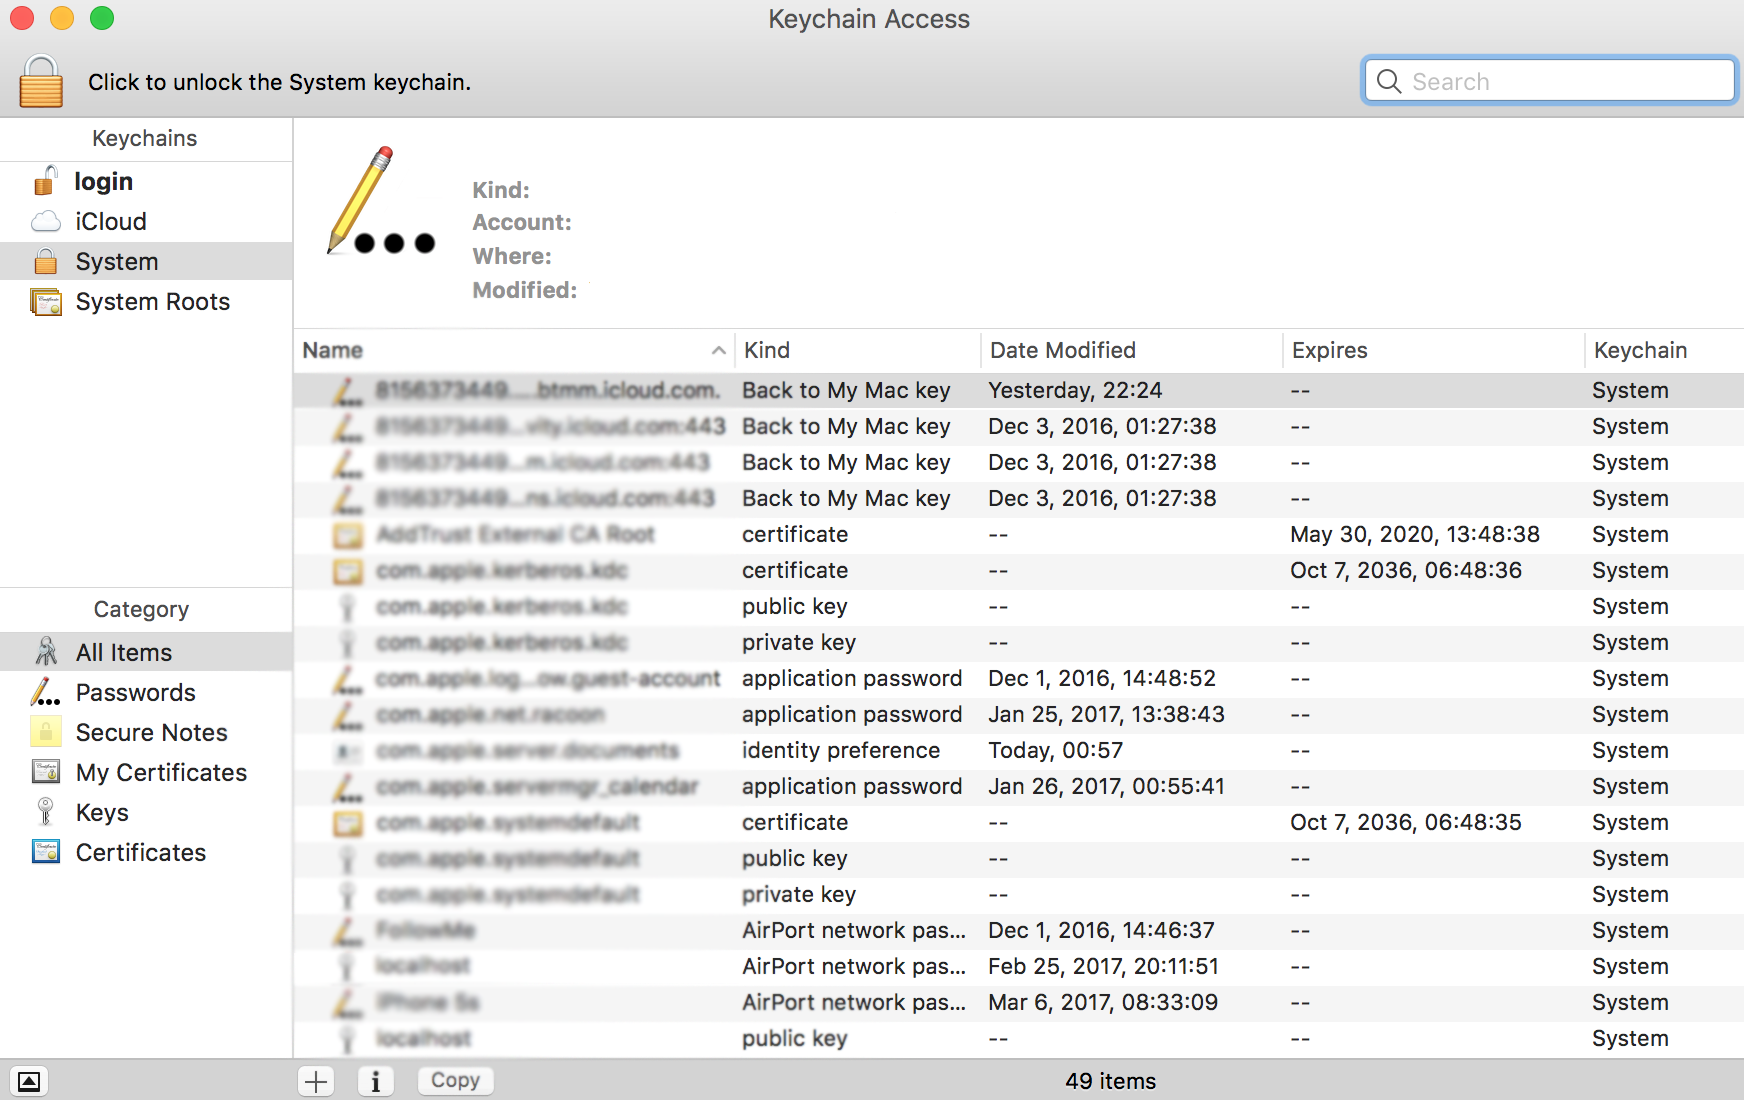
- Open Keychain then and drag the .ca-bundle file into the window appeared:
- To check if the intermediate certificates were added, enter “Comodo” (or “Sectigo” if this was the part of the name of the certificates you imported) into the search bar:
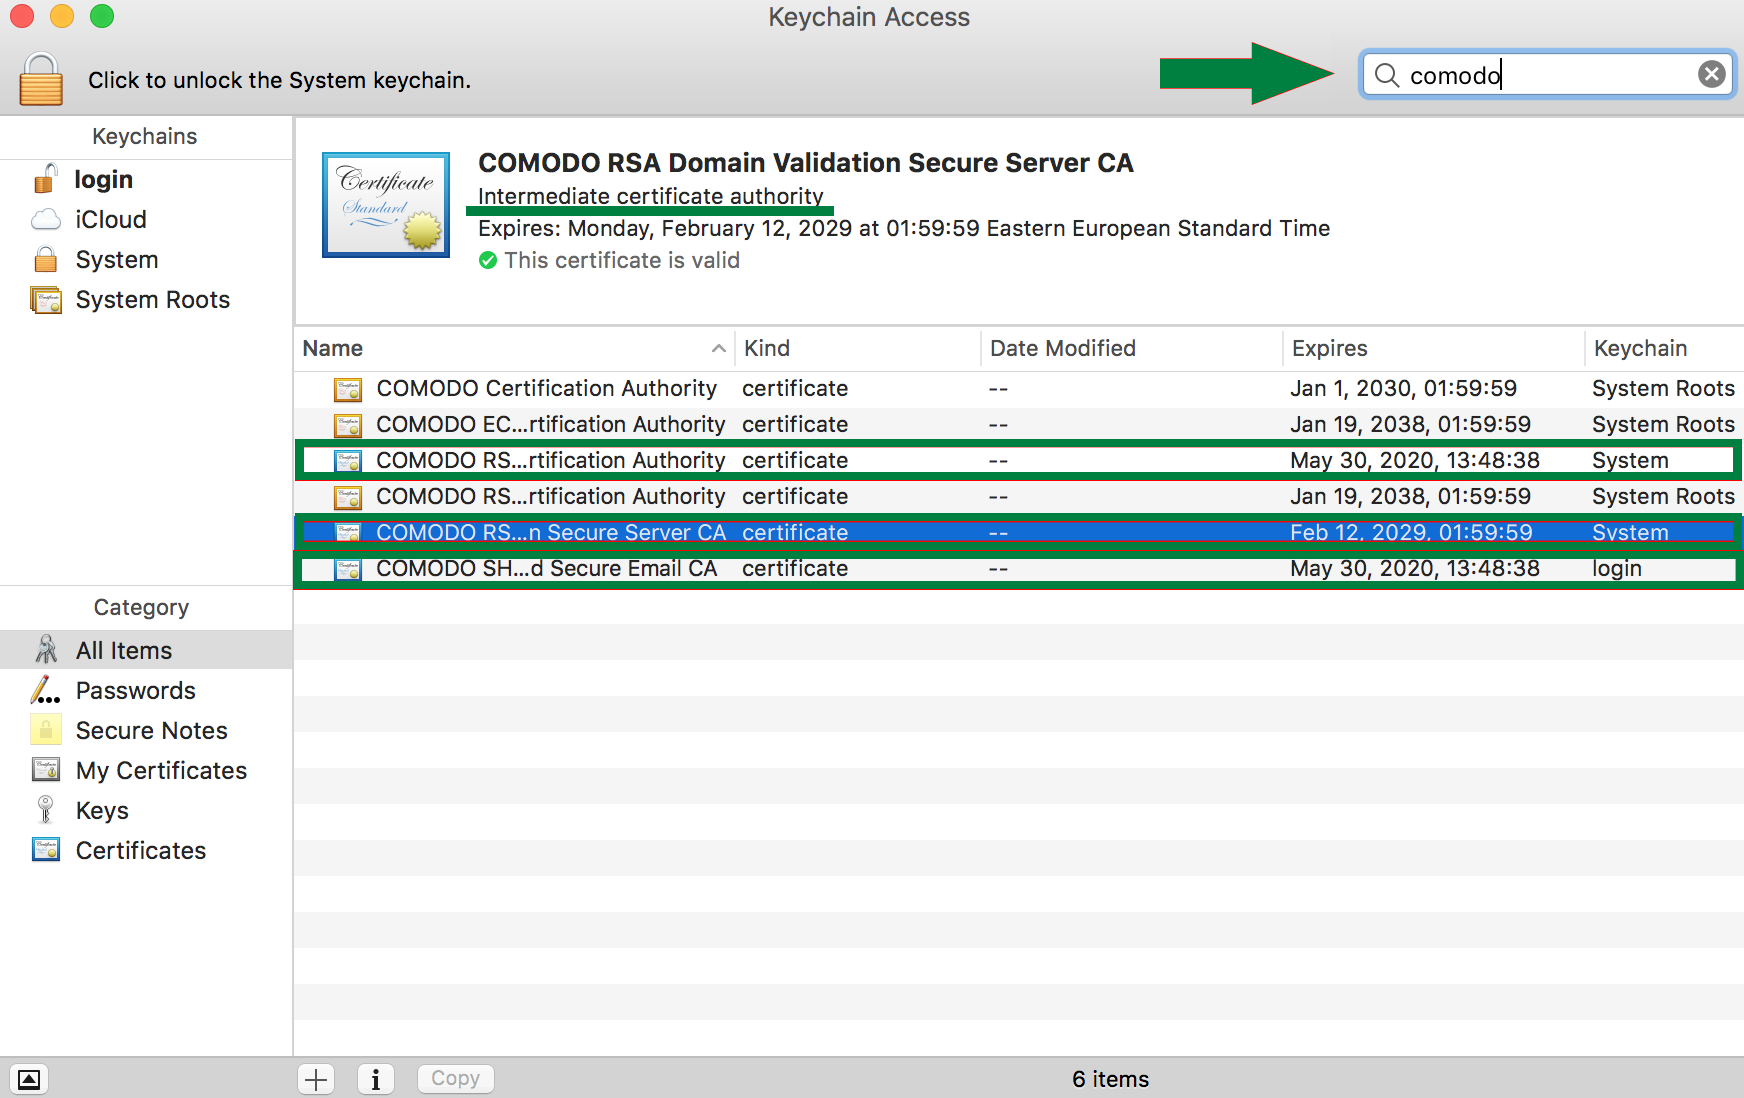 Intermediate certificates have blue icons unlike root ones (root CA certificates have yellow icons).
As soon as the CA bundle is added to the Keychain of the system, feel free to proceed with the certificate installation:
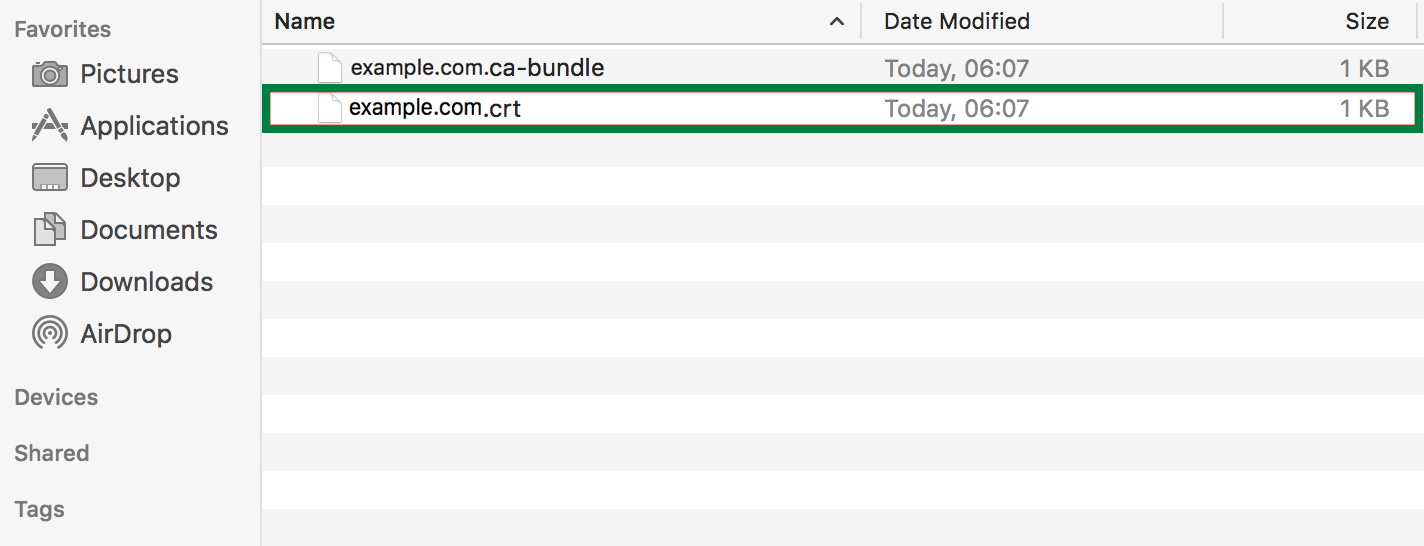
- Find the .crt file you received from the Certificate Authority or downloaded from your account:
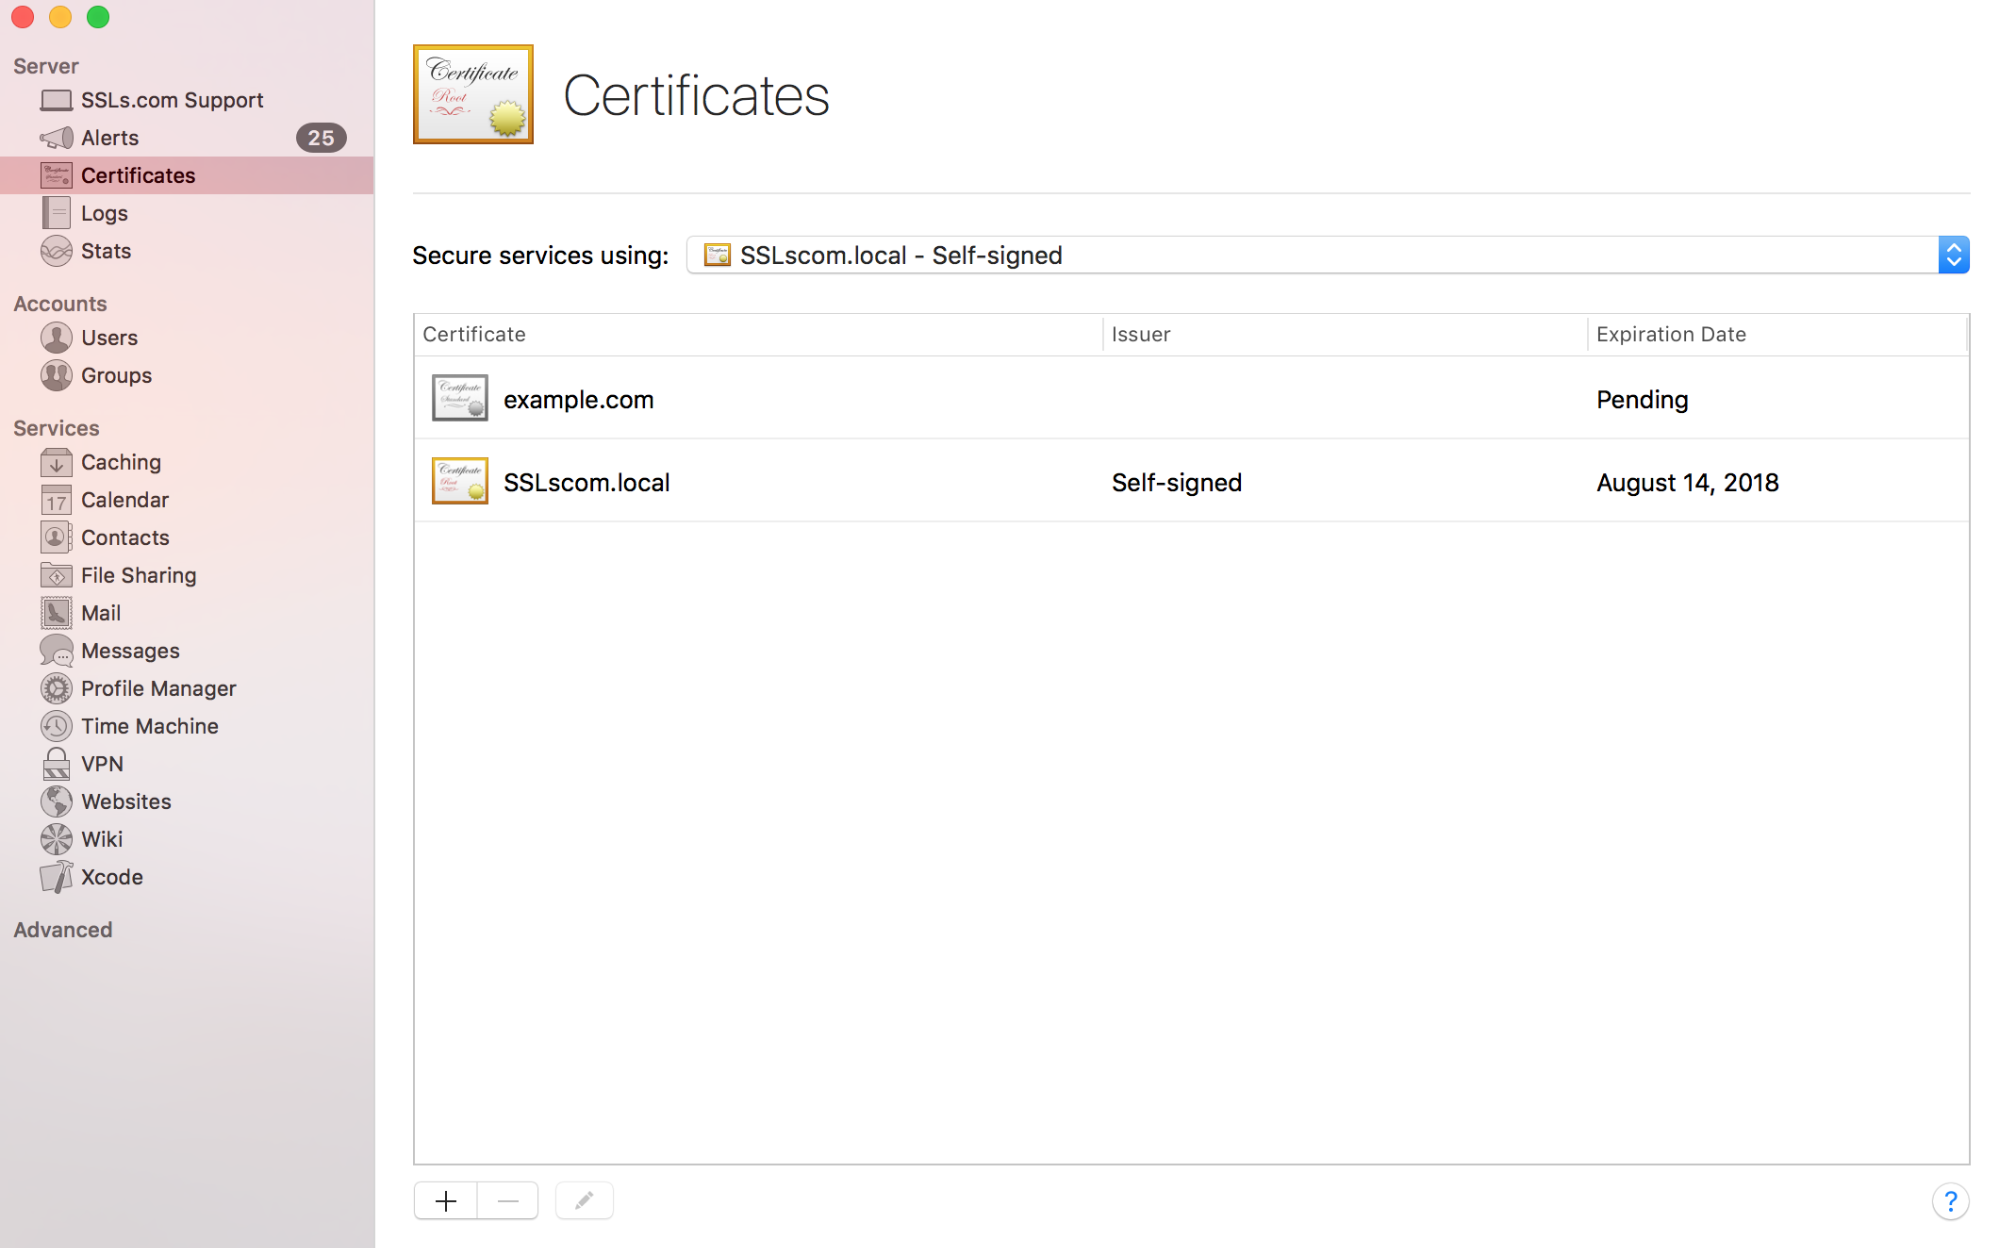
- In the Certificates section under Server, find your pending certificate that was created along with the CSR code:
- Double-click the certificate in question so you can see the following window:
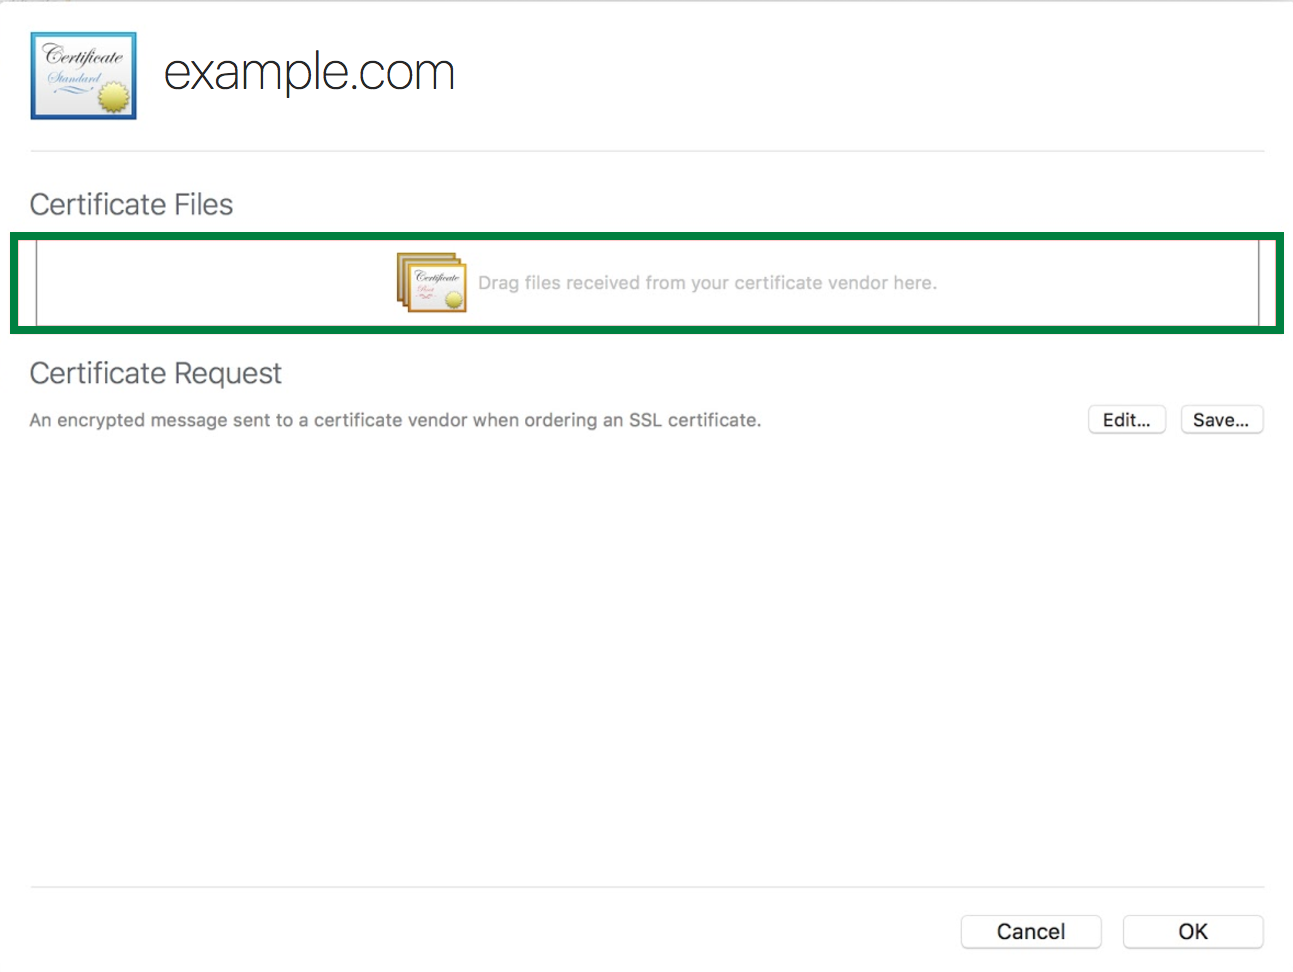
- Drag and drop the “yourdomain_tld.crt” file into the box.
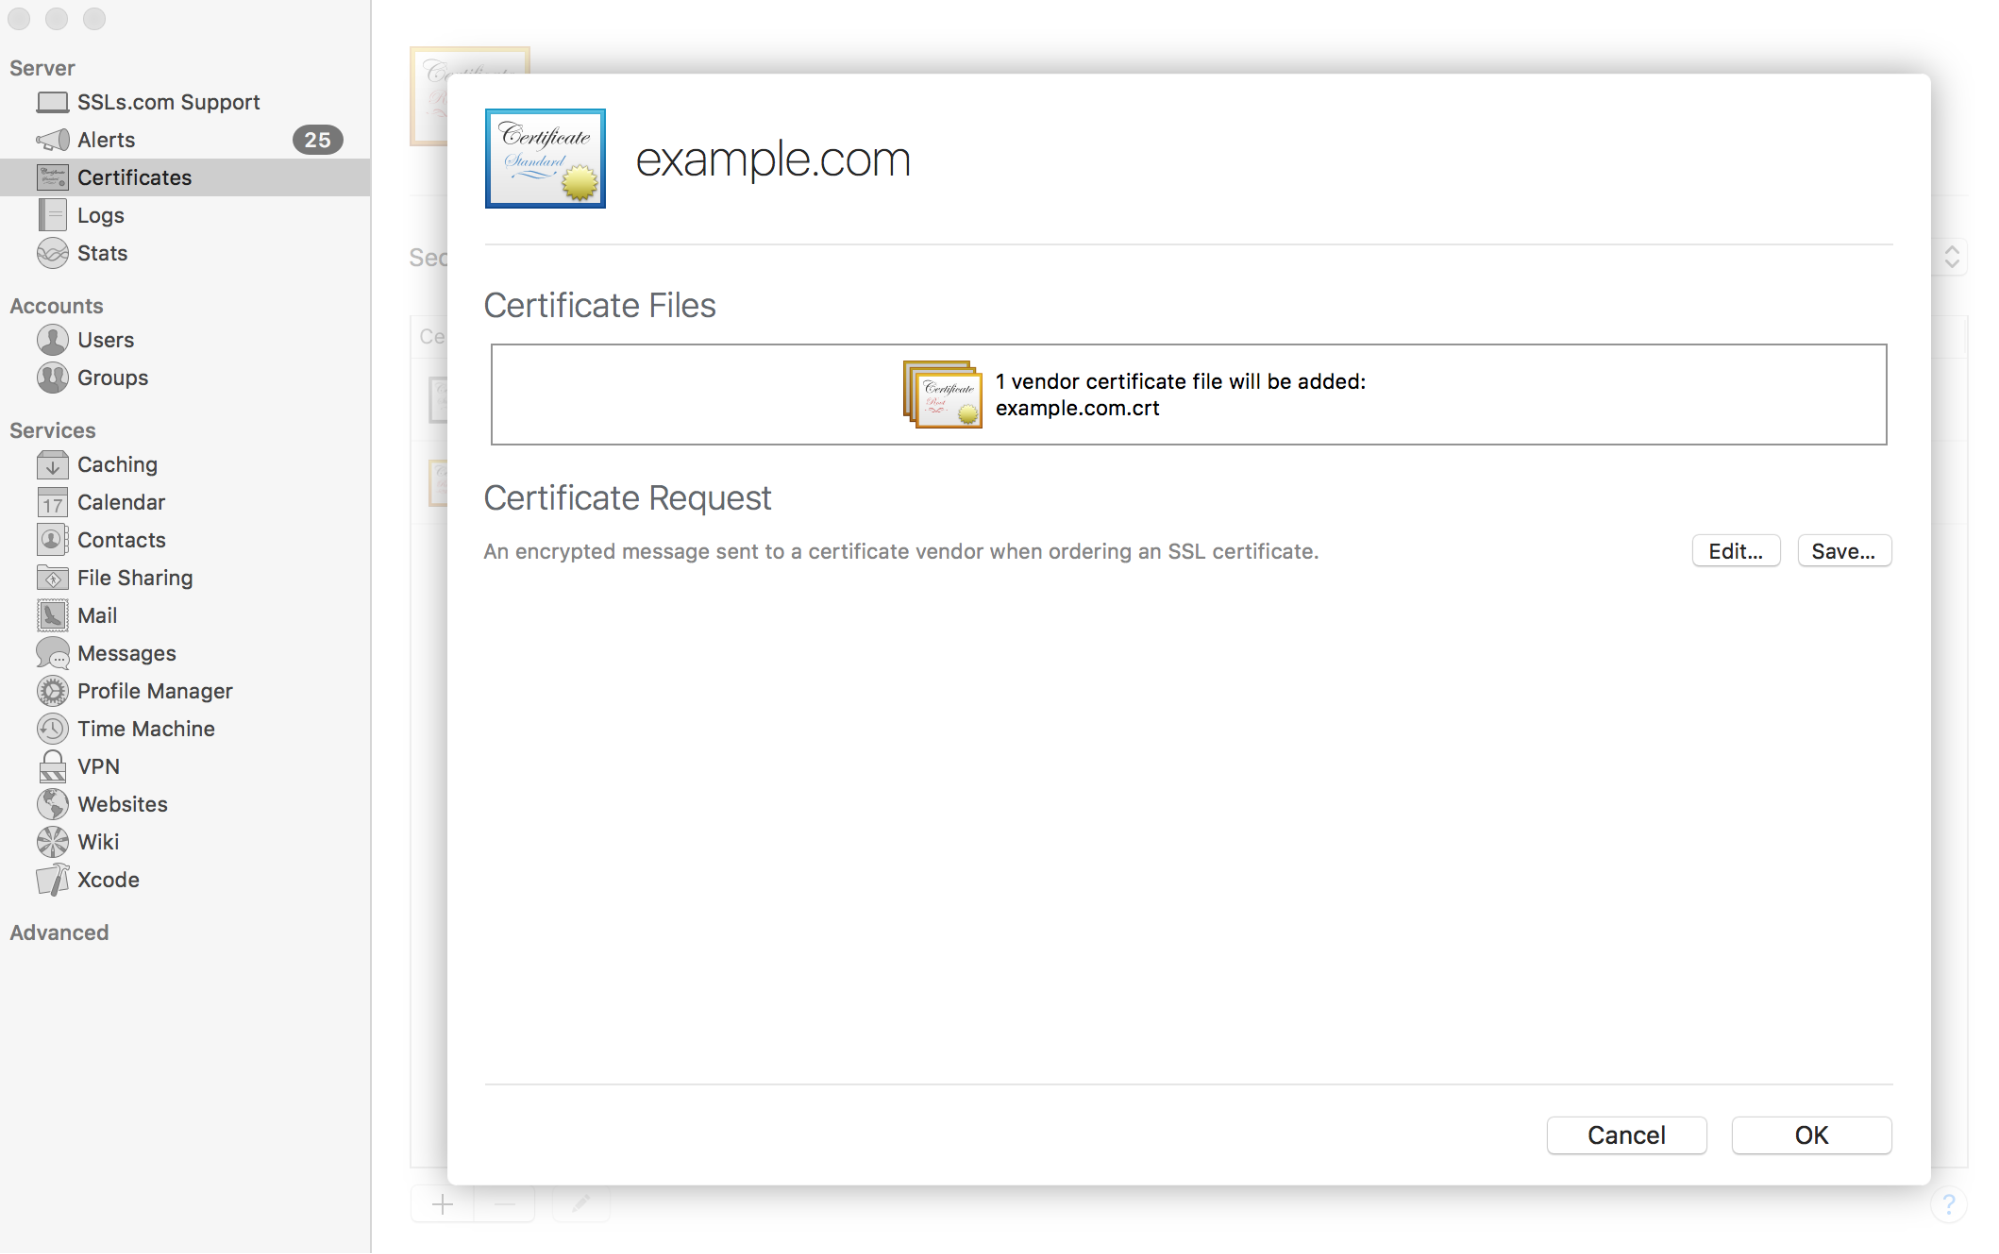
- Click OK to complete the installation process:
- Once done, your valid certificate will appear in the list of the certificates installed on your server:
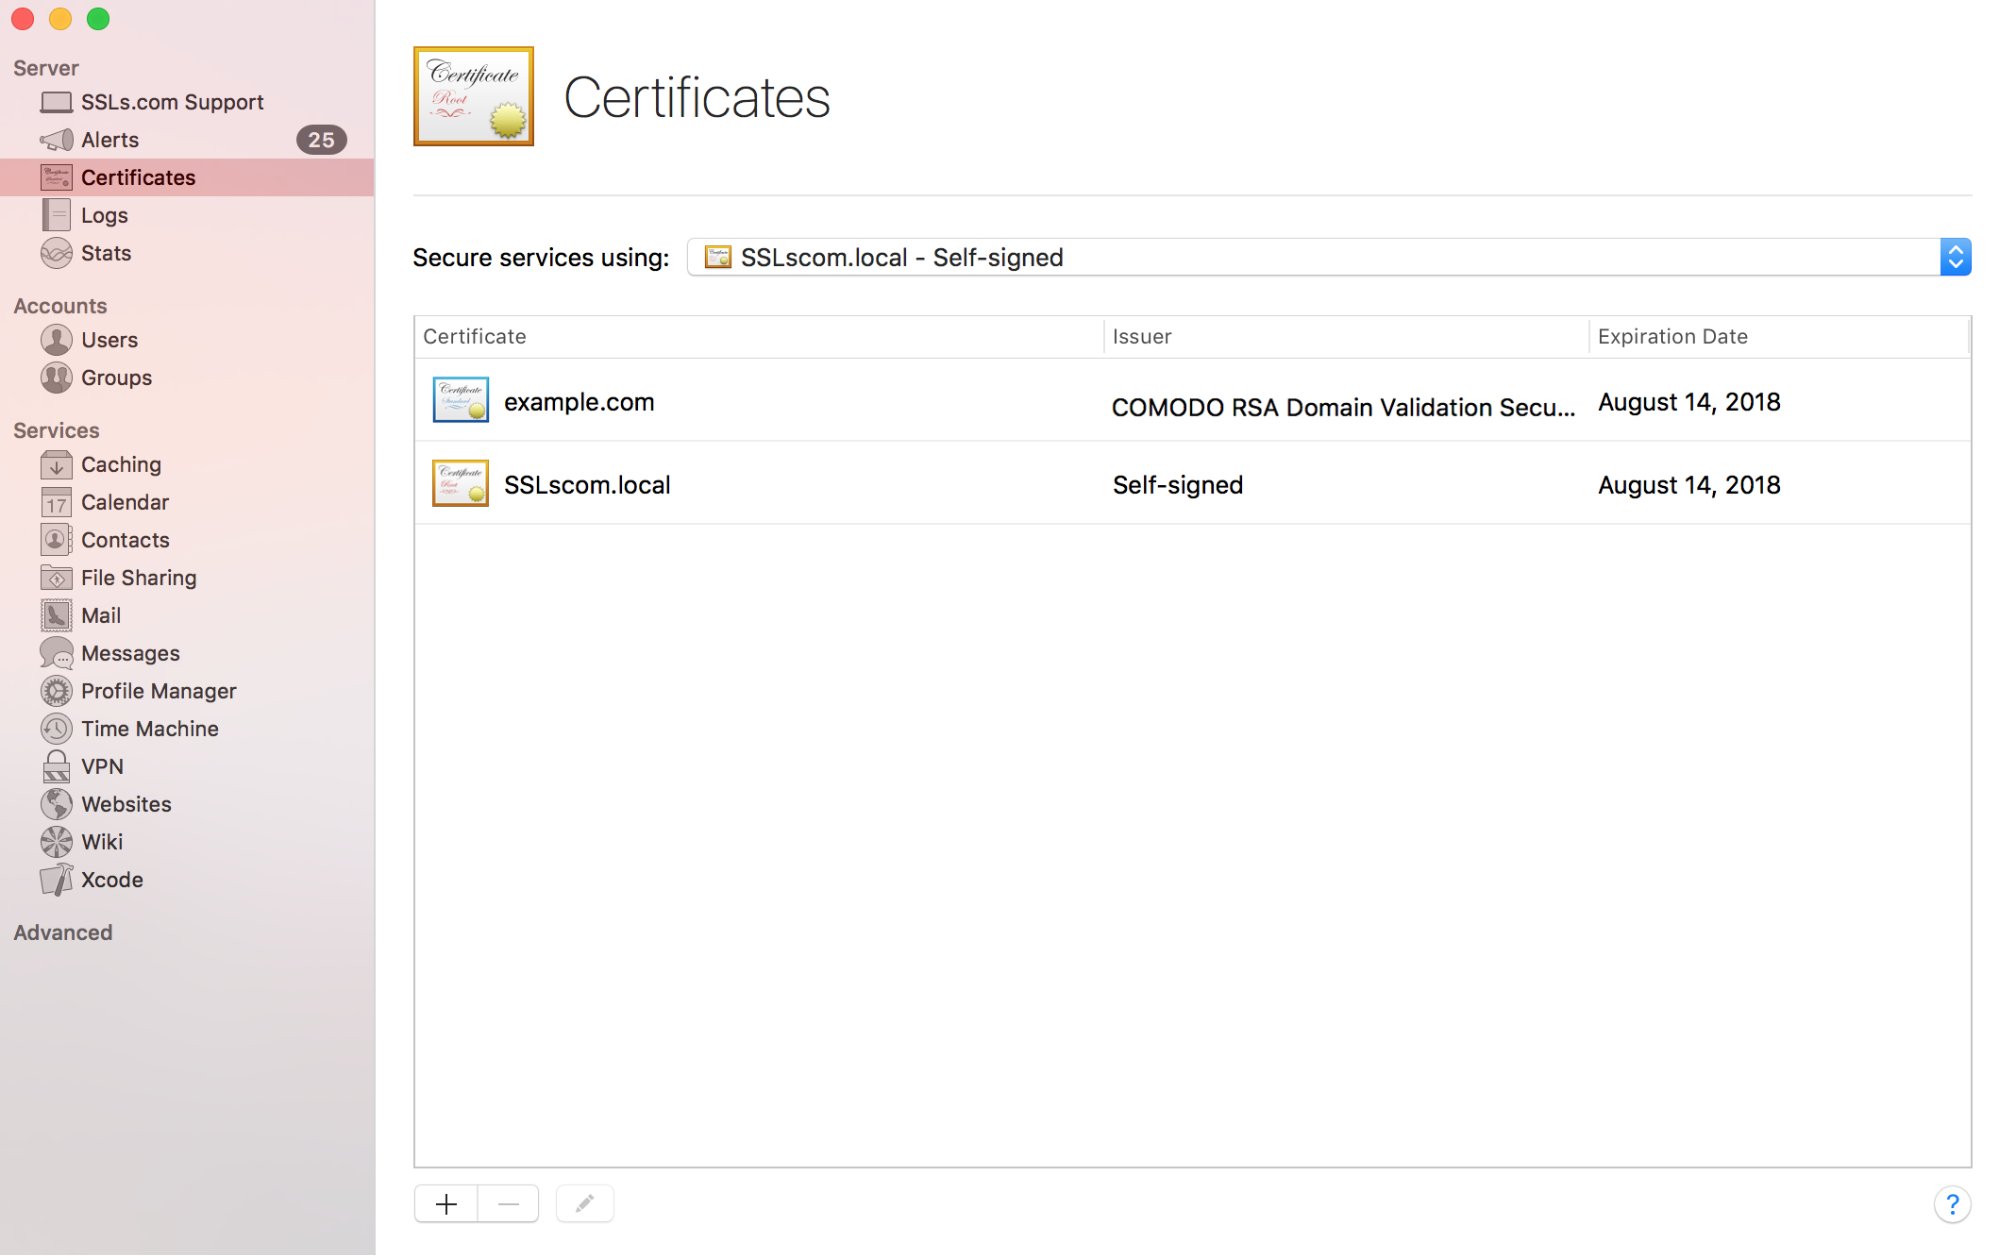
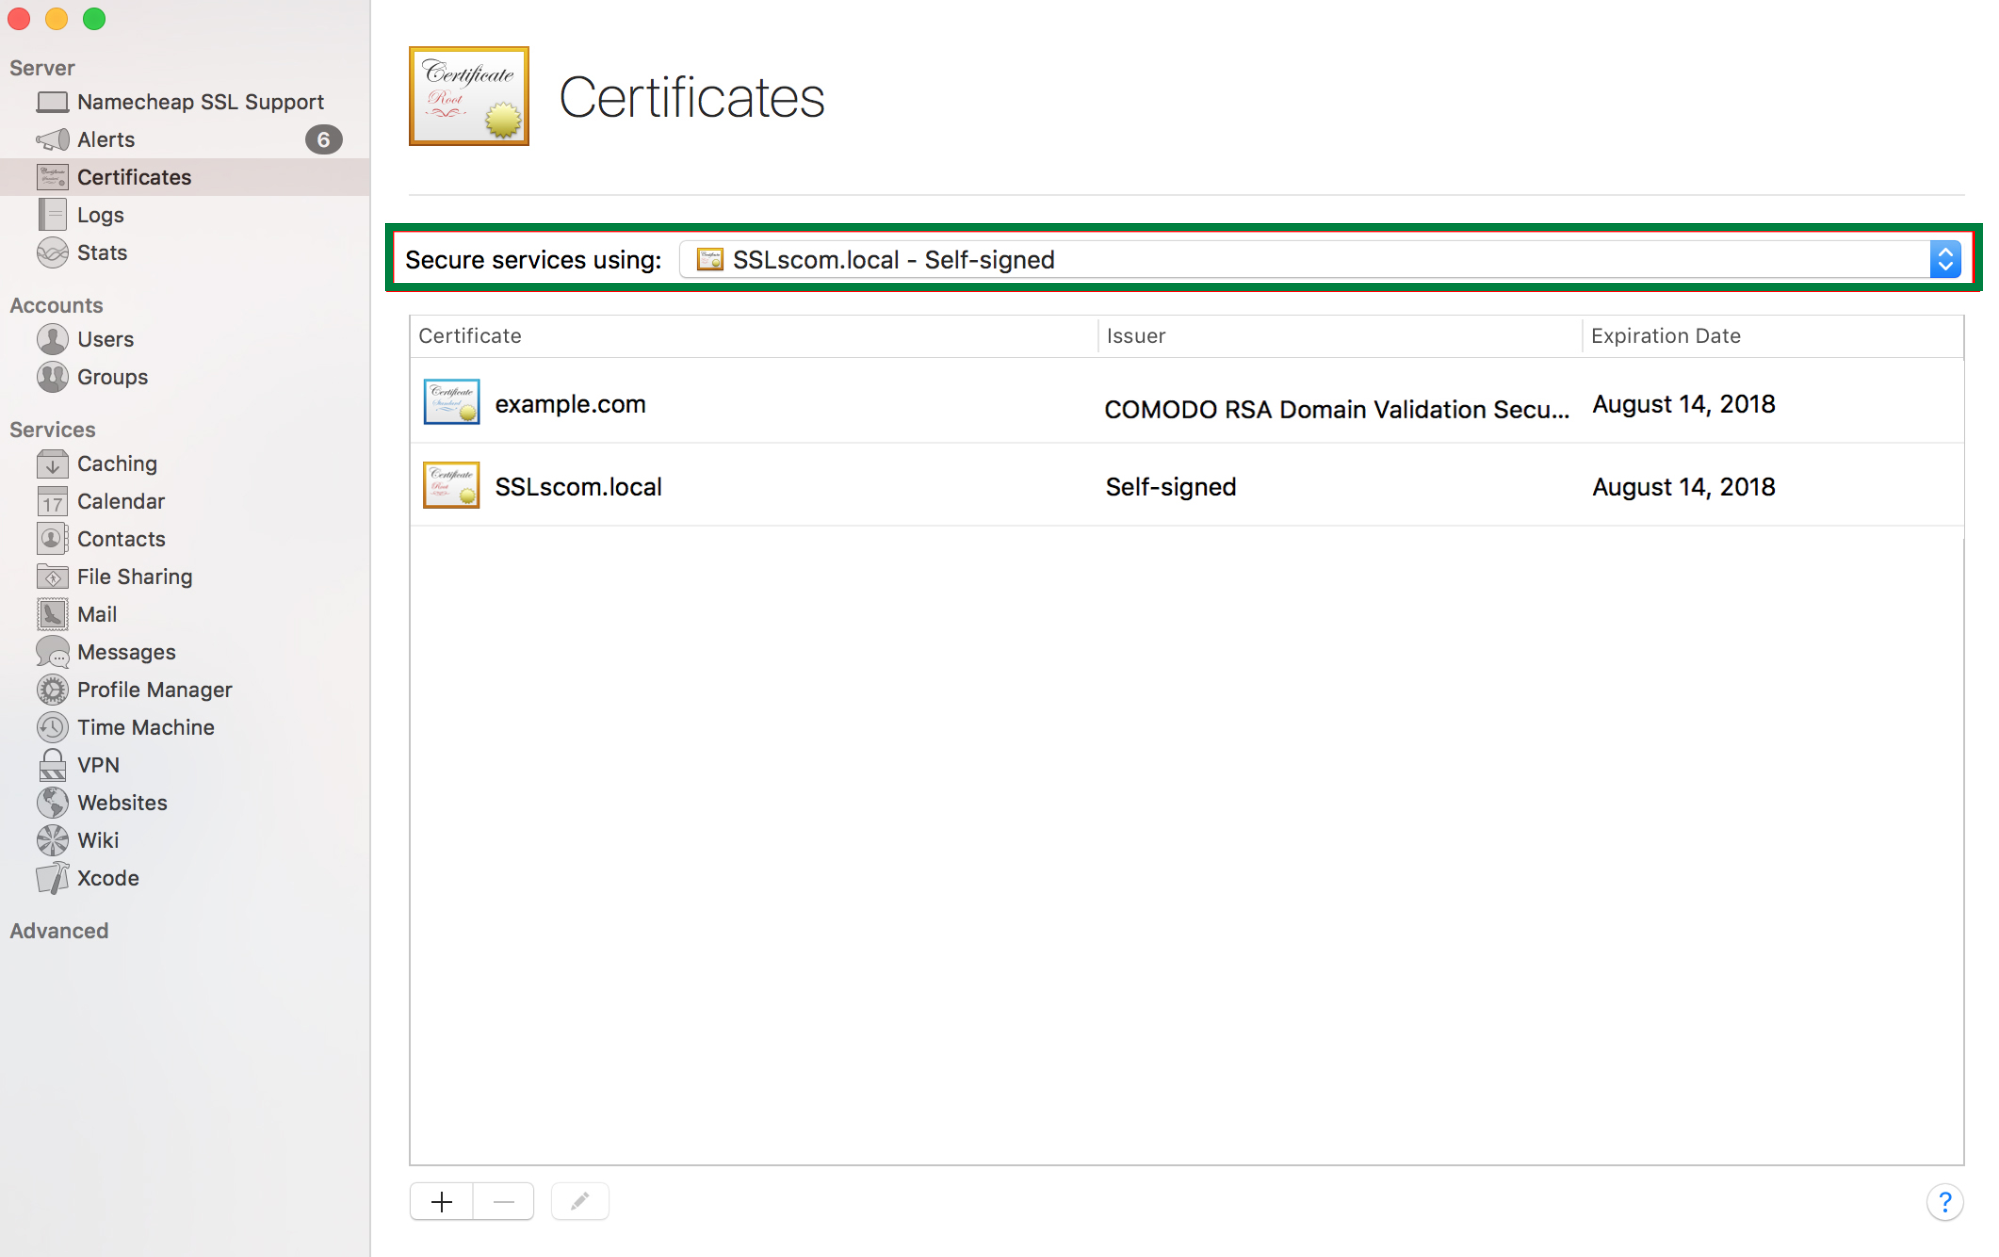
Now we can assign the certificate to the services we would like to use it for:
- Select your certificate in the Secure services using:
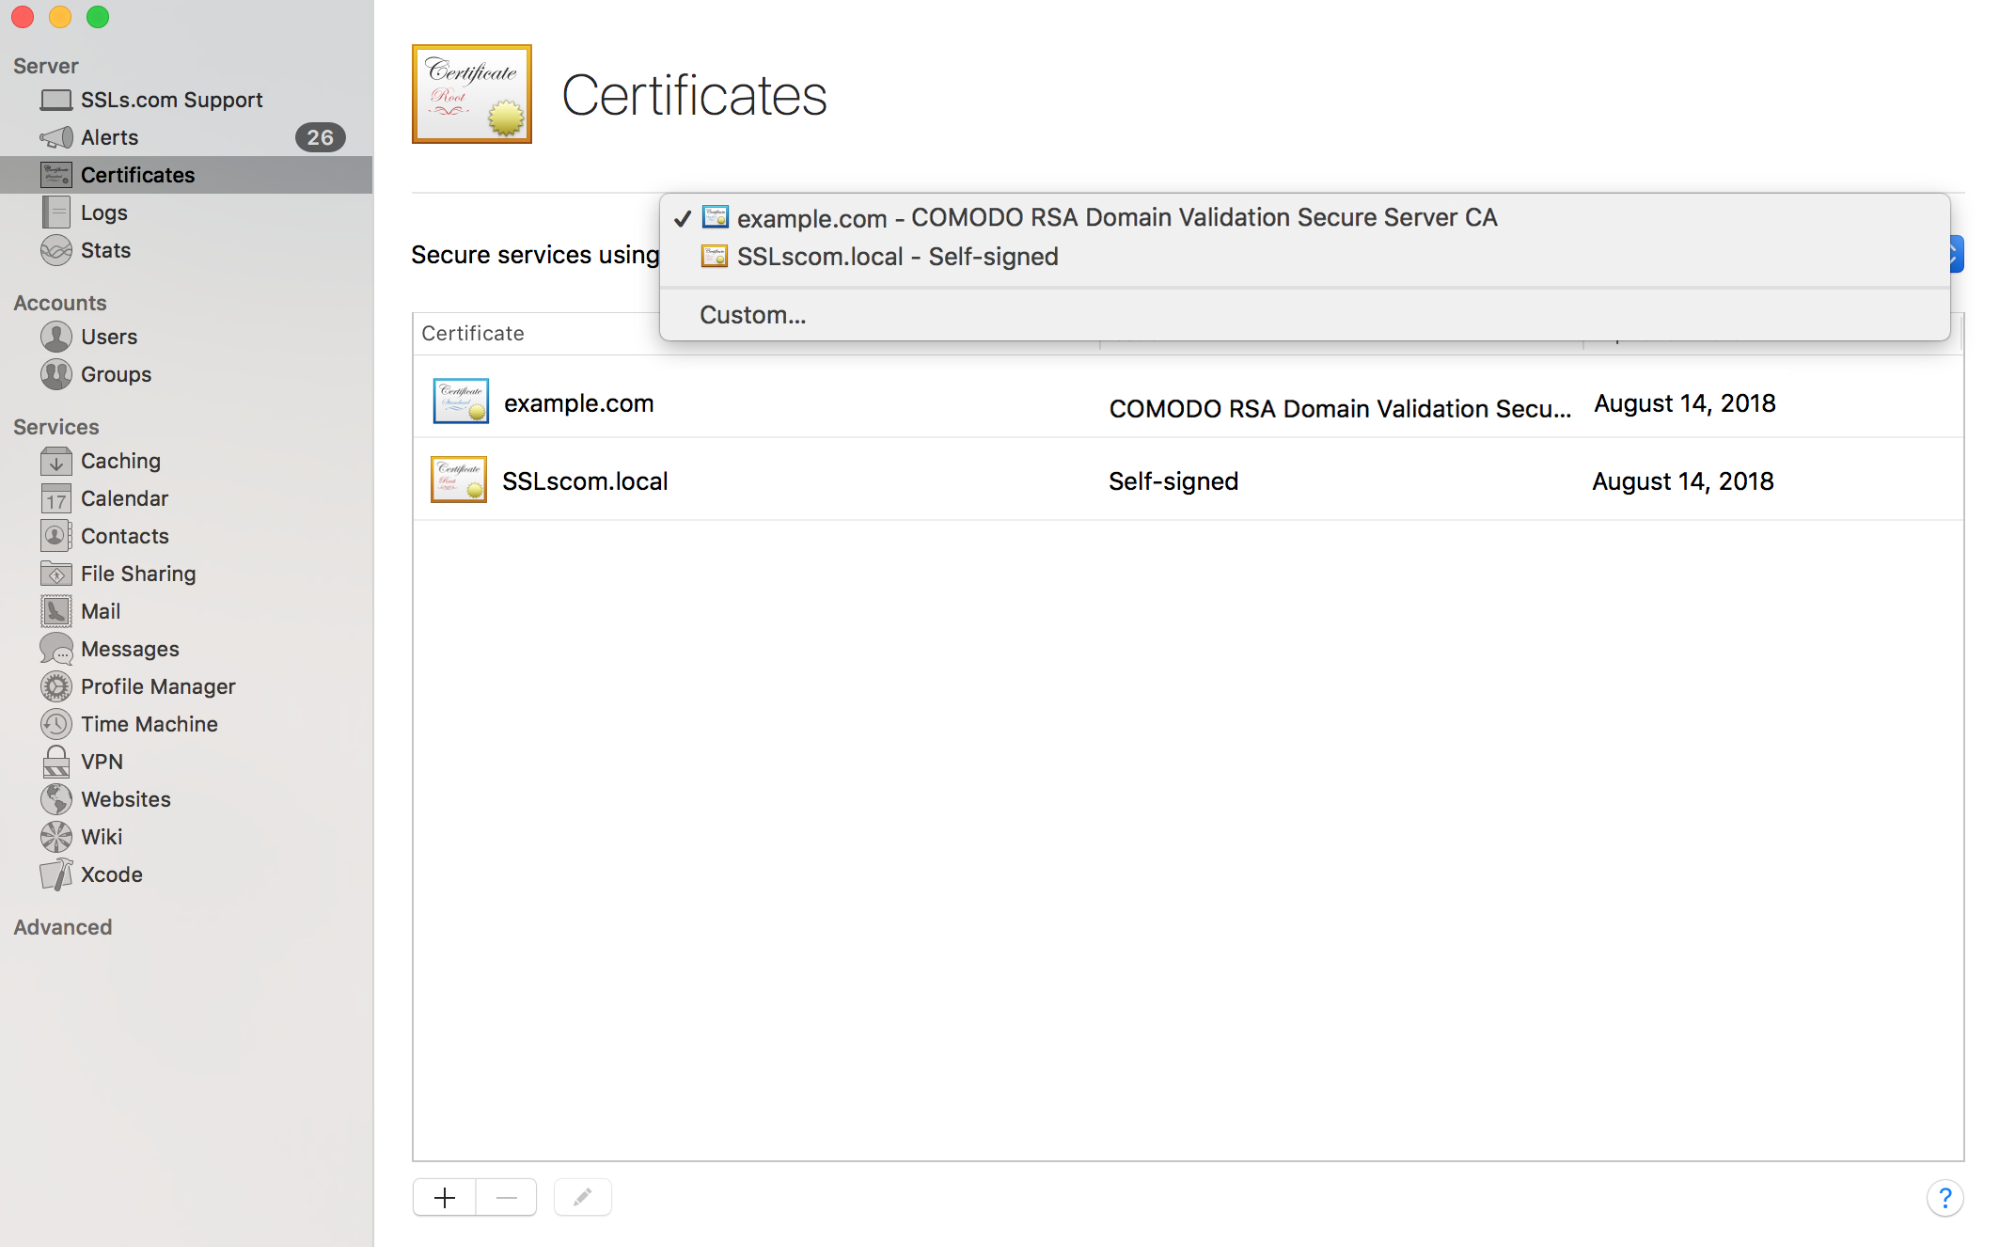
If you want to assign your certificate to custom services (like Mail services, file sharing, etc.), click the corresponding button: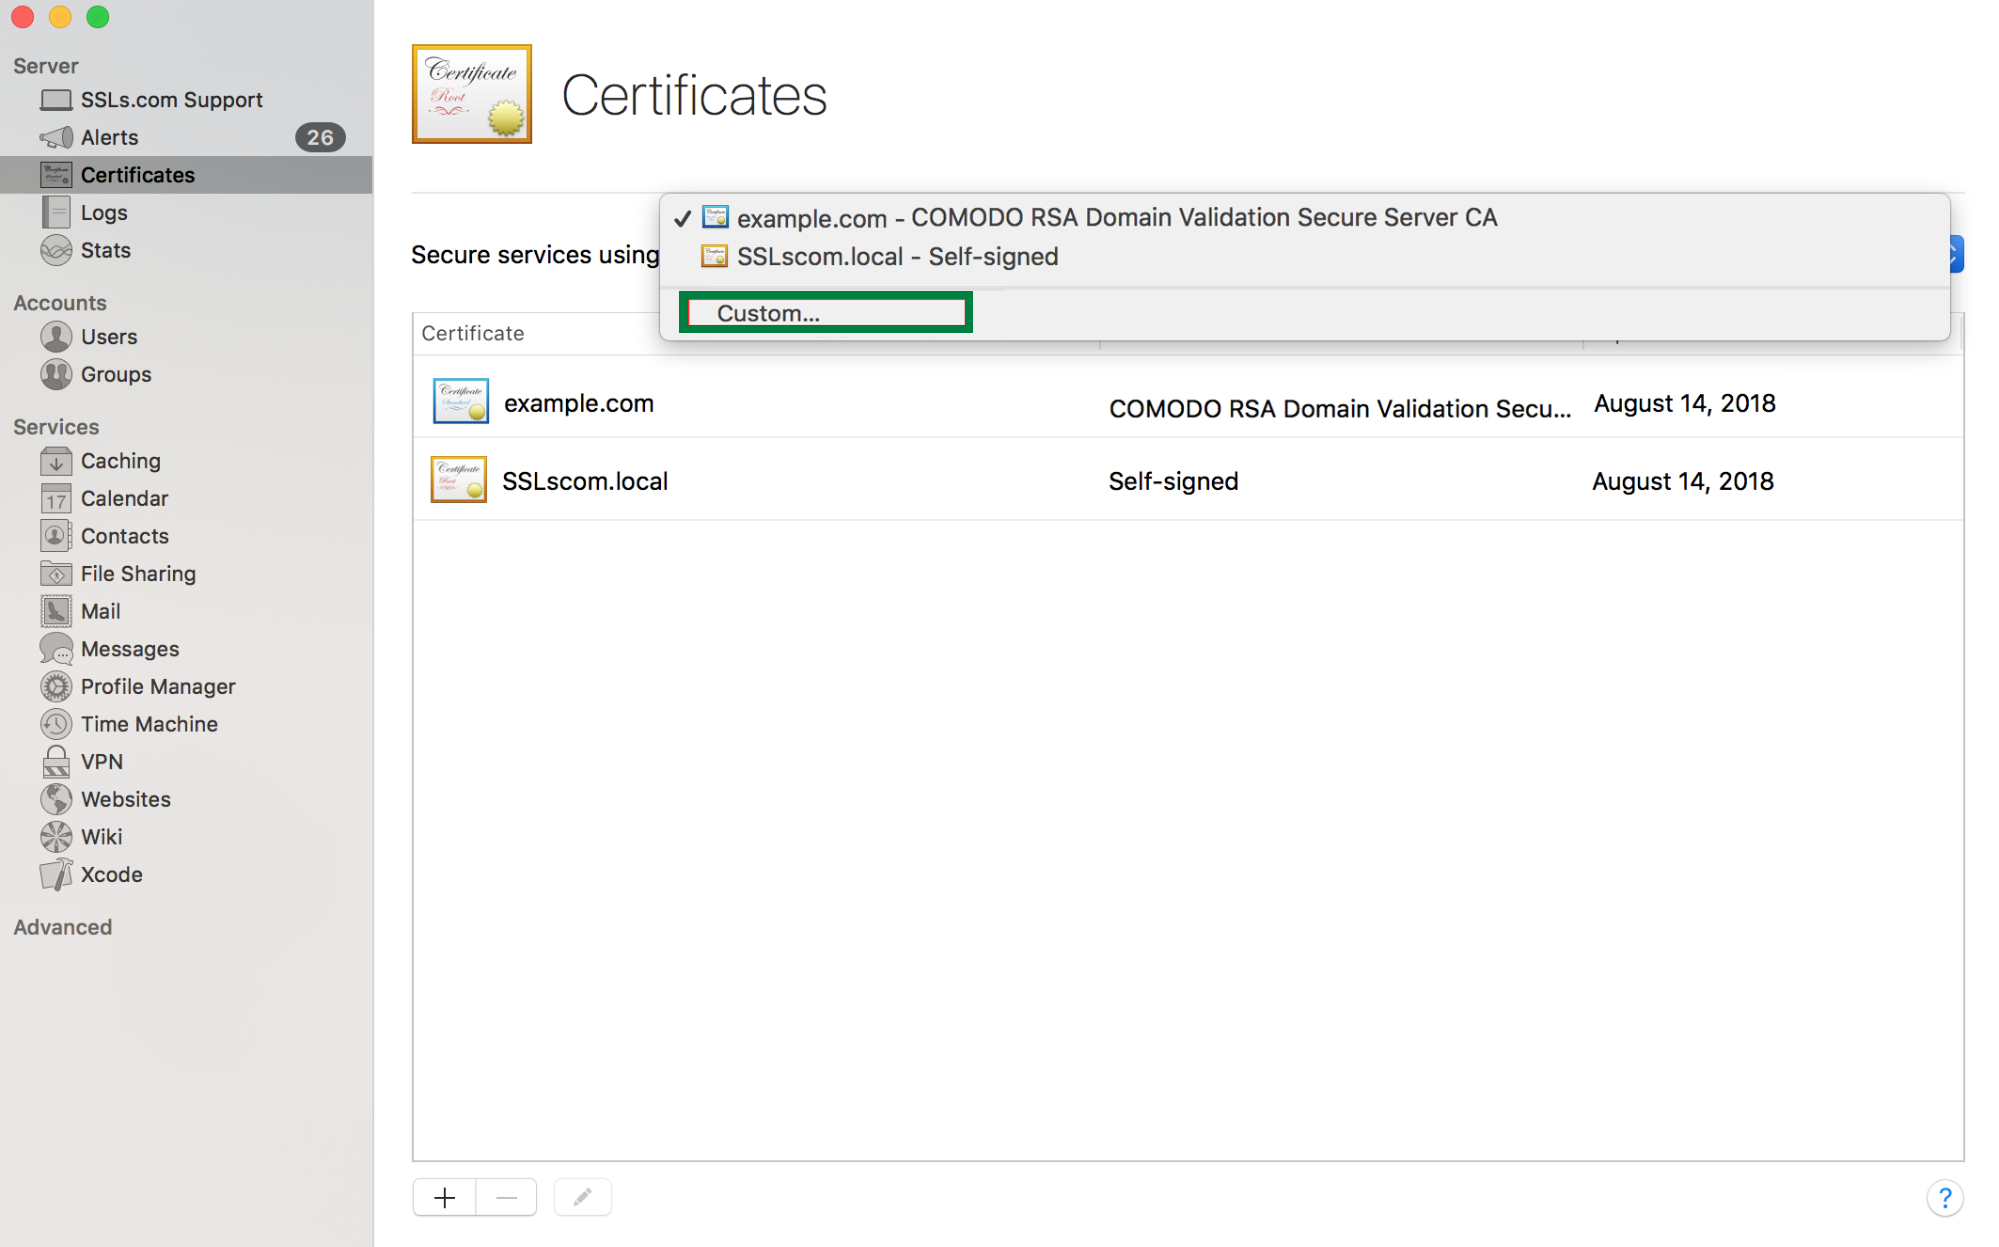
- Click OK to apply the changes.
- The certificate is installed on the server now. You can always check the installation via this tool.
If you face any difficulties during the process or need any assistance, please contact our Support Team. We are available 24/7 for you.
HTTPS redirect
In order to set up HTTPS redirect on your Mac Server, you need to locate the Websites section in your Server.app:
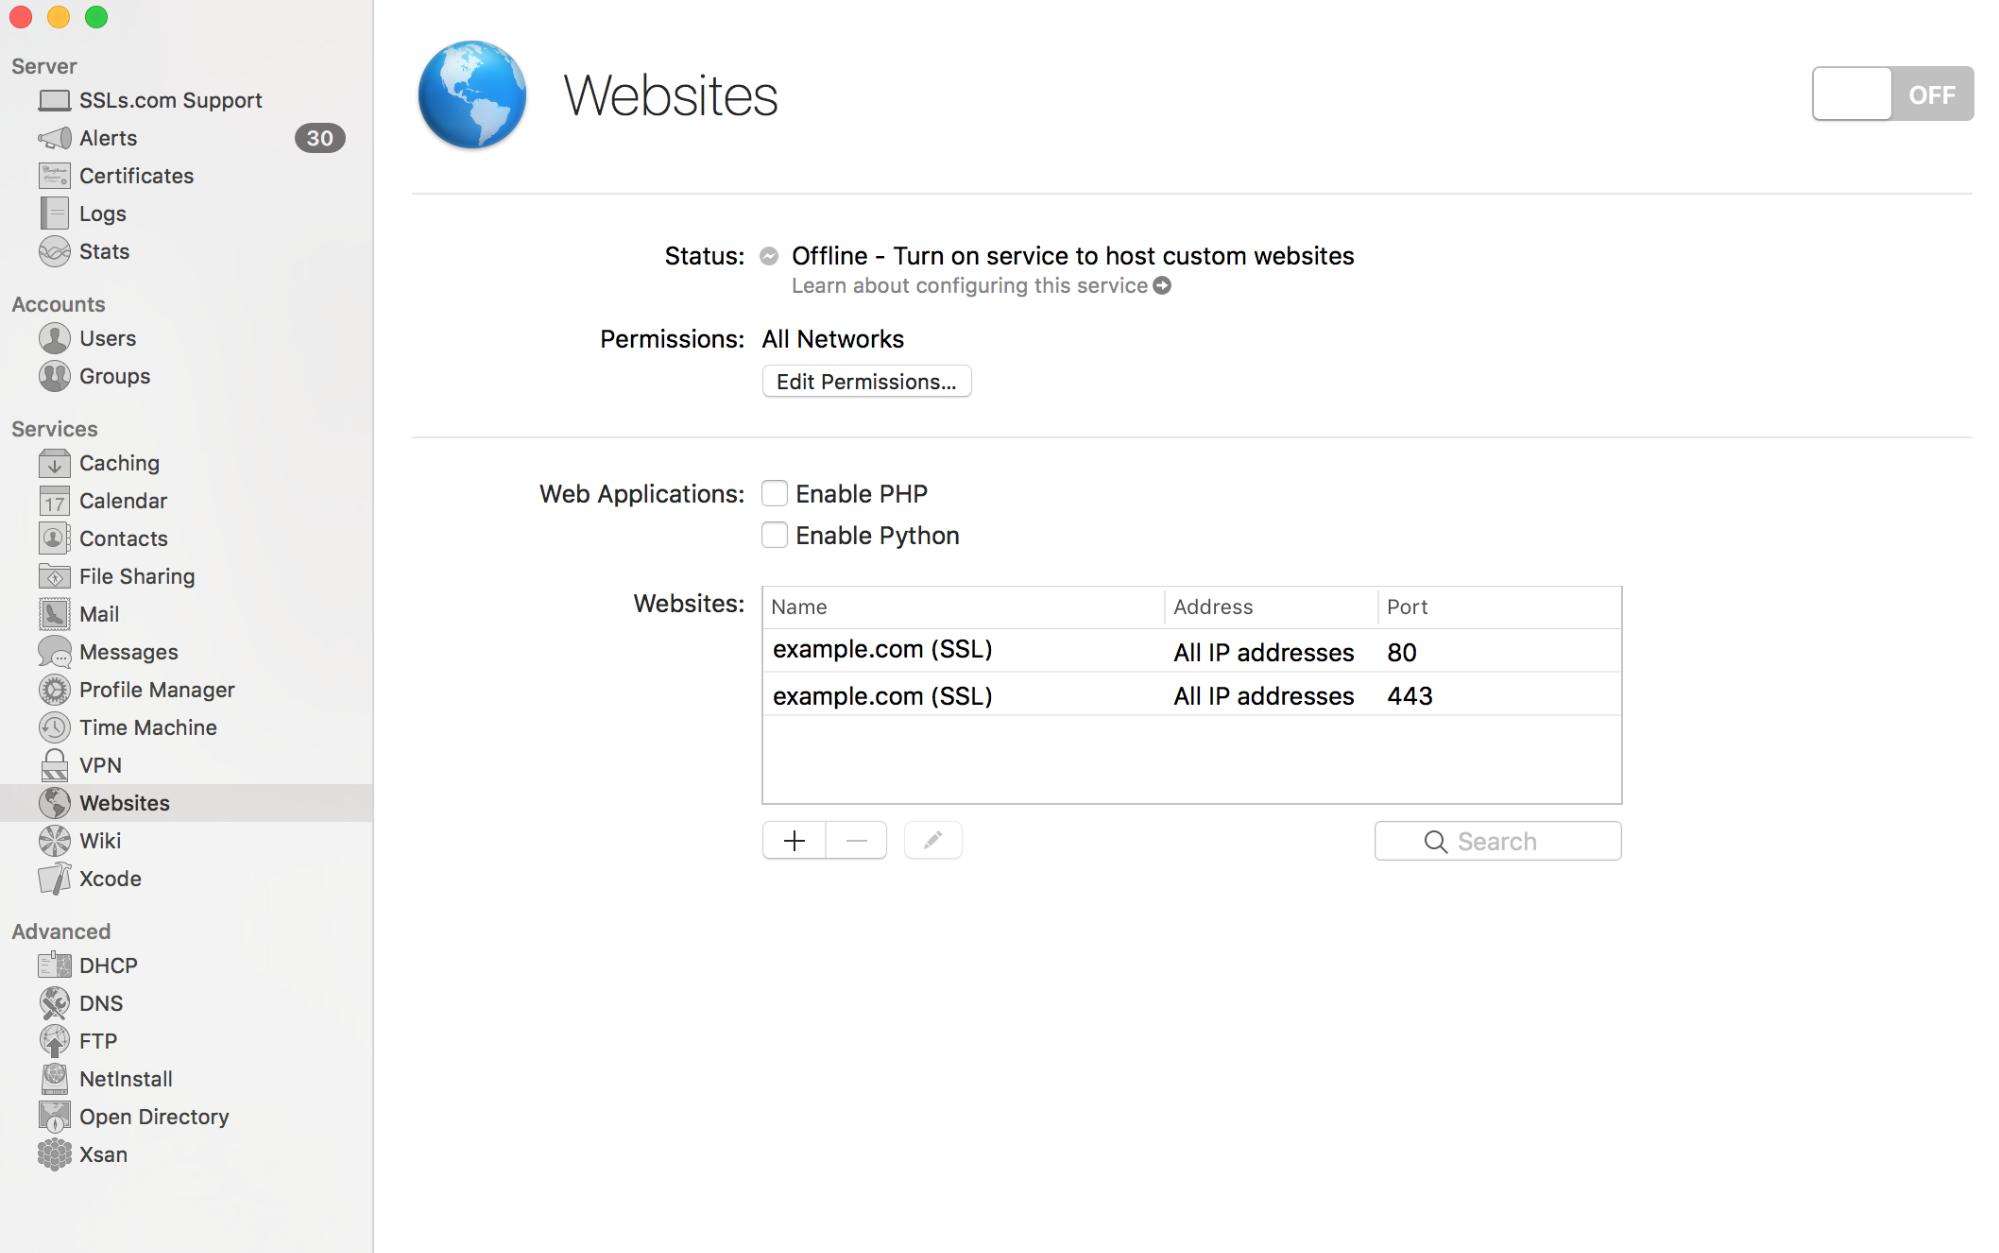
Select your website with port 80 configuration and click on the “pen” icon:

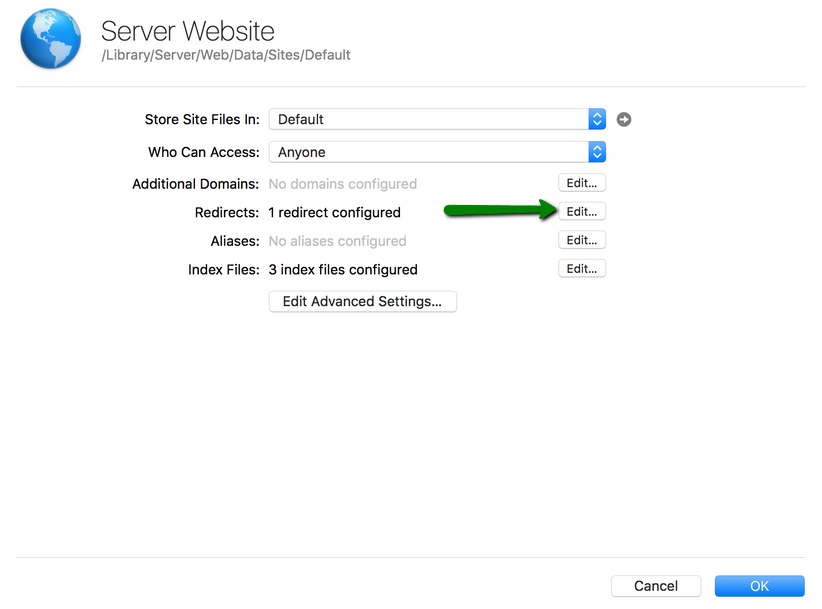
Click Edit in the Redirects row:
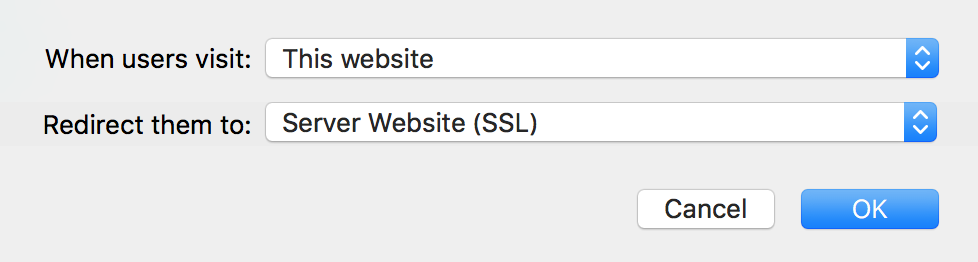
There may be a default rule already set up for the website, and in this case, all you need to do is to click on the “pen” icon and adjust the following settings: When a user visits this website, redirect them to Website (SSL):
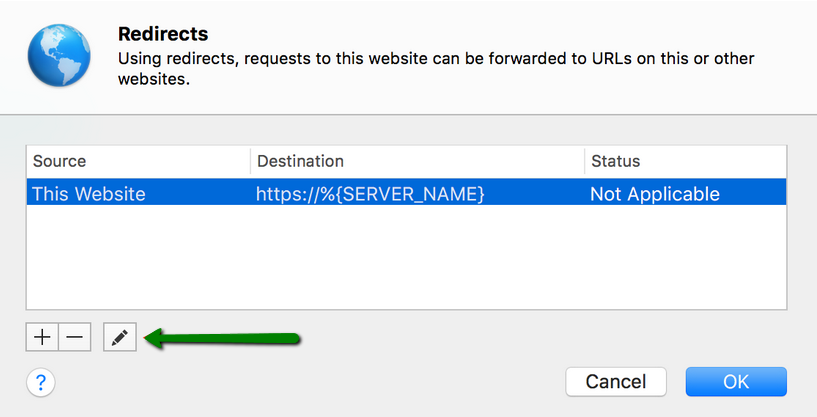
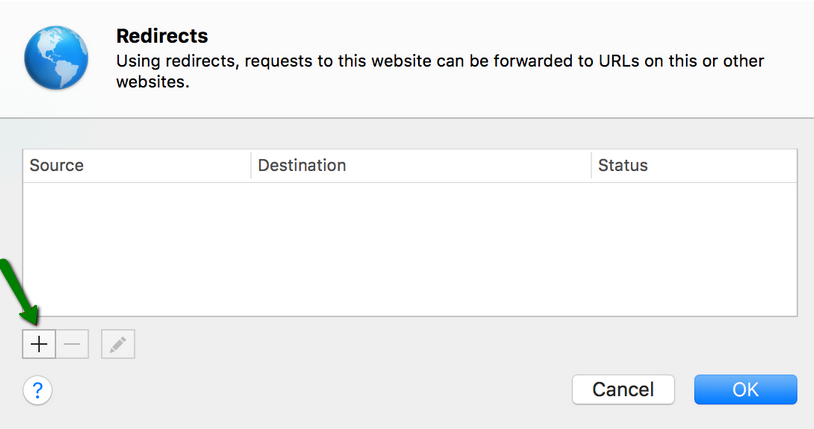
If you do not have a default rule listed under the Redirects section, you will need to create a new one. To create a new rule, please click the plus (+) button:
Create a rule with the following conditions:
When a user visits: A URL matching the following path http://example.com
Redirect them to: https://example.com
Because: The original has permanently moved
That’s it. Now when the users of your website try to access the http:// version of the website, they will be redirected to the https:// (secure) one.