Need help installing your SSL? Our experts can do it for you!
Where do I get my certificate?
The first step to receiving the certificate is to activate it and complete the domain validation process. SSL activation requires you to submit a CSR code. There’s an option to use an in-browser generated CSR code during the SSL activation. You may want to create it in the GoDaddy cPanel, in which case please refer to this article.
Once the above steps are done, the certificate will be issued and emailed to your SSL order administrative contact email address. You can also download it from your account here by clicking on the certificate number and then on ‘Download’ button.
Prepare the files
Open the following files in a text editor:
a) certificate (file with .crt extension);
b) CA Bundle (file with .ca-bundle extension);
c) private key (file with .key extension, that was generated along with CSR).
How do I install it in my cPanel?
Please perform the following steps for the SSL installation:
1. Log in to your GoDaddy account and open My Products.
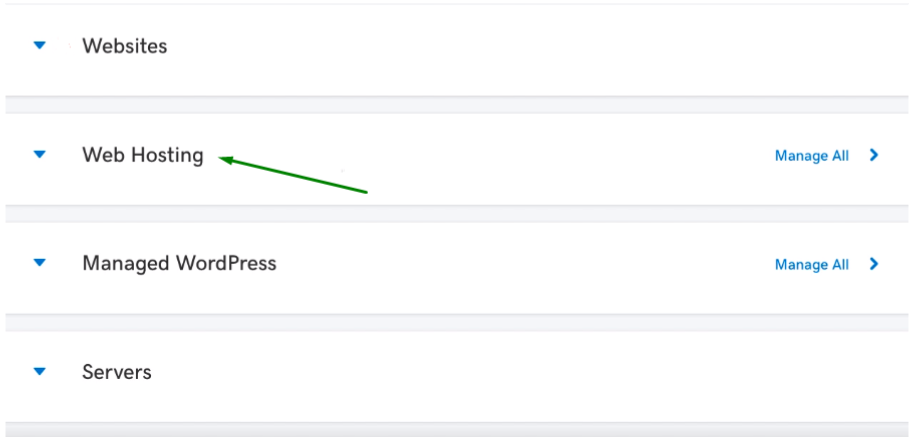
2. Scroll down to Web Hosting.
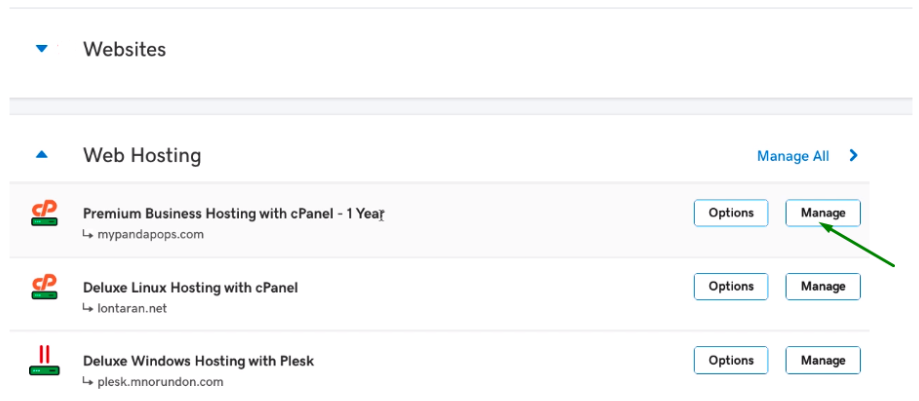
3. Click Manage next to the hosting account you want to install the SSL on.
4. Click cPanel Admin.
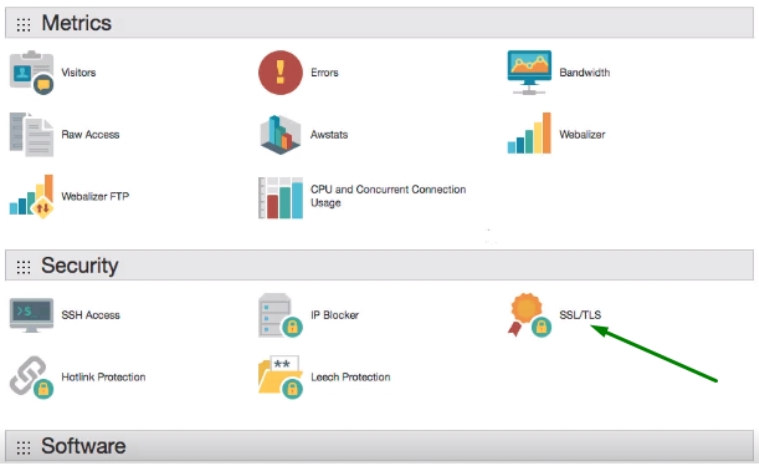
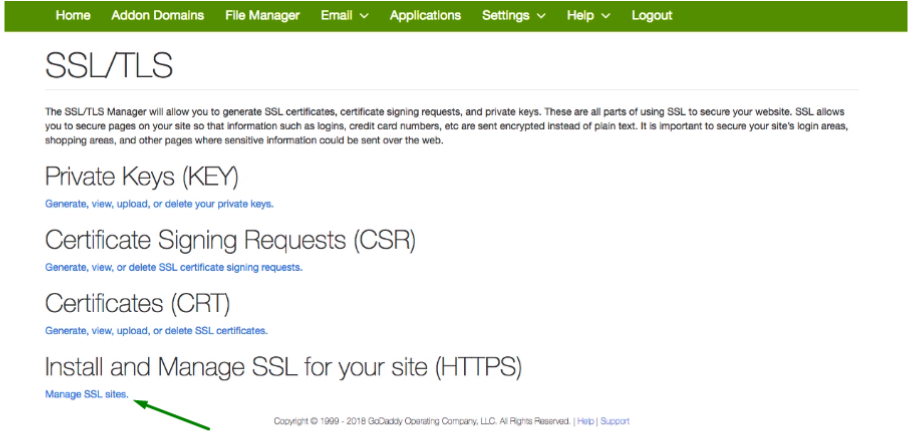
5. Navigate to the Security section and click SSL/TLS.
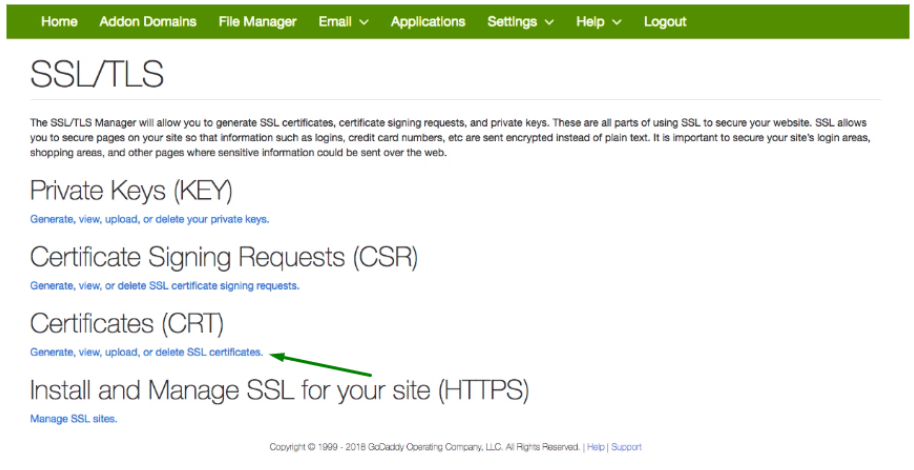
6. Click Generate, view, upload, or delete SSL certificates under Certificates (CRT).
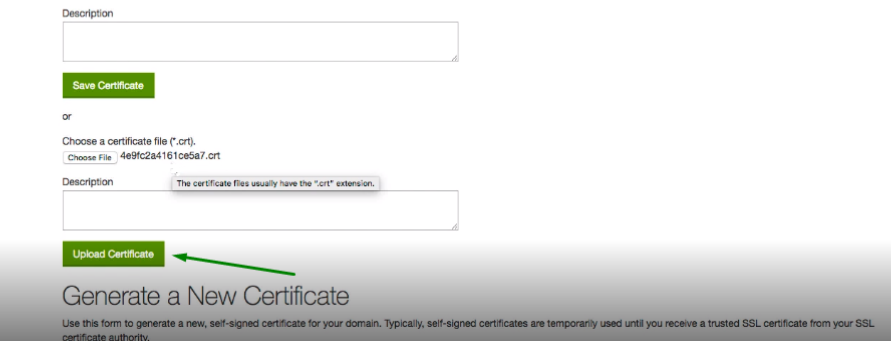
7. On the next page, click Upload Certificate to upload the .crt file from your computer.
8. Go back to the SSL/TLS manager and click Manage SSL Sites.
9. Click Browse Certificates and choose your certificate.

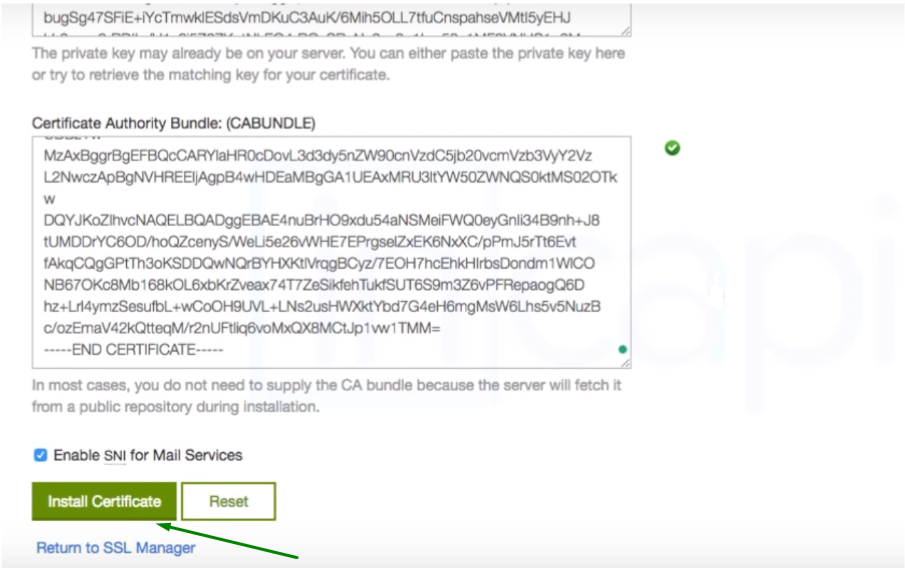
10. Once the fields for the certificate are auto-filled, click Install Certificate.
How do I check if the SSL has been properly installed?
Easy, feel free to check the installation via this tool.