Import .pfx file to a new machine
Sometimes, when an SSL certificate is already installed on a Windows server, you may need to reinstall it on another Windows machine. This may be required when you have a Wildcard or a Multi-domain certificate, and the subdomains or different domains are hosted on different machines.
In this case, the certificate can be moved from one server to another in a PFX file. PFX is a common certificate format for Windows servers. The file in this format contains the certificate associated with its private key and, if applicable, intermediate certificates that sign the domain end-entity certificate. As a rule, it has a *.pfx or *.p12 extension. Basically, creating a PFX file is the only way to export a private key from a Microsoft Windows server on which the CSR code was generated.
Follow these steps to perform the certificate export:
Creating a .pfx file
Creating a .pfx file in MMC
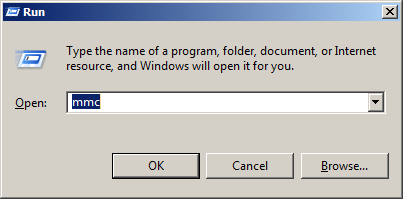
Launch Microsoft Management Console. Press Win+R, type in mmc and press OK.
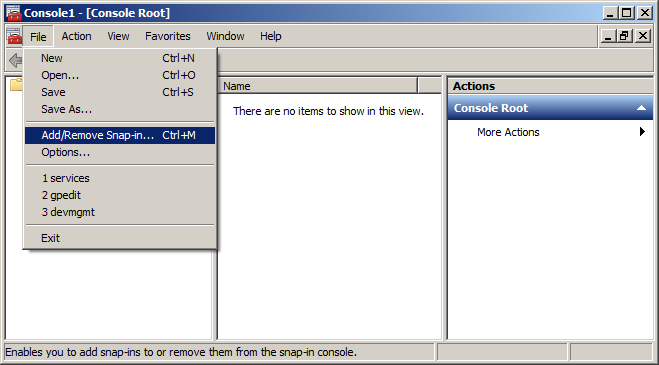
Click File and select the Add/Remove Snap-in option.
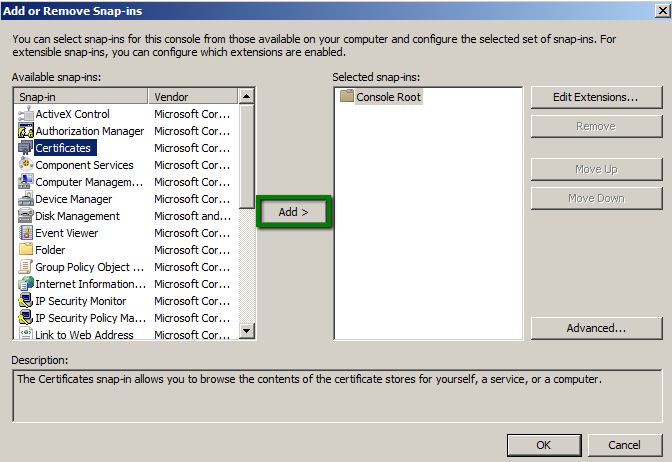
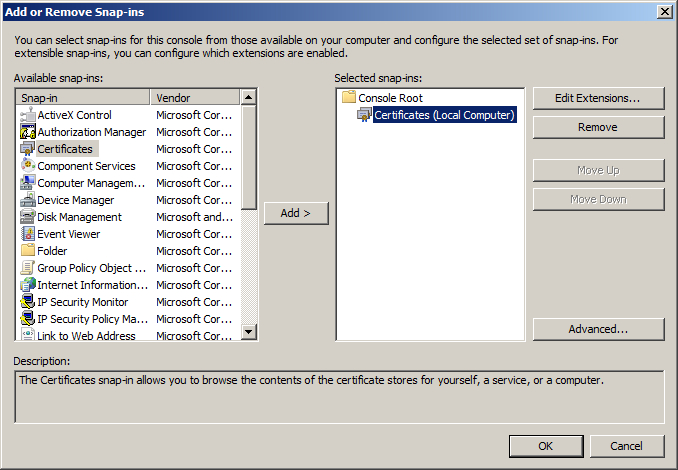
Click on Certificates in the list of Available snap-ins and then, on the Add button.
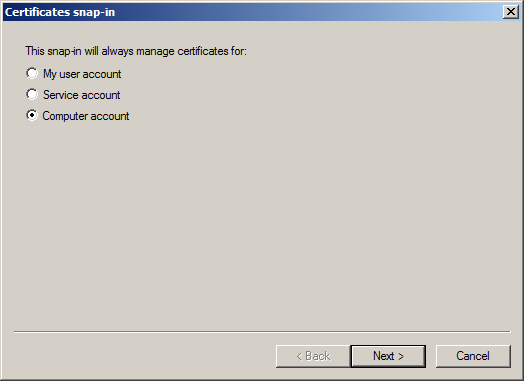
Select Computer account and click Next.
Choose Local Computer and click on the Finish button.
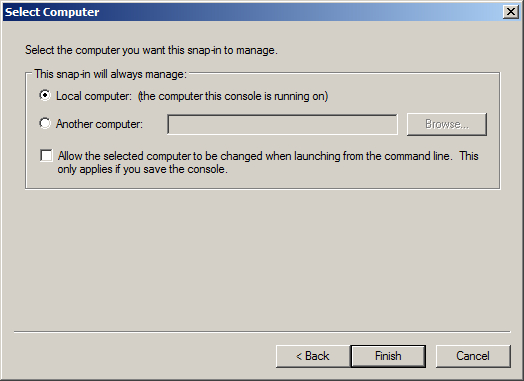
Click OK to add the certificate snap-in and get back to console.
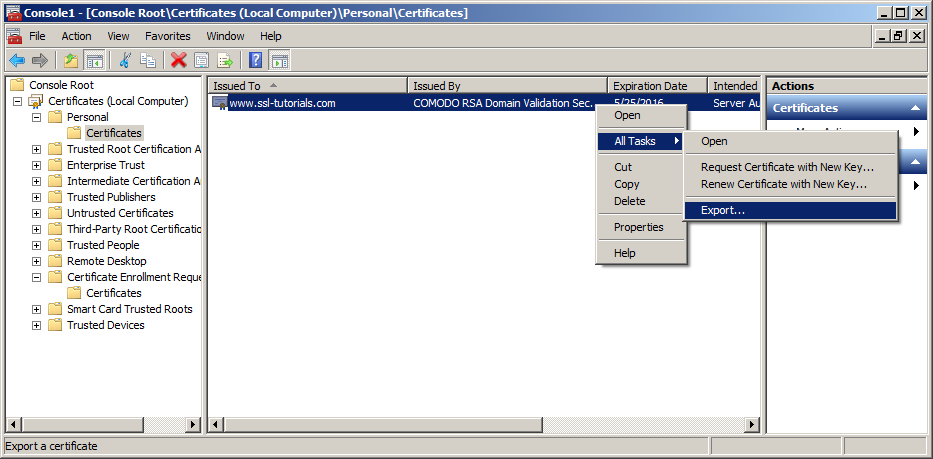
Expand the Personal store in the left-side menu, and choose Certificates. Right-click on the certificate you want to export >> All Tasks >> Export.
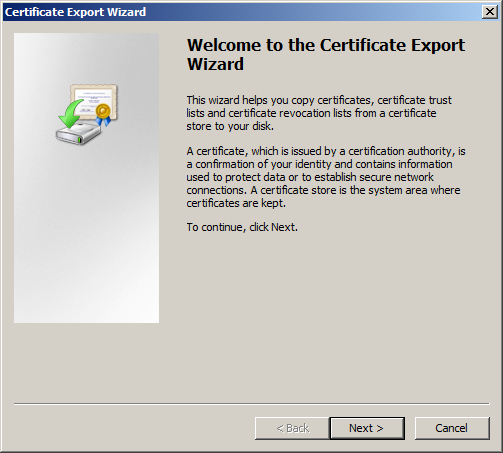
This will run the Certificate Export Wizard.
Select Yes, export the private key.
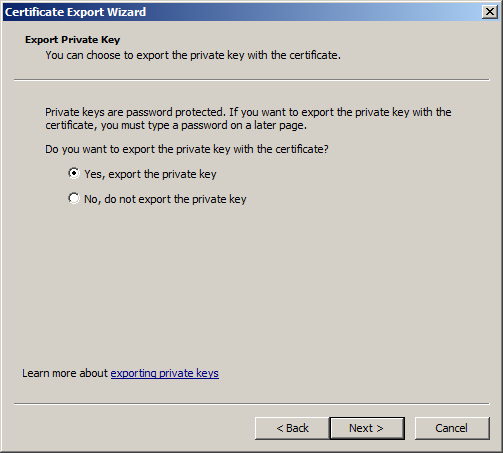
If the radio button ‘Yes, export the private key’ is grayed out, it means that either the private key was not marked as exportable during the certificate request generation, or that you do not have the corresponding private key on the machine you are using.
Note: if you used IIS Manager certificate request wizard to generate the CSR code, the private key will be marked as exportable by default.
In this case, you will not be able to create a PFX file, only export the certificate without the private key. To have the opportunity to export the certificate to another machine, you will need to create a new CSR code marking the private key as exportable and perform a certificate reissue. Otherwise, you can generate a new CSR code for the same common name on the new machine and import the certificate to it after the reissue is completed.
With a COMODO (now Sectigo) certificate you can perform a reissue an unlimited amount of times for each server.
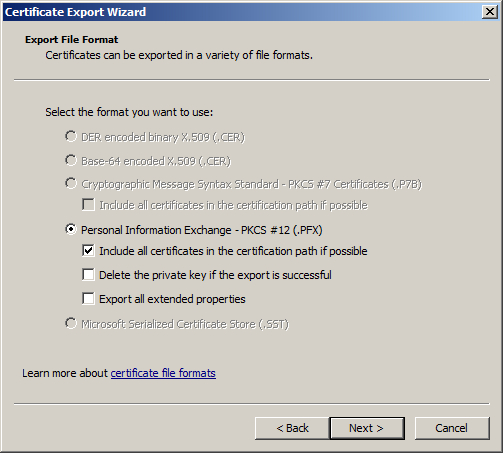
If you can export the private key, proceed to the next stage. The window Export File Format will have the format Personal Information Exchange – PKCS #12 (.PFX) selected. Please check Include all certificates in the certification path if possible to have the certificate exported with the chain of intermediate CA certificates into a .pfx file. Then click Next.
Note: do not choose ‘Delete the private key if the export is successful’.
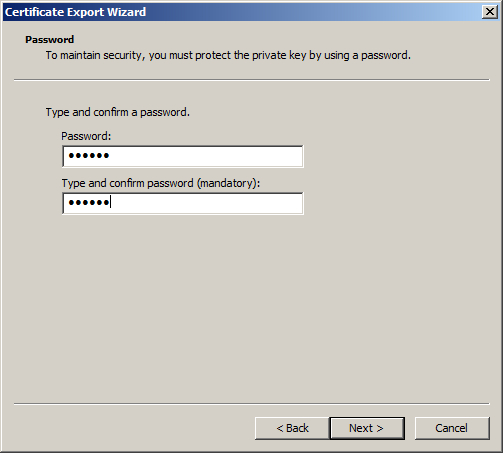
Type and confirm password on the next window and click Next. Make sure you remember the password; it will be used later during the import of a .pfx file to a new server.
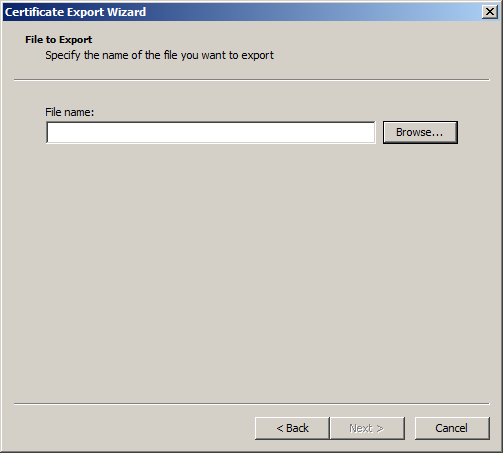
In the File to Export window select the name and location of the .pfx file to which the certificate and private key will be exported.
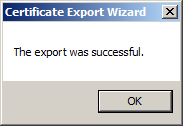
Click Finish to complete the export wizard. The certificate has been successfully imported.
Creating a .pfx file via OpenSSL
If there’s an OpenSSL client installed on the server, you can create PFX file out of a certificate in PEM format (.pem, .crt, .cer) or PKCS#7/P7B format (.p7b, .p7c) and the private key using the following commands.
PEM (.pem, .crt, .cer) to PFX
openssl pkcs12 -export -out certificate.pfx -inkey privatekey.key -in certificate.crt -certfile more.crt
*where “more.crt” is the name of the CA Bundle file
PKCS7/P7B (.p7b, .p7c) to PFX
P7B file must be converted to PEM first:
openssl pkcs7 -print_certs -in certificate.p7b -out certificate.crt
Next, run:
openssl pkcs12 -export -out certificate.pfx -inkey privatekey.key -in certificate.crt -certfile more.crt
*where “more.crt” is the name of the CA Bundle file
Import a .pfx file to a new machine
The certificate can be imported either using MMC or via Internet Information Services (IIS) Manager.
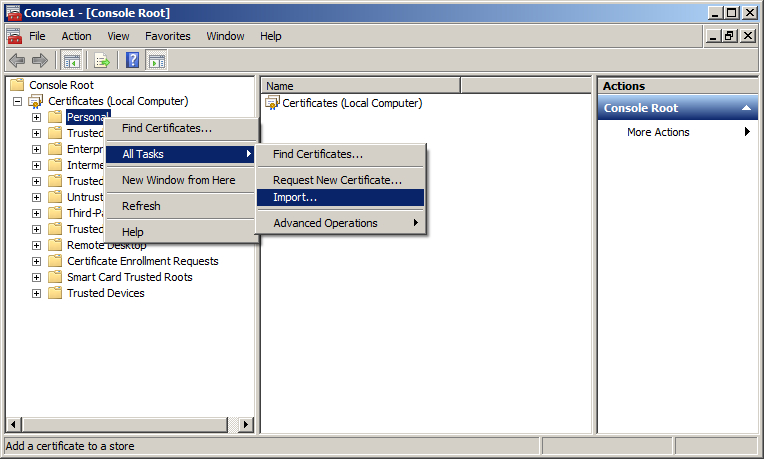
To perform the import using MMC, add the Certificate snap-in as it was described above, and right-click on Personal >> All Tasks >> Import
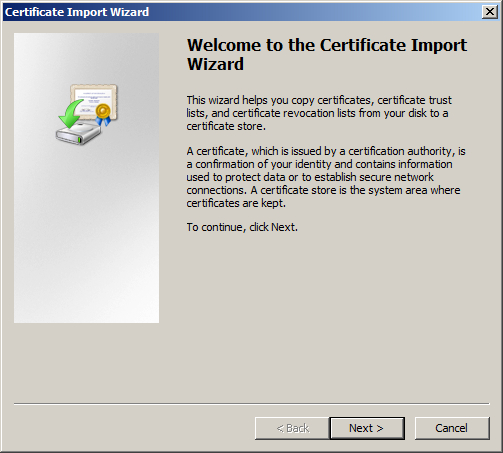
It will run the Certificate import wizard:
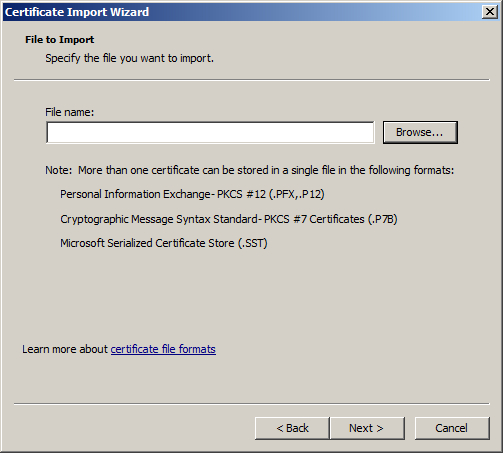
Select the .pfx file you want to import on your server, click Next.
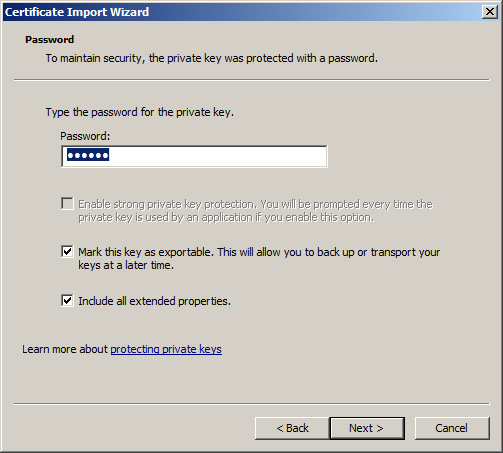
Specify the certificate password you used when exporting the .pfx file. Optionally, you can check Mark this key as exportable to be able to export it from this server later. Then press the Next button.
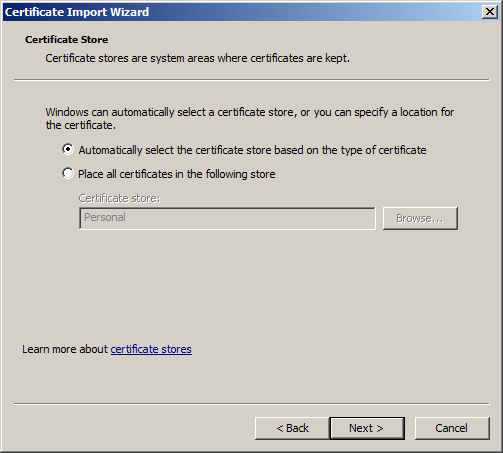
On the Certificate store page check Automatically select the certificate store based on the type of certificate. This will place the certificates from the .pfx file into the corresponding folders.
Click Finish. The certificate wizard is completed and the certificate is imported to the new server successfully.
-
-
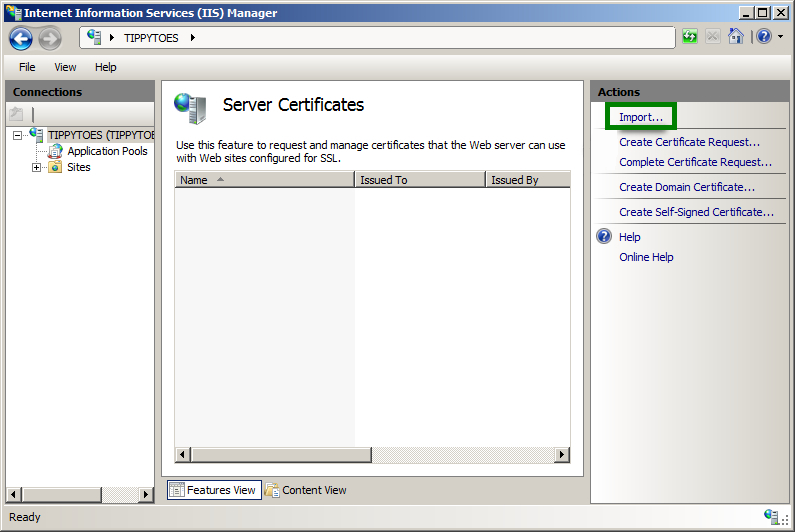
- To import the certificate using IIS Manager, select the server you want to import the certificate to in the IIS Manager and double-click on Server Certificates.
-
Click on the Import button in the right-side Actions menu.
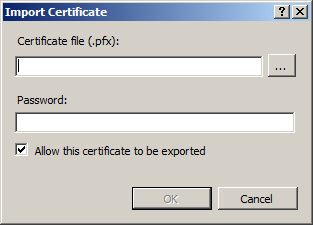
Select the certificate file and specify the .pfx password. Check Allow this certificate to be exported and click OK.
After the certificate is imported either via IIS Manager, or using MMC, it will appear on the list of server certificates in IIS Manager. All you need to do now is to set up the bindings for the website. You can check the steps from this article for further information about the Bindings.