Don’t have the time to spend activating and installing your SSL? Let our experts set up your SSL for you!
Before the certificate activation, the CSR (Certificate Signing Request) should be generated for the process in your VestaCP. You can simply follow the steps provided below:
1. Once you are logged into your VestaCP, find the WEB tab at the top of the page: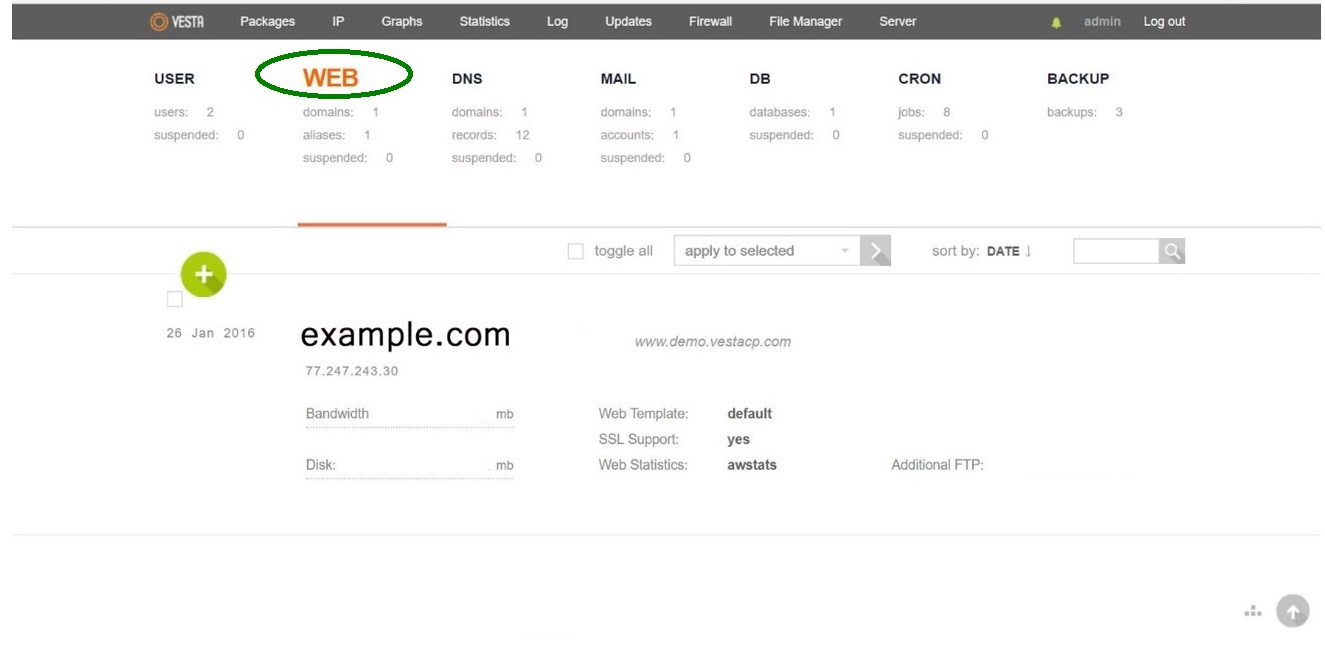
2. Hover over the domain you wish to secure and click on the Edit button above the domain: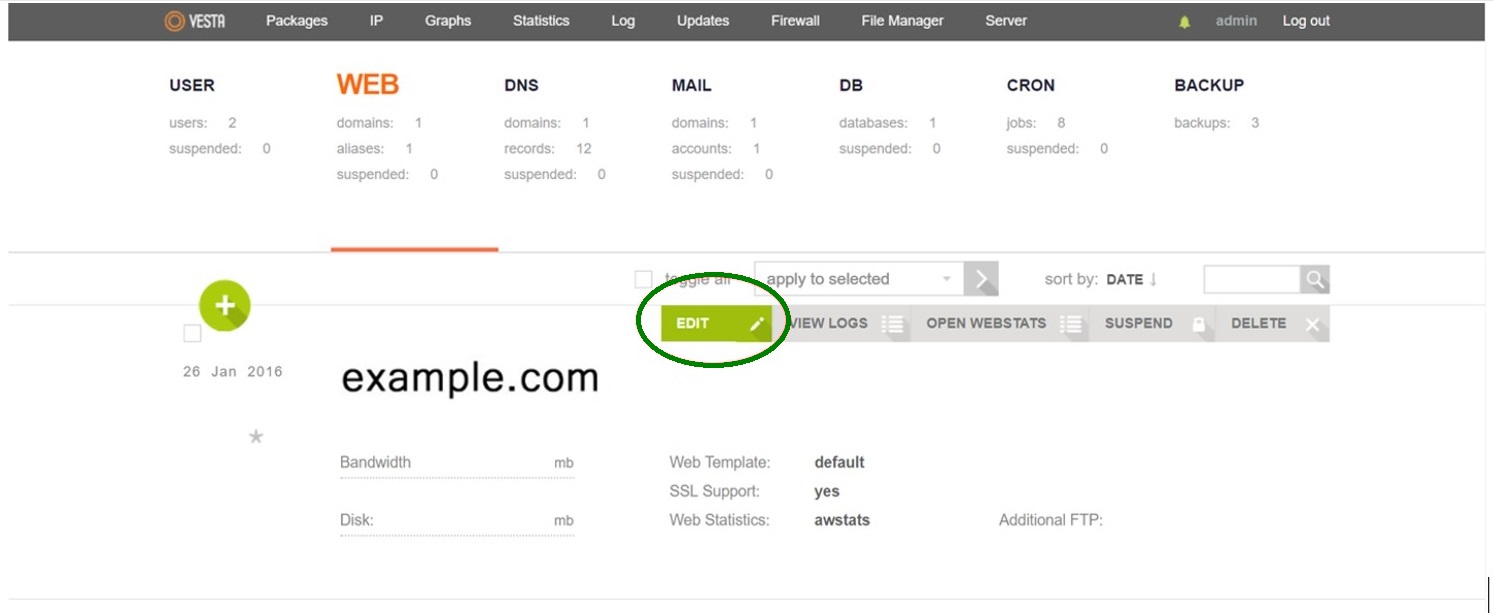
3. On the next page, find the option titled Generate CSR: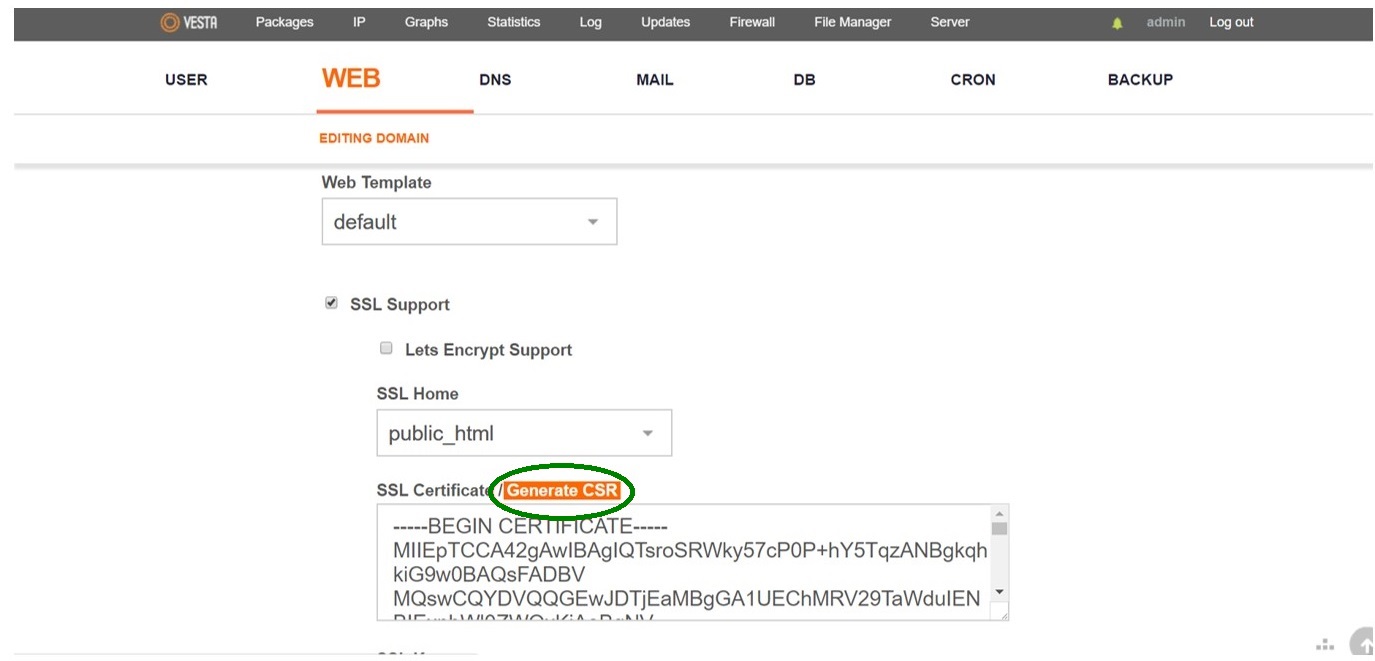
- Domain is a Fully Qualified Domain (Subdomain) Name (e.g., example.com) you wish to obtain the certificate for. For a wildcard certificate, there should be an asterisk added in front of the domain name (e.g., *.example.com). The asterisk will mean all subdomains of the same level.
- Email should contain the email address you have access to.
- Country is a two-letter code of the country where an applicant or company is located. You can find the list of country codes here.
- State/Province is for the full name of the region where an applicant or company is located.
- City/Locality: the city where a company or applicant is located.
- Company: officially registered name of the organization that applies for a certificate. Please note that this field is required for an Organization or Extended validation certificate. For a Domain validation certificate, you can put NA instead of the company name.In the new window, there will be the required fields for a CSR code. Please fill them in using only alphanumerical symbols in the following way:
4. At the last step, you will see three boxes:
- SSL CSR code should be used for the certificate activation.
- SSL Certificate code is a self-signed certificate that is out of need since a trusted certificate will be requested.
- SSL Key code is an RSA/ECDSA Private key that will be required for the certificate installation. Note: It is necessary to save the private key in a separate file on the local computer or on the server. If the private key is not saved at this step, it will not be possible to retrieve it via the user interface anymore. Still, it will be possible to retrieve the Private key through SSH from a temporary file in the /tmp directory.
5. Copy the encoded CSR with the —–BEGIN CERTIFICATE REQUEST—–…—–END CERTIFICATE REQUEST—– lines included and proceed with the activation. Click here if you would like to check the article about the activation procedure.