Note: The email-based validation with WHOIS email is not available due to the upstream provider updates.
In this article:
- What is SSL activation?
- What is a CSR and Private Key?
- Create SSL files locally
- Create SSL files on your server
- Company details for business validated SSLs
- What is DCV and how is it done?
- Activation for multi-domain SSL
Further reading:
What is SSL activation?
When you buy an SSL, it needs to be activated before you can install it.
SSL activation is a process where you submit your information to the issuing Certificate Authority (CA). CA validates information and issues SSL based on it. SSLs.com’s partner CA is Sectigo.
To activate your SSL:
- Navigate to the “My SSL” section of your account
- Click the “Activate” button next to the SSL you want to activate.
On the next step, you will be given two options for creating a CSR code.
What is a CSR and Private Key?
CSR — Certificate Signing Request — is a block of encoded text containing information about the person or organization applying for an SSL certificate and the domain that will be secured. The CSR is sent to the CA to generate your SSL certificate, so it’s an essential part of obtaining an SSL.
When you create a CSR, the other block of code is generated at the same time — the Private Key. It’s used to encrypt the data transferred to and from your server.

Create SSL files locally
It’s possible to create files locally on your computer only for single-domain and wildcard SSL. For multi-domain SSL, skip to this part of the article.
With this option, the CSR and Private Key will be generated on your laptop or computer. We don’t store these files in our system.
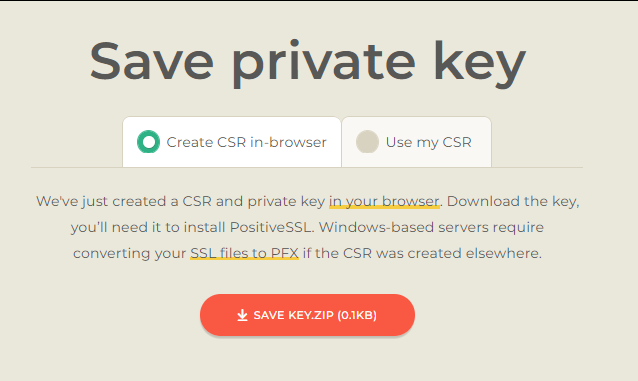
You don’t need to download the CSR as it will be sent to the CA. But you do need the Private Key when your SSL is issued to install SSL.
Note: If the Private key is lost, you will need to go through the activation and issuance process once again to install SSL.
Note: Windows-based servers require a .pfx file to install SSL if the Private Key was not created on a server. As this means a few extra steps for you, we recommend creating SSL files on a server as the easier option.
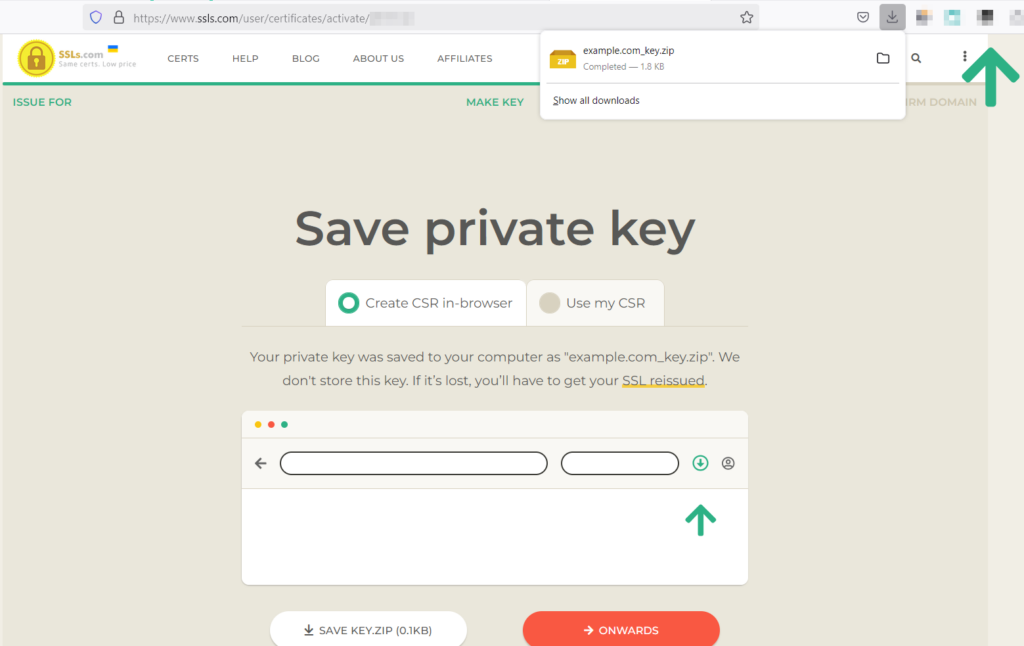
Depending on your browser settings, it will either save to your default folder for downloaded files or you’ll be prompted to choose where you want to save the file.
Create SSL files on your server
If you already have CSR and Private key or prefer to create files directly on your server, choose “Use my CSR”. This option is also recommended for Windows-based servers.
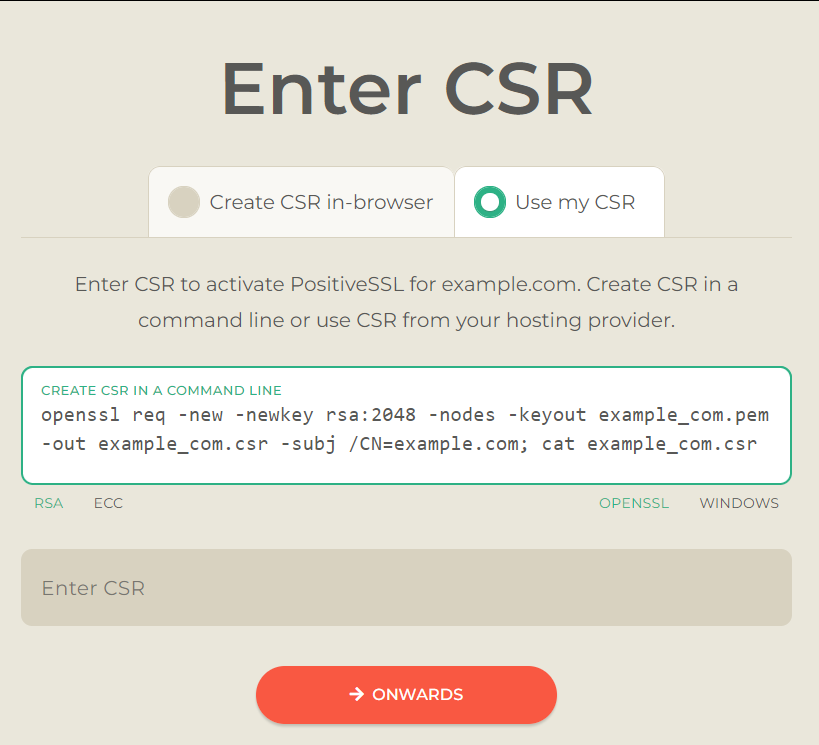
Here, you’ll find both OpenSSL and Windows commands to create your CSR via the command line. The command provided in the box has the required fields pre-filled for CSR generation. Here, you can also choose between RSA and ECC keys.
ECC keys provide the same cryptographic strength as an RSA key, but have shorter keys. A 256-bit ECC key is equivalent to a 3072-bit RSA key. As a result, a connection secured by an ECC key is a little bit faster than one secured via RSA. However, ECC may not be supported by outdated Operating Systems, Servers, and Browsers.
Further instructions:
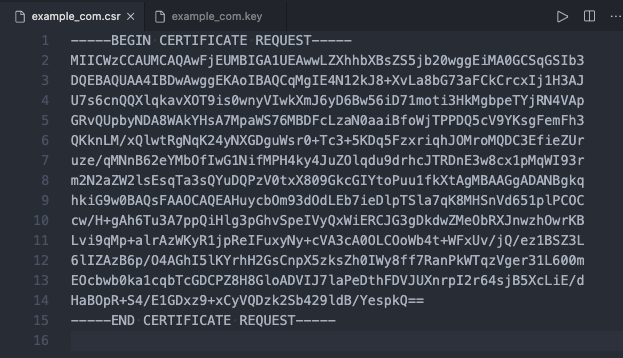
Once you have generated your CSR, enter the entire CSR code in the “Enter CSR” box, making sure to include —–BEGIN CERTIFICATE REQUEST—– and —–END CERTIFICATE REQUEST—–.
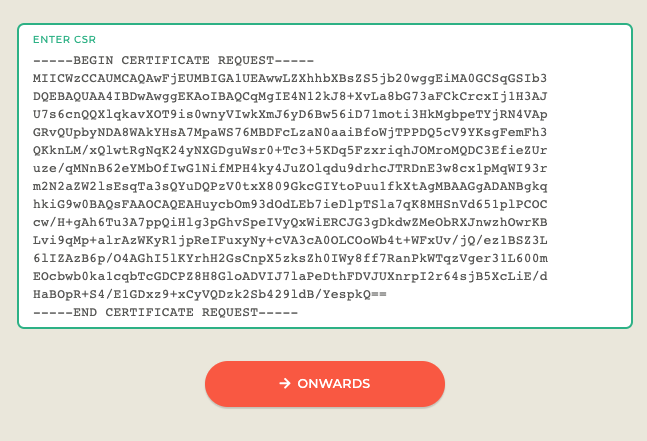
When you’re done, proceed to the next page.
Company details for business validated SSLs
If you’re activating a business-validated SSL such as an Organization Validation (OV) or an Extended Validation (EV) certificate, you will need to enter your business details on the next screen.
Note: To receive an OV or EV SSL, your organization needs to be officially registered. Fill in your company details, ensuring that they correspond to your government or public business records (Yellow pages, Duns & Bradstreet etc).
The CA will use these details to verify your organization and perform a callback. You also need to specify the person who should be contacted if Sectigo requires additional information. The contact person should be a full-time employee, such as a CEO, VP, or manager. The email address you specify at this stage should be an officially registered company email address.
More details on the validation process:
On the next page, you’ll be asked to choose a DCV method and review your details before you submit them to CA.
What is DCV and how is it done?
DCV stands for domain control validation. It’s the process of verifying that you are authorized to make domain-related changes to a particular domain. It prevents unauthorized SSL issuance. For instance, you can technically request an SSL for any domain, even google.com. However, you wouldn’t be able to complete DCV since you don’t manage the domain, so in this case, an SSL wouldn’t be issued to you.
Choose your DCV method in the section titled “Confirm access to an SSL domain”.
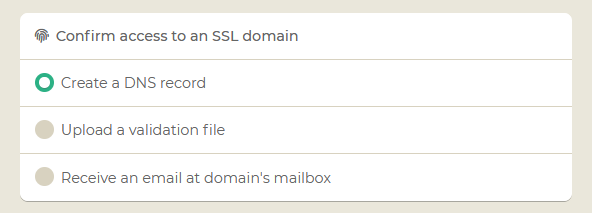
You have these methods to choose from:
- Create a DNS record – a specific CNAME record should be configured in the DNS settings of the domain(s) included in the SSL. This method is not available for Multi-domain SSLs yet.
- DNS TXT Random value – a TXT record with randomly generated values should be set up in the domain’s DNS zone. More details on how to use this method are here.
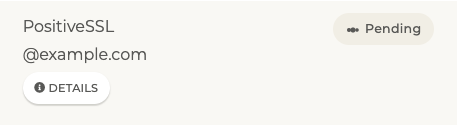
- Upload a validation file – the validation .txt file should be uploaded into a specific folder on your server. The file is obtained from CA once you submit an activation request, you will be able to download it from your account when SSL gets into the “Pending” state.
Note: This method is not available for Wildcard SSLs.
- Receive an email – an email with a validation link will be sent to a predefined list of email addresses related to your domain name. This includes the domain-based emails, such as admin@yourdomain.com.
Note that the DNS TXT Random Value method is not available during activation, but you can switch your order to using it via the Status Checker tool. The link to it is also available on SSL details page after the activation process is complete.

If you don’t have access to your domain’s hosting, one of the predefined email addresses, or your domain control panel, you won’t be able to pass DCV and receive the SSL.
Once you’ve finished filling out everything on this page, click submit.
You’ll need to complete the DCV before your SSL can be issued.
Further instructions:
Activation for Multi-Domain SSL
Multi-Domain SSL doesn’t support in-browser CSR and Private key generation just yet, so you’ll need to create the CSR on your server.
Note: the CSR must have at least a 2048-bit RSA key or 256-bit ECDSA key.
More details on CSR:
Apart from entering the CSR code, on this page, you will need to select your server type — Windows-based or other (e.g. Apache). The selected server will affect the file format that CA will send you in email.
Note: You will be able to download the SSL in any format (PKCS#7 or PEM) from your SSLs.com account regardless of the server type you select during activation.
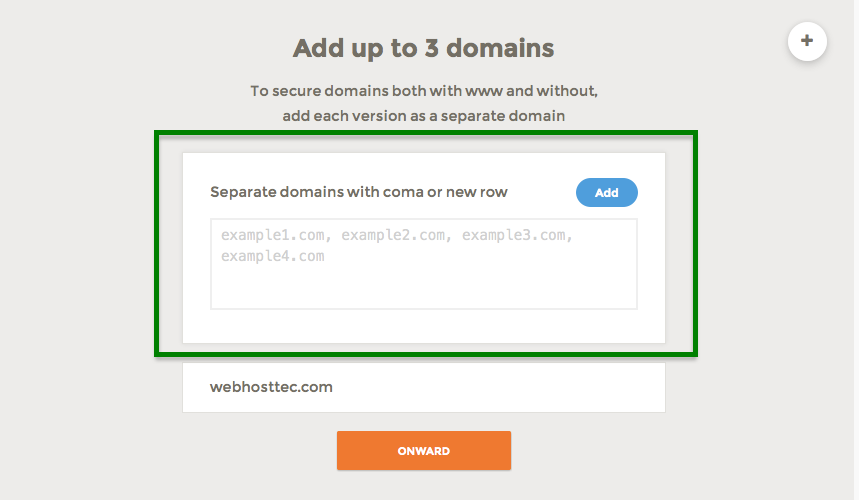
If your CSR contains multiple domains, they will be pre-filled, otherwise, you will need to enter them manually. Click the “+” button, fill in the domain names, and make sure to click the ‘Add’ button before going forward.
All multi-domain SSLs include 3 SANs by default. SAN (Subject Alternative Name) is a hostname that is protected by an SSL certificate.
Note: www.site.com and site.com occupy separate SAN seats.
To protect www subdomains, they need to be specified during the certificate activation and may require extra SANs that come for an extra fee.
For example: example.com + www.example.com and anotherexample.com + www.anotherexample.com = 4 SANs. You will need to add 1 extra SAN to a default configuration, which comes for an extra fee and requires going through checkout.
To add more SANs to your SSL:
- Go to the ‘My SSL’ section of your account
- Click the ‘Details’ button next to the multi-domain SSL that needs more SANS
- Click “Buy more” in the “Unused seats” section
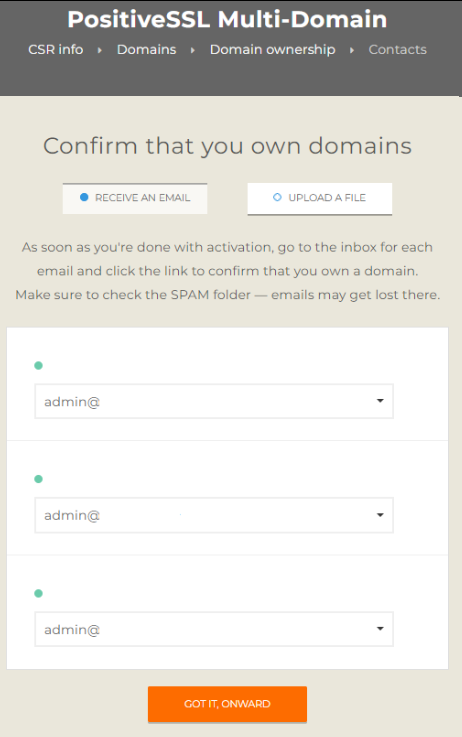
On the DCV method selection page, only “Receive an email” and “Upload a validation file” options are available for multi-domain certificates. To use the “Create a DNS record” option for validation, complete the activation process first, then change the validation method in the Sectigo Order Status Checker.
The rest of the activation process is the same as for other certificates. The domain control validation for Multi-domain certificates needs to be passed for each domain individually.
Further reading: