- Prepare the Private Key
- Download the certificate files
- Create the PFX file
- Import the PFX file
- Install the certificate
This article explains the SSL installation process for Windows-based servers when the CSR (Certificate Signing Request) and the corresponding Private Key were not generated on the server where the SSL needs to be installed.
To successfully install the certificate, you need to have the Private Key file. If the Private Key file is missing, you can search for it, or generate a new CSR and Private Key and reissue your SSL certificate.
When activating a certificate on SSLs.com, you have two options for submitting the CSR:
- Using the “Auto-activate” option, where the CSR is generated in-browser
- Manually entering the CSR code you generated on your hosting server
In this article, we’ll describe the most convenient way to install the certificate on a Windows-based server if you chose the first option or if the CSR was generated elsewhere, such as an online CSR generator.
Prepare the Private Key
Method 1: The Auto-activate feature
With the “Auto-activate” feature, the Private Key file is generated and saved during the activation process. Make sure to save it somewhere on your device that you’ll remember later.
- Click on the “key” button in Step 2 to save the Private Key during the SSL activation:
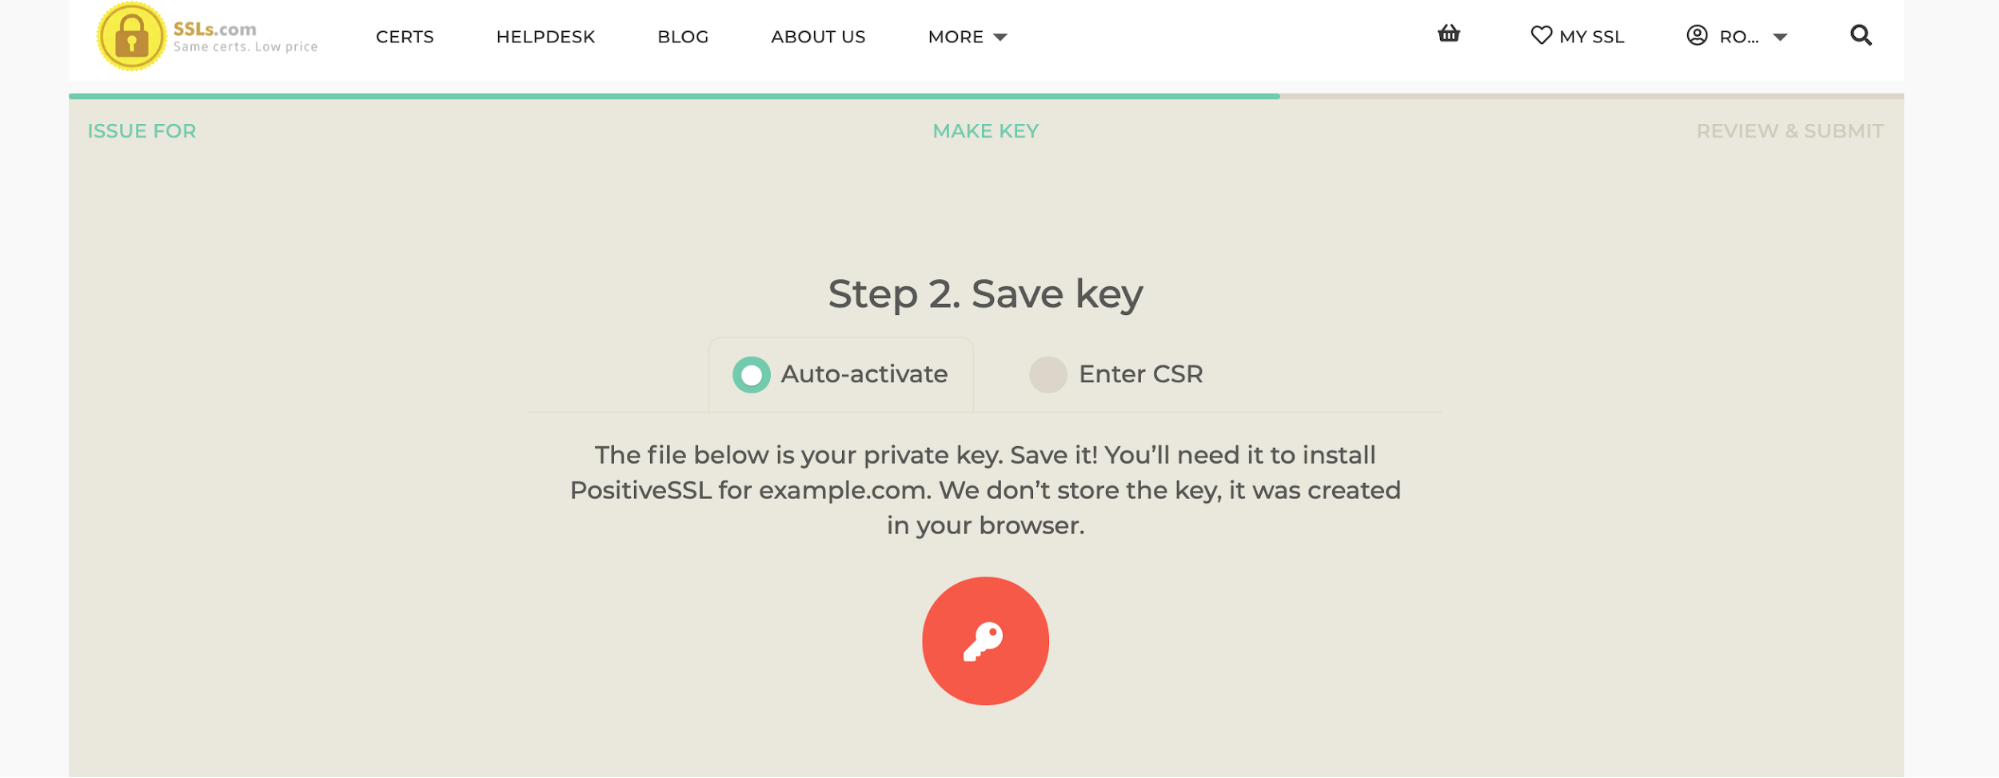
- Save the file to your device.
Note: It is typically saved in the “Downloads” folder. If you change the location/name of the key file, take note of the new details.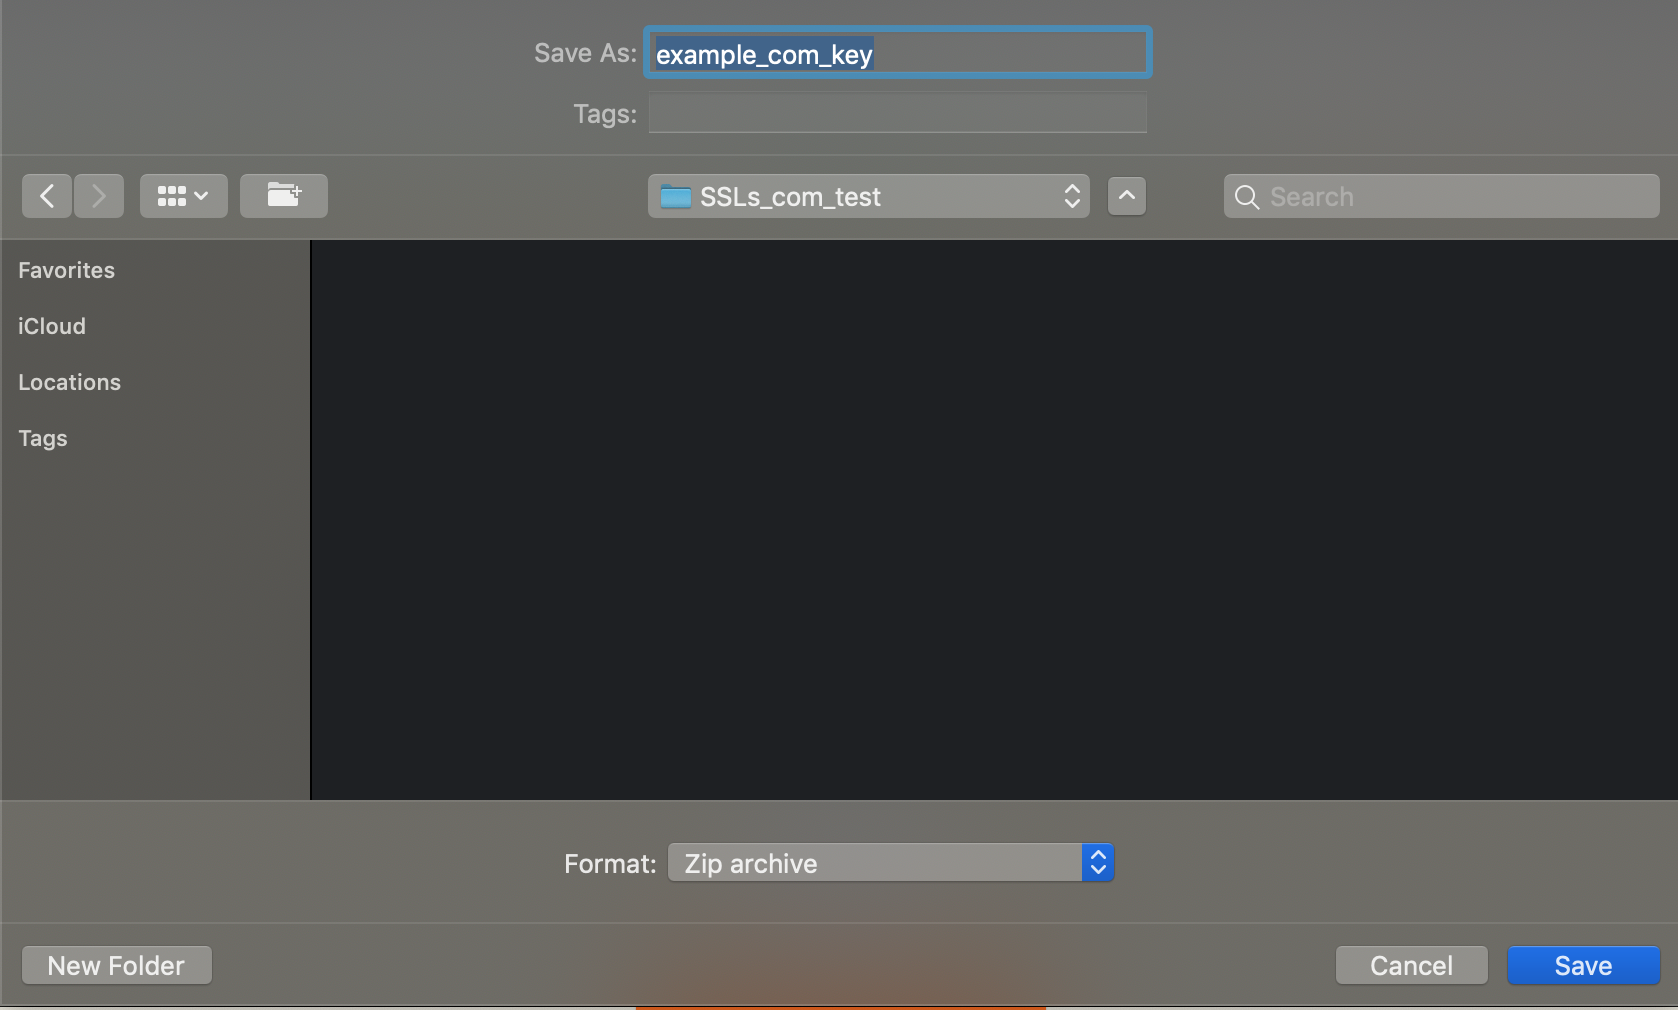
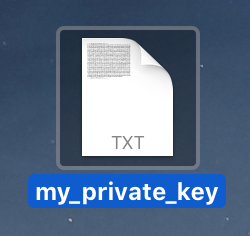
- Extract the Private Key file from the downloaded archive file.
The archive file will contain a .txt file with the Private Key code: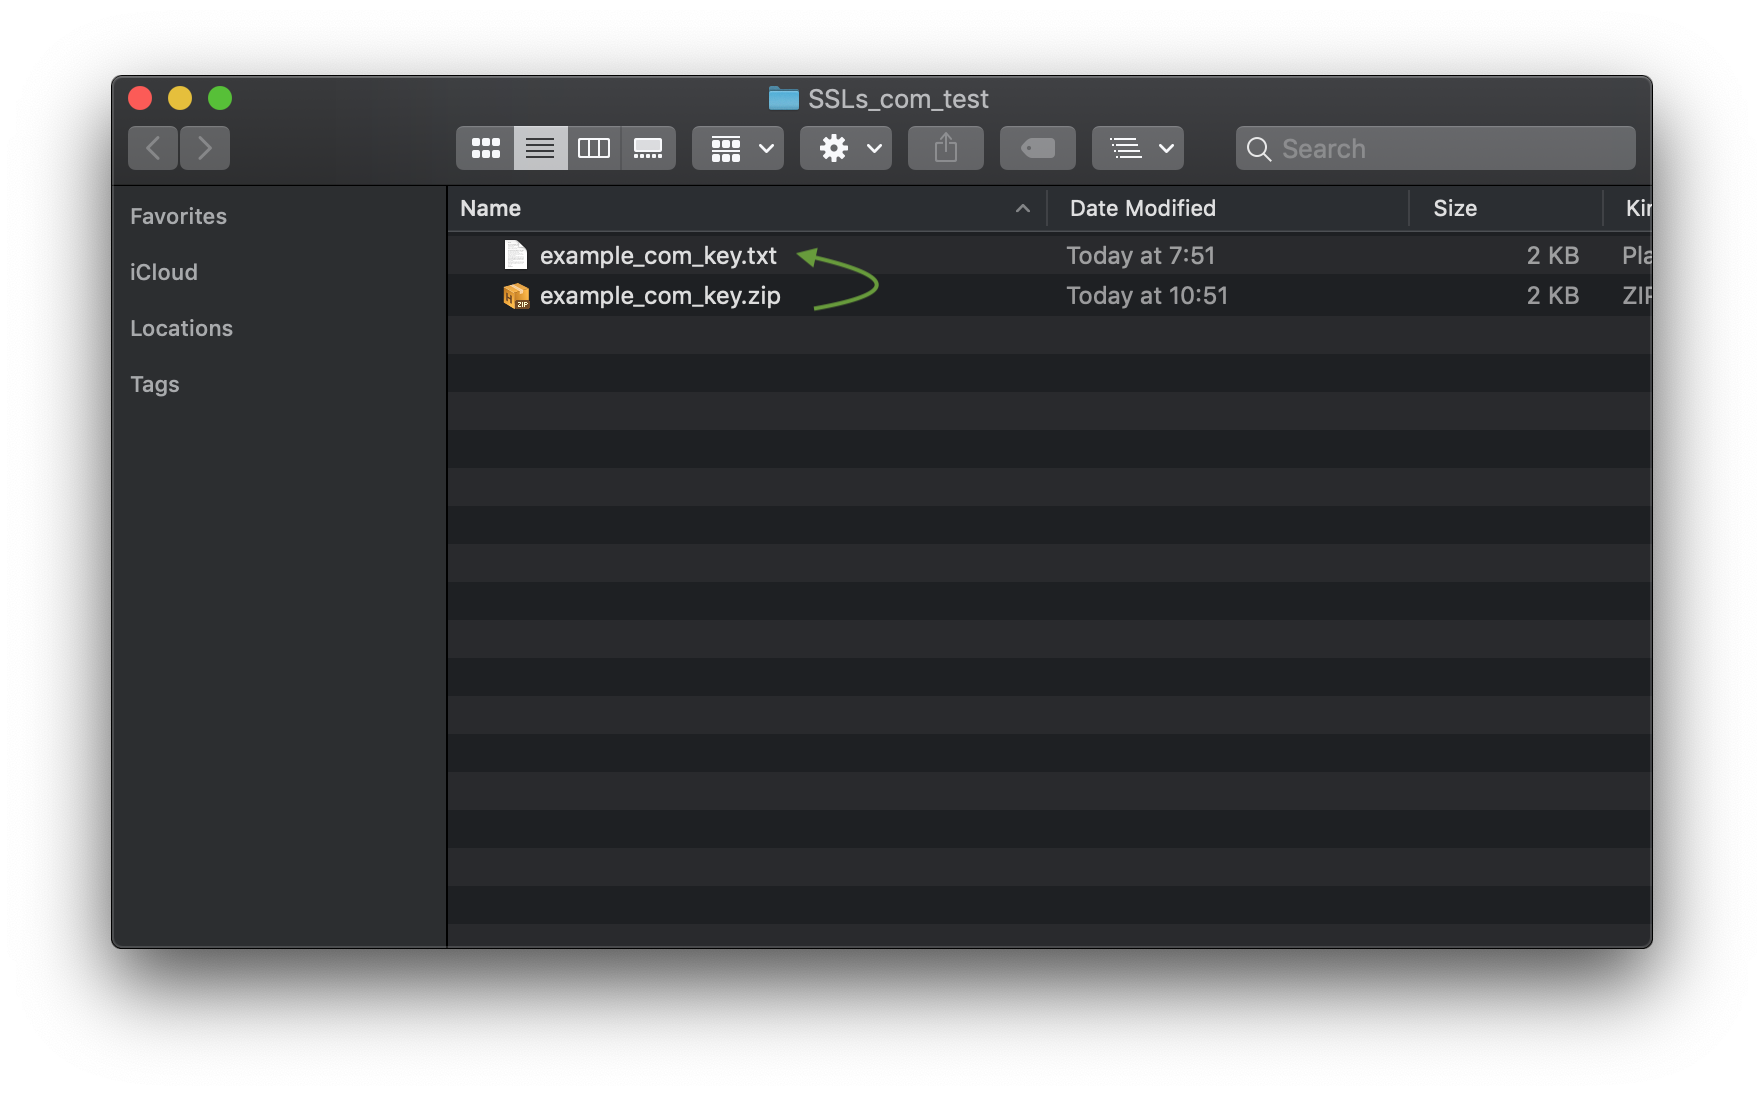
- The archive file will contain a .txt file with the Private Key code:
Method 2: The CSR code was generated elsewhere
If the CSR code was not generated using Auto-activate or on your Windows-based server, you will need to find the Private Key code and prepare the Private Key file manually. We have covered this process in this blog post.
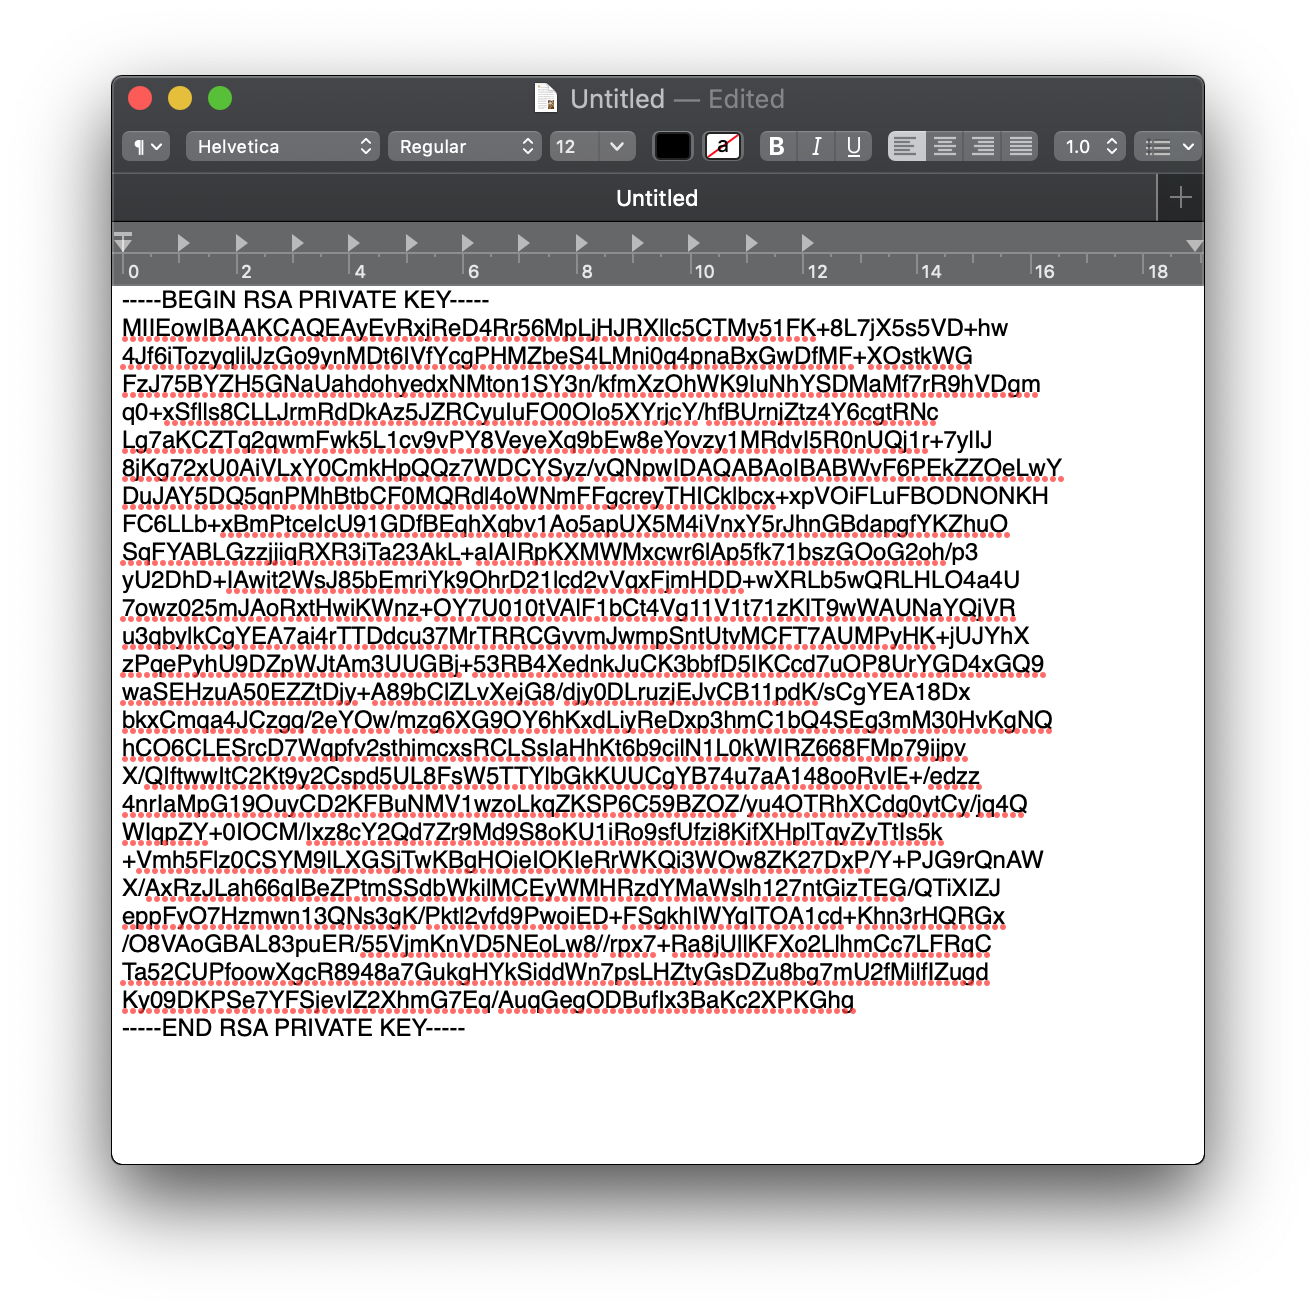
When the Private Key code is found, feel free to save it in a .txt file.
On Windows, you can do this by using the built-in “Notepad” application. Make sure to use “Notepad” and not “WordPad” or “MS Word” in order to save the key in plain text by default.
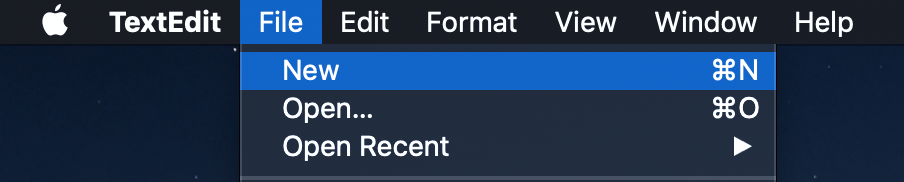
On MacOS, the Private Key can be saved using the “TextEdit” application. Open “TextEdit” and select File >> New:
Then, paste the Private Key:
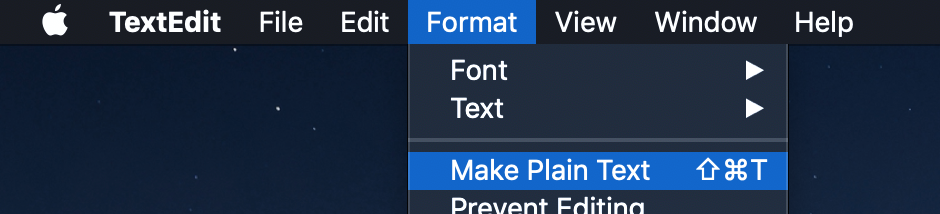
After that, select Format >> Make Plain Text:
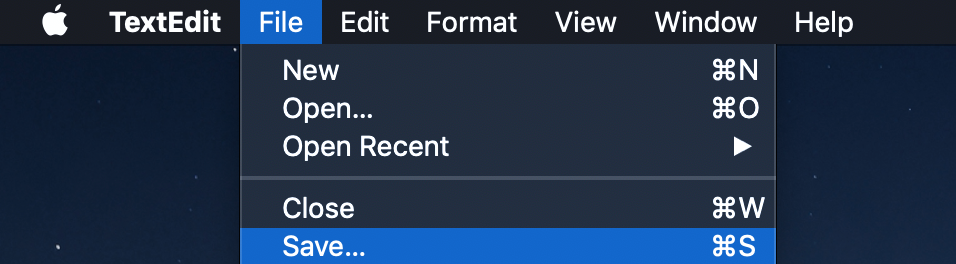
Then, select File >> Save:
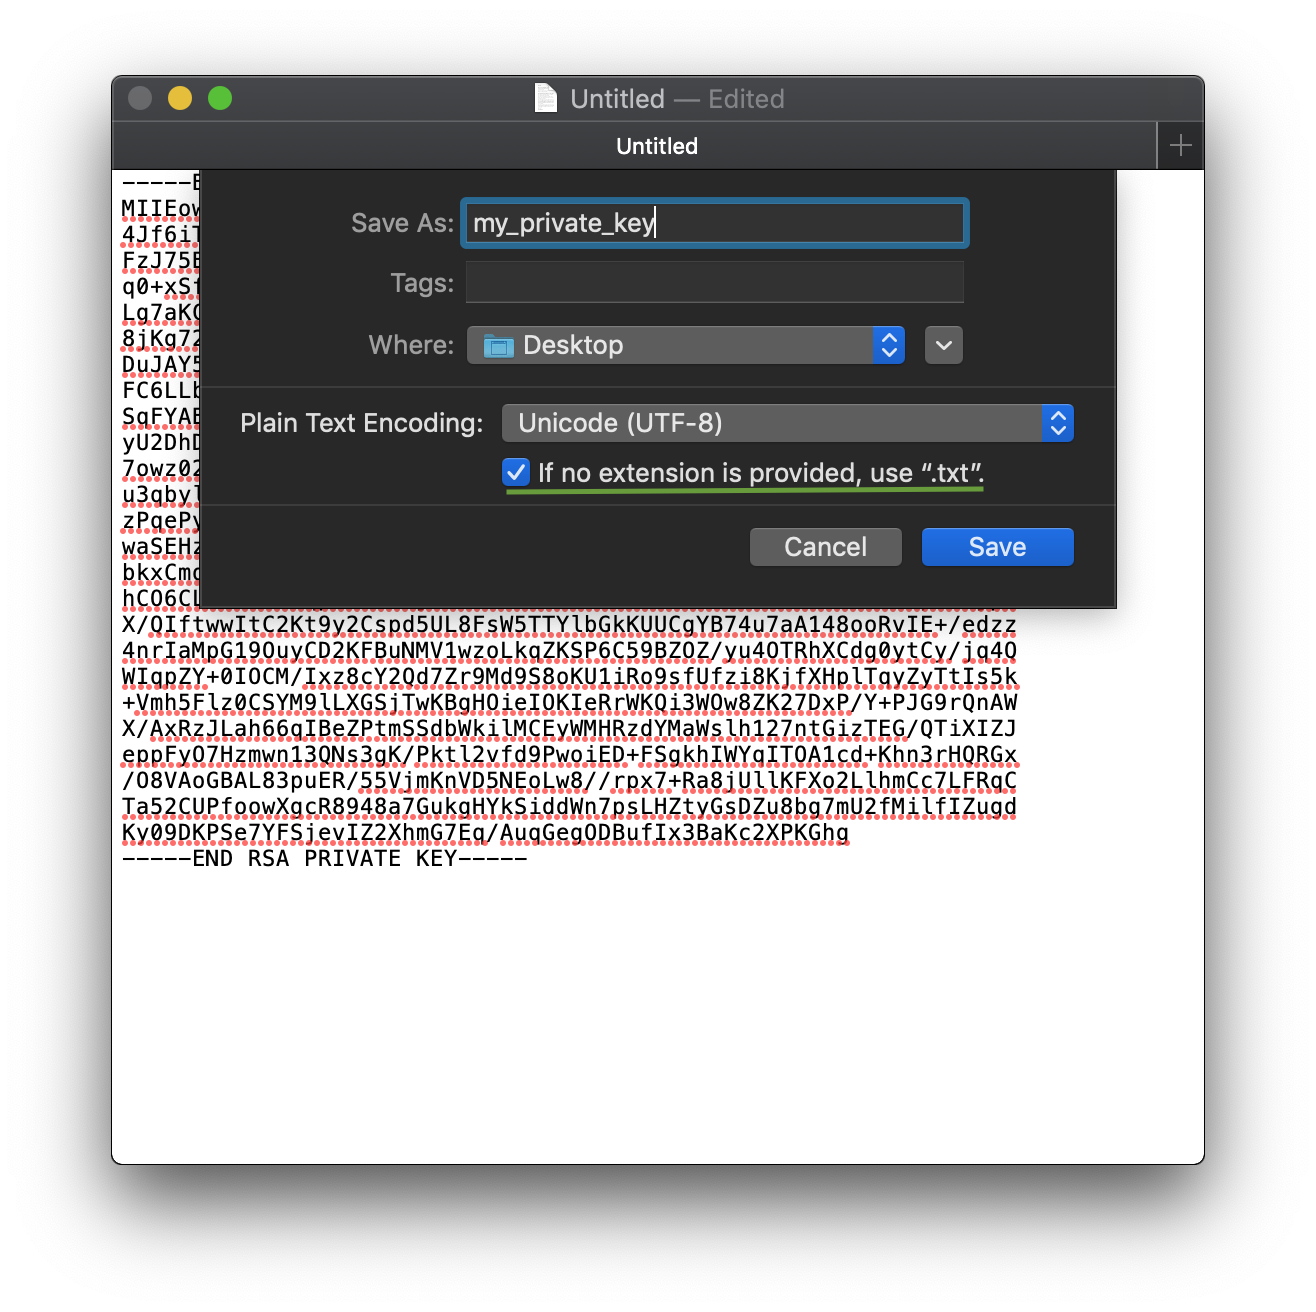
You can name your file whatever you like. We recommend avoiding spaces in the file name to prevent issues with the installation. Additionally, make sure that you have checked the “If no extension is provided, use “.txt” checkbox. Finally, click the Save button.
 Done! The Private Key file is prepared.
Download the certificate files
Once the certificate is issued, download your SSL files using the Download button in the top-right corner of the certificate details page.
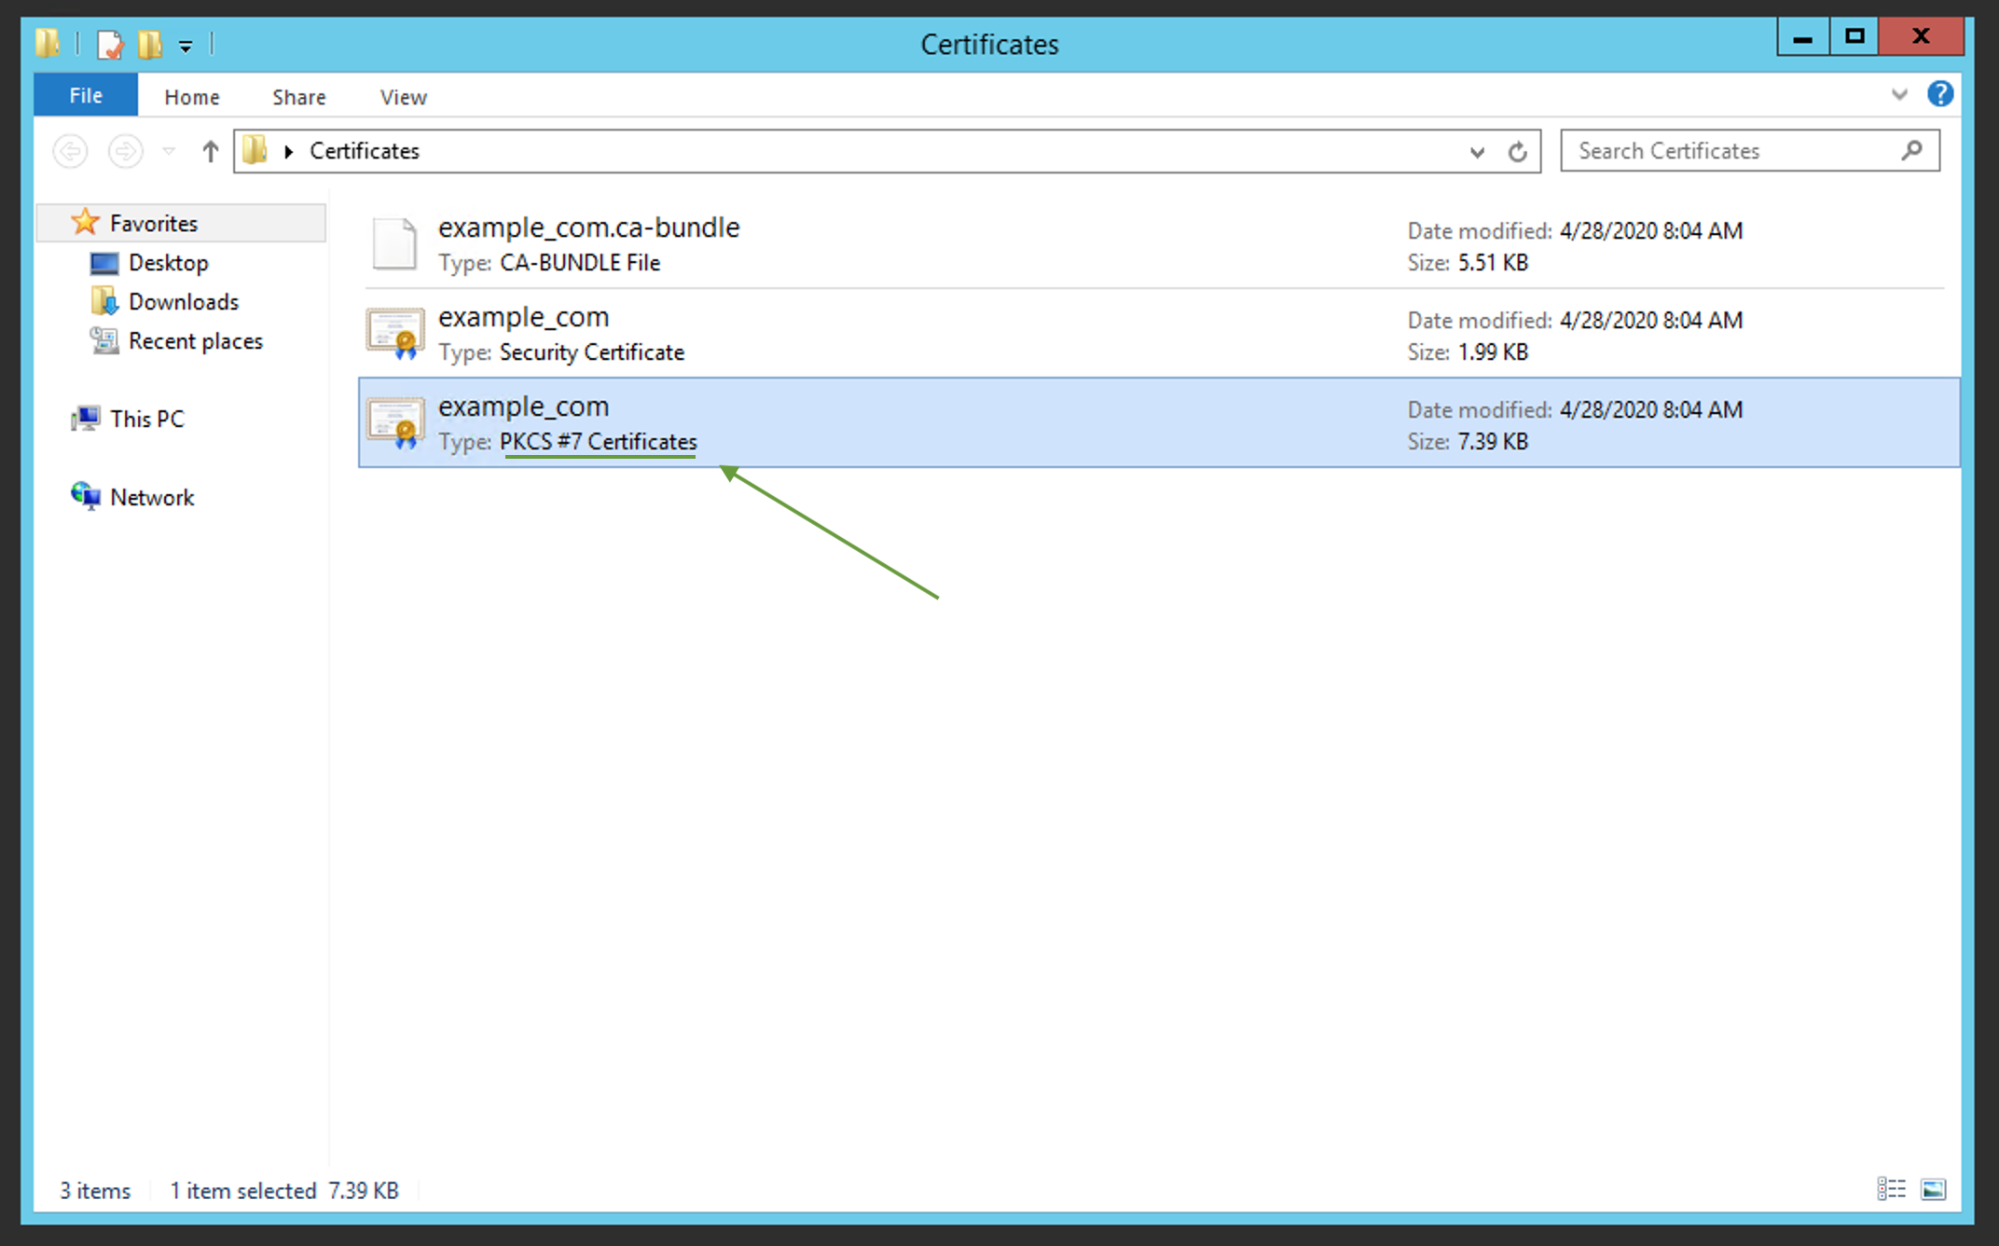
Extract the files from the downloaded archive. The archive should contain the certificate in 2 formats: PEM (.crt and .ca-bundle) and PKCS#7 (.p7b):
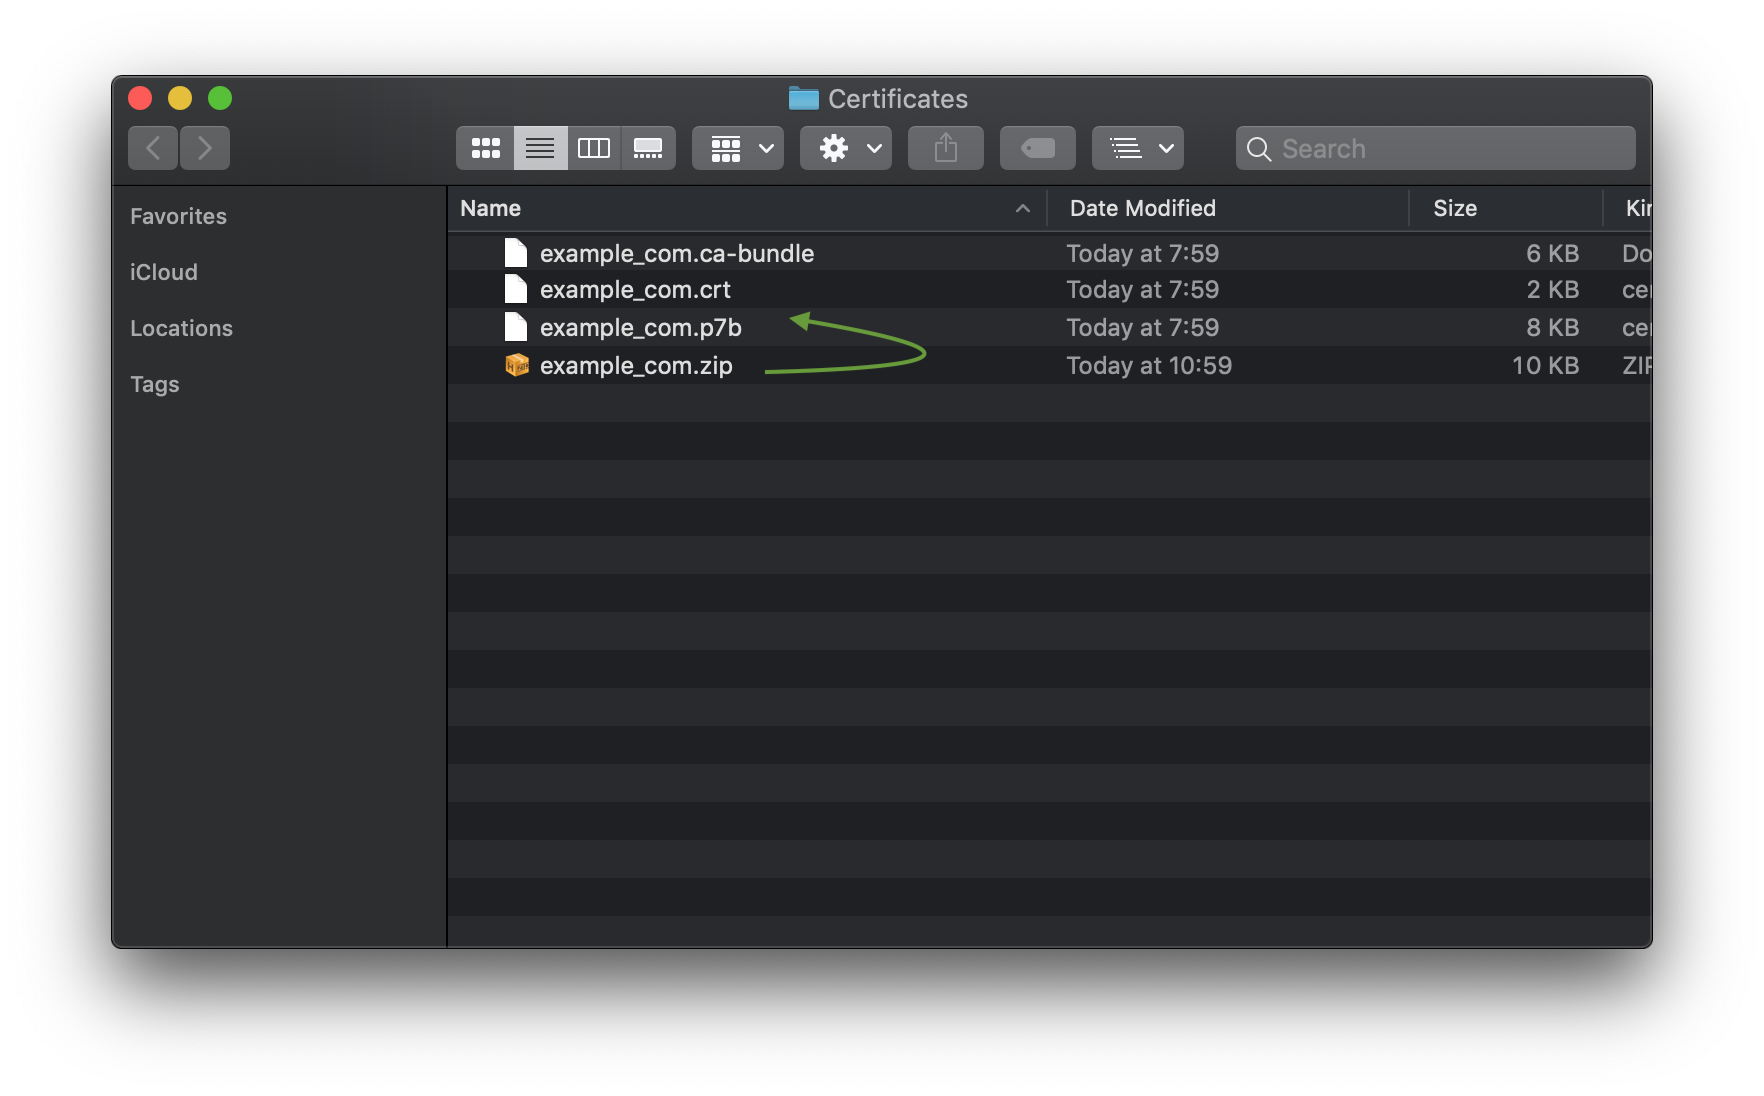
We will use the PKCS#7 (.p7b) file in this guide because it includes both the certificate and the CA certificates bundled in one file.
If your system does not show the file extensions, you can check the certificate file type by looking at the Windows file type description.
Create the PFX file
Since Windows does not support Private Key import, you’ll need to combine the certificate with the Private Key into a single file: PKCS#12-type certificate (also called PFX) with a .pfx extension.
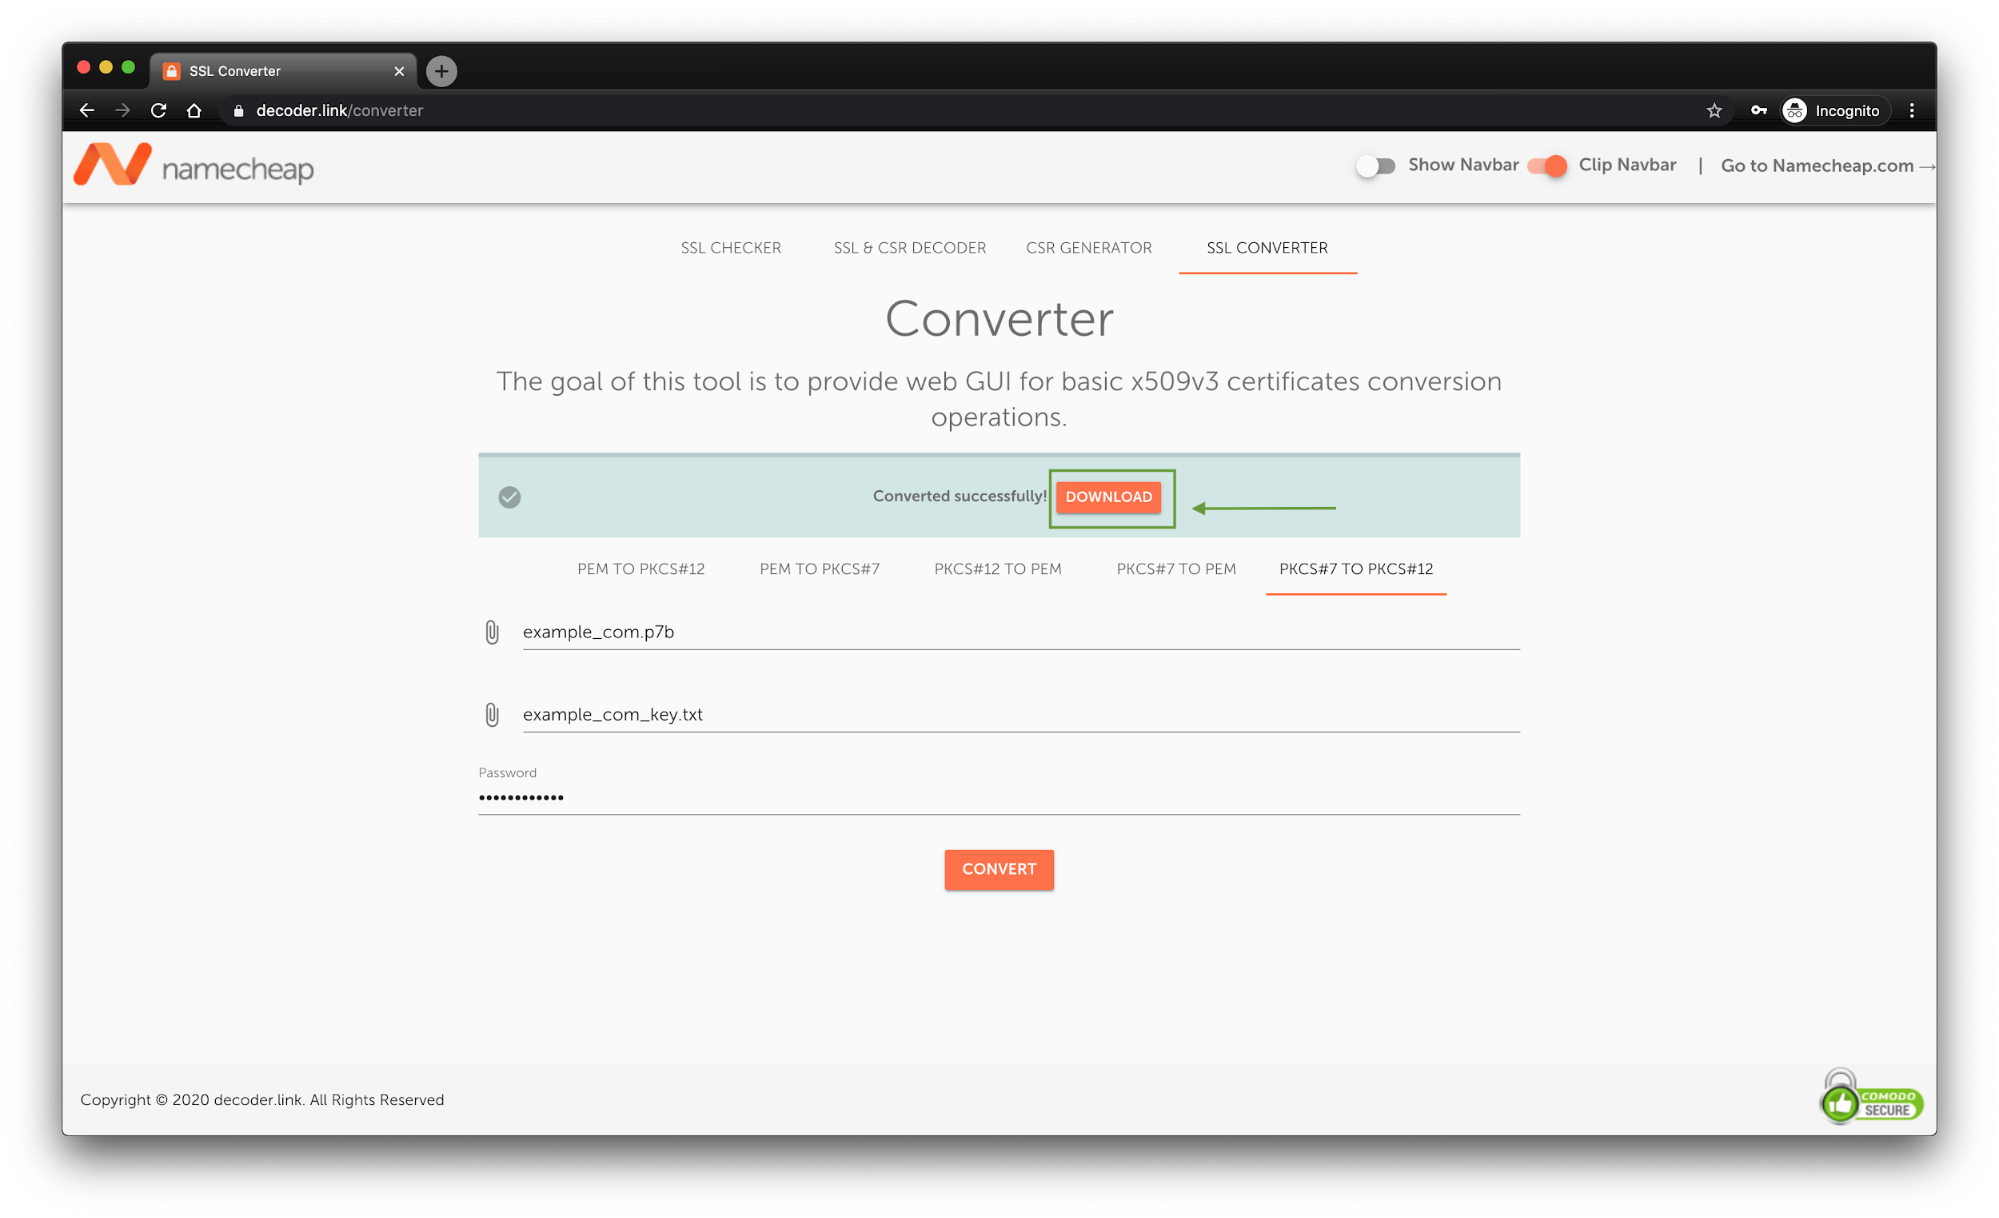
- To do that, open the online converter and select the PKCS#7 to PKCS#12 tab:
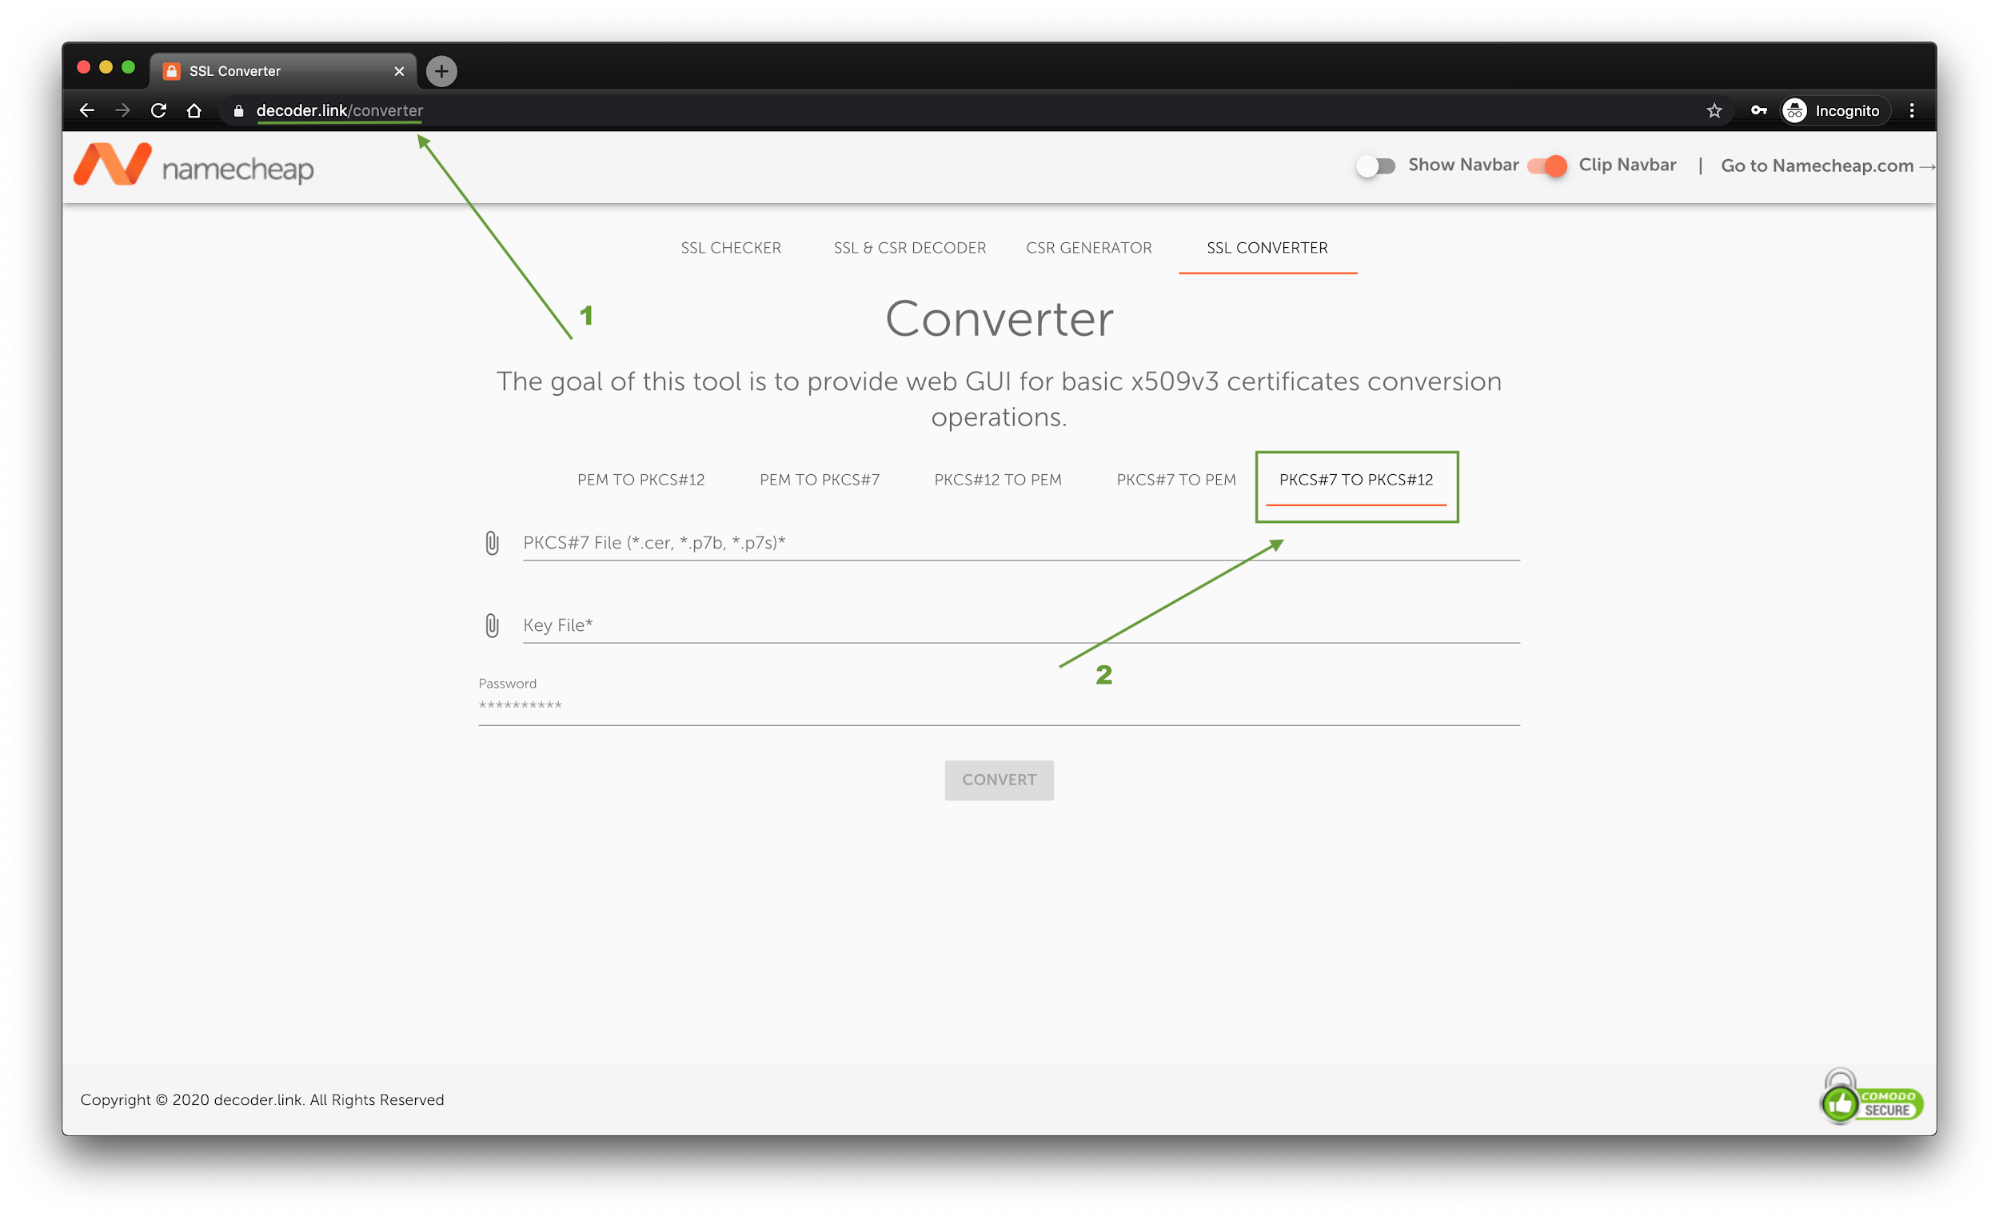
- After that, upload both files: the PKCS#7-type certificate file and the Private Key file.
Important note: Make sure to set a password for the file. It should contain alphanumeric characters only. Otherwise, the generated PFX file will be corrupted.

- Finally, click Convert to confirm the action.
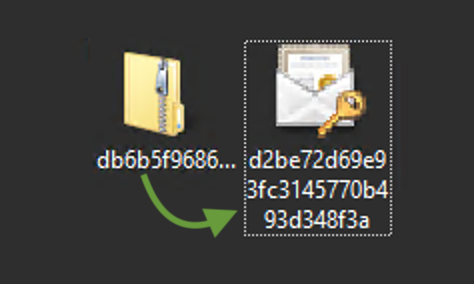
- In the pop-up notification, click Download to save the converted certificate on your device. After that, extract the file from the downloaded archive.
Import the PFX file
Note that the below steps are applicable on IIS servers. For the Exchange server, please use the following guidelines.
Once done, you can proceed with importing the PFX file to your Windows server:
- Double-click the file to open the certificate import wizard or right-click on the file and select “Install PFX”.
- Select Local Machine to make the certificate accessible from all of the accounts in the system. Then, click Next.
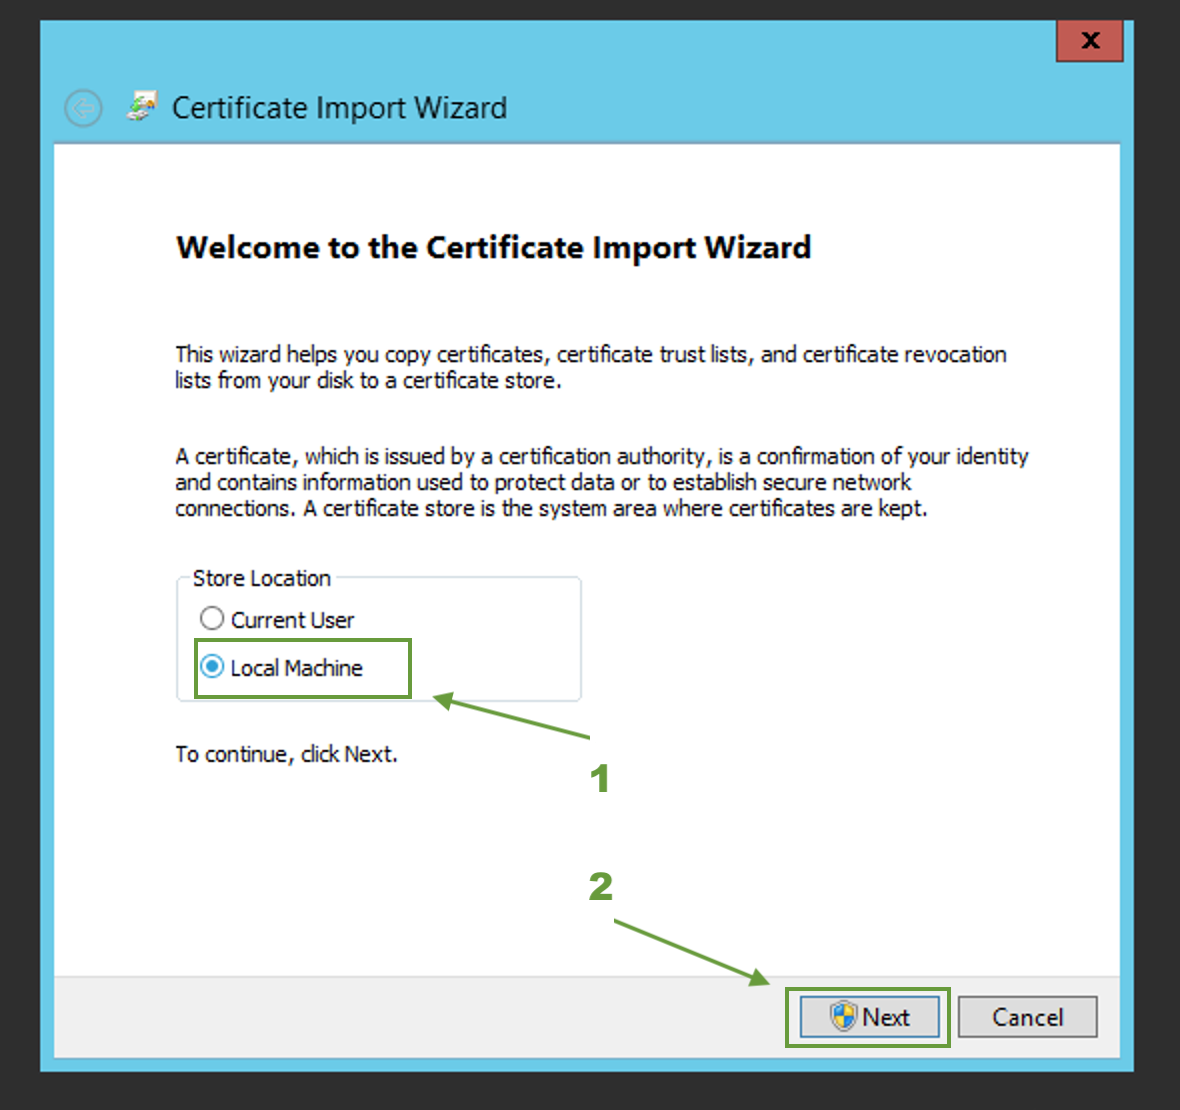
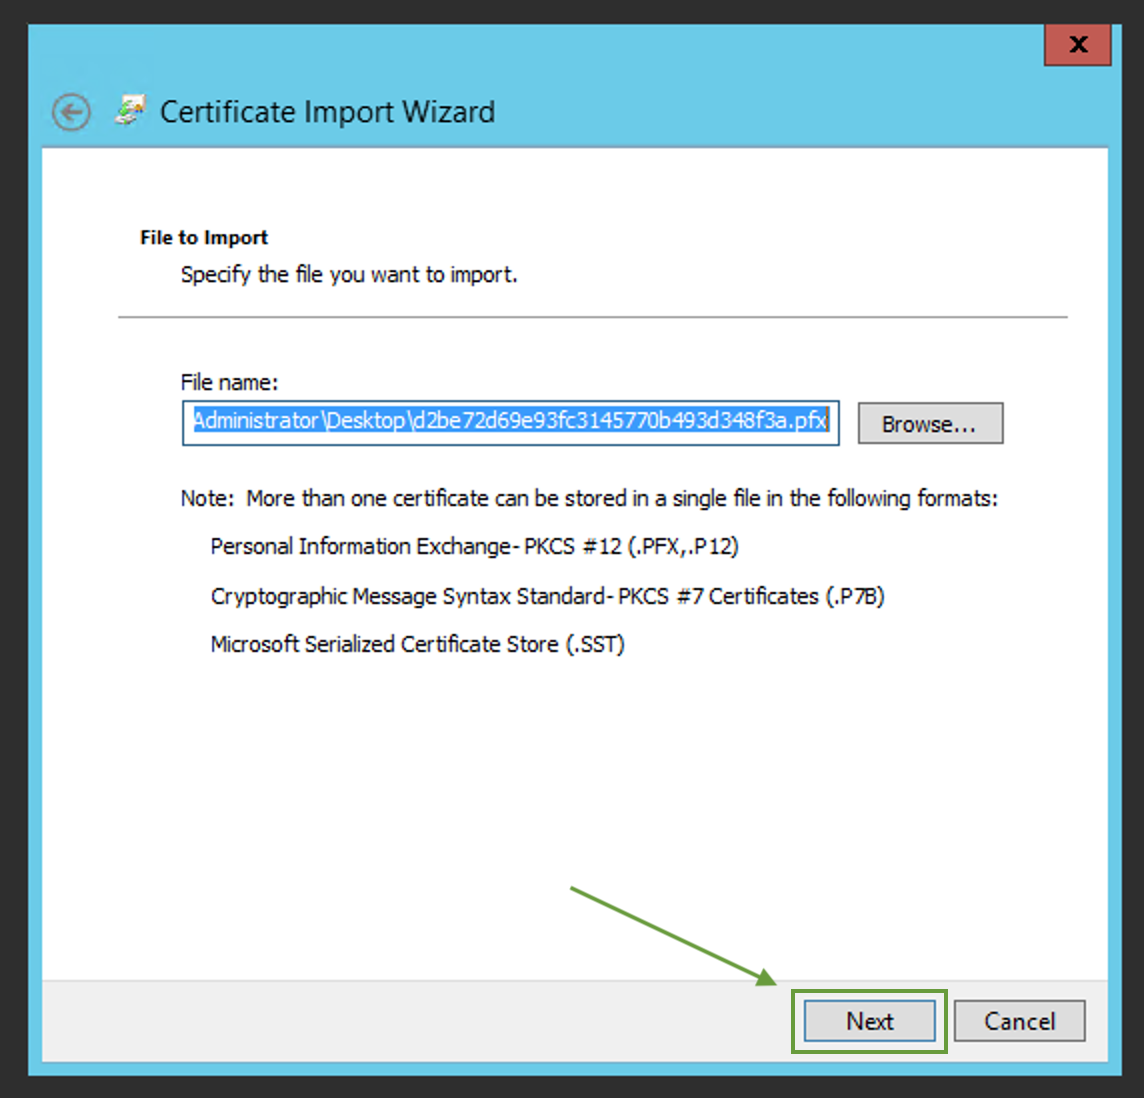
- In the following prompt, click Next once again to confirm the file location.
- Enter the password you set for the PFX file. Make sure to tick off the “Mark this key as exportable” option, so that the Private Key can be exported later.
Important note: If the provided password is incorrect or lost, feel free to re-generate a new .pfx file.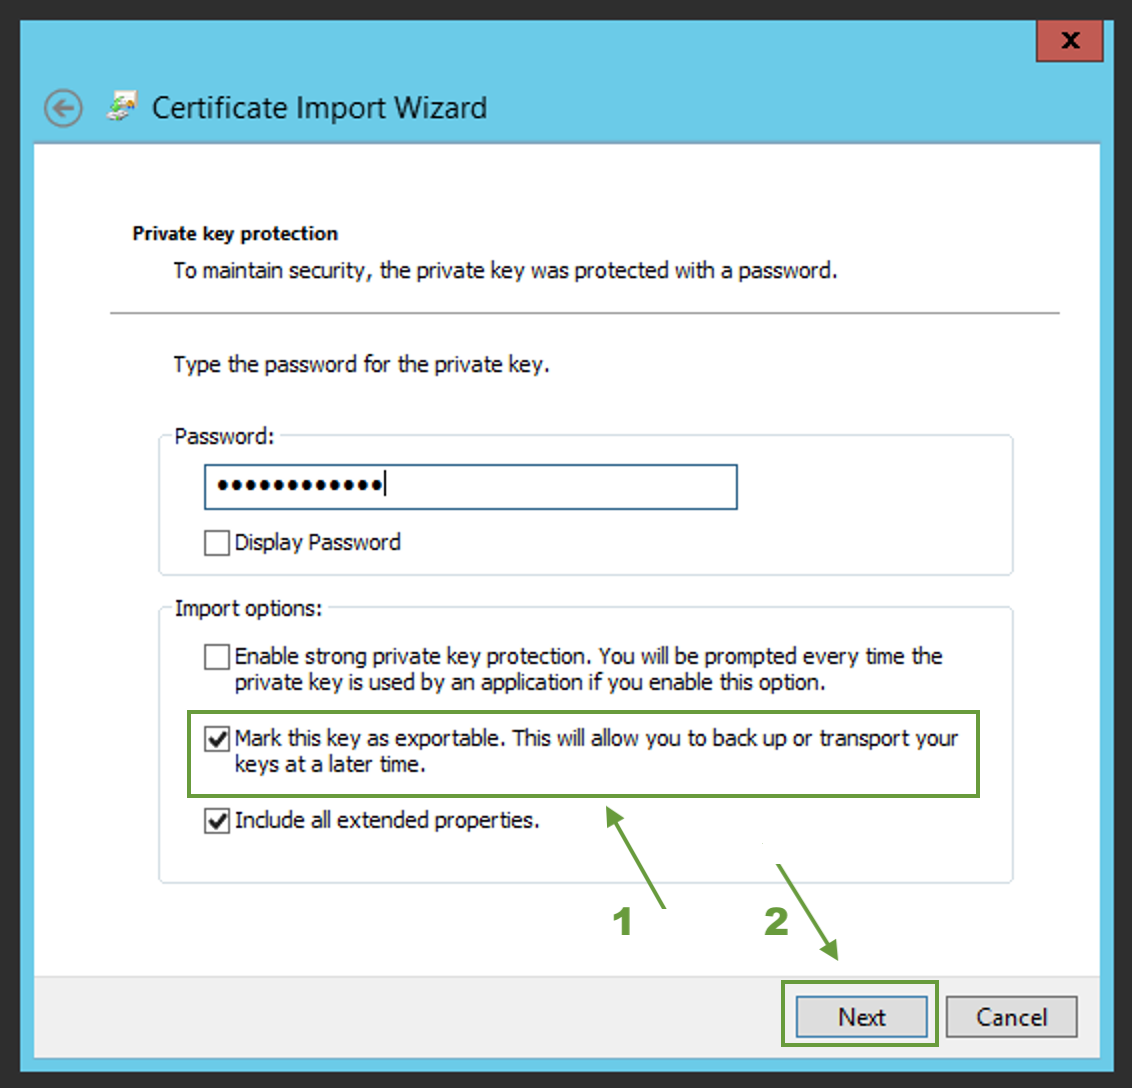
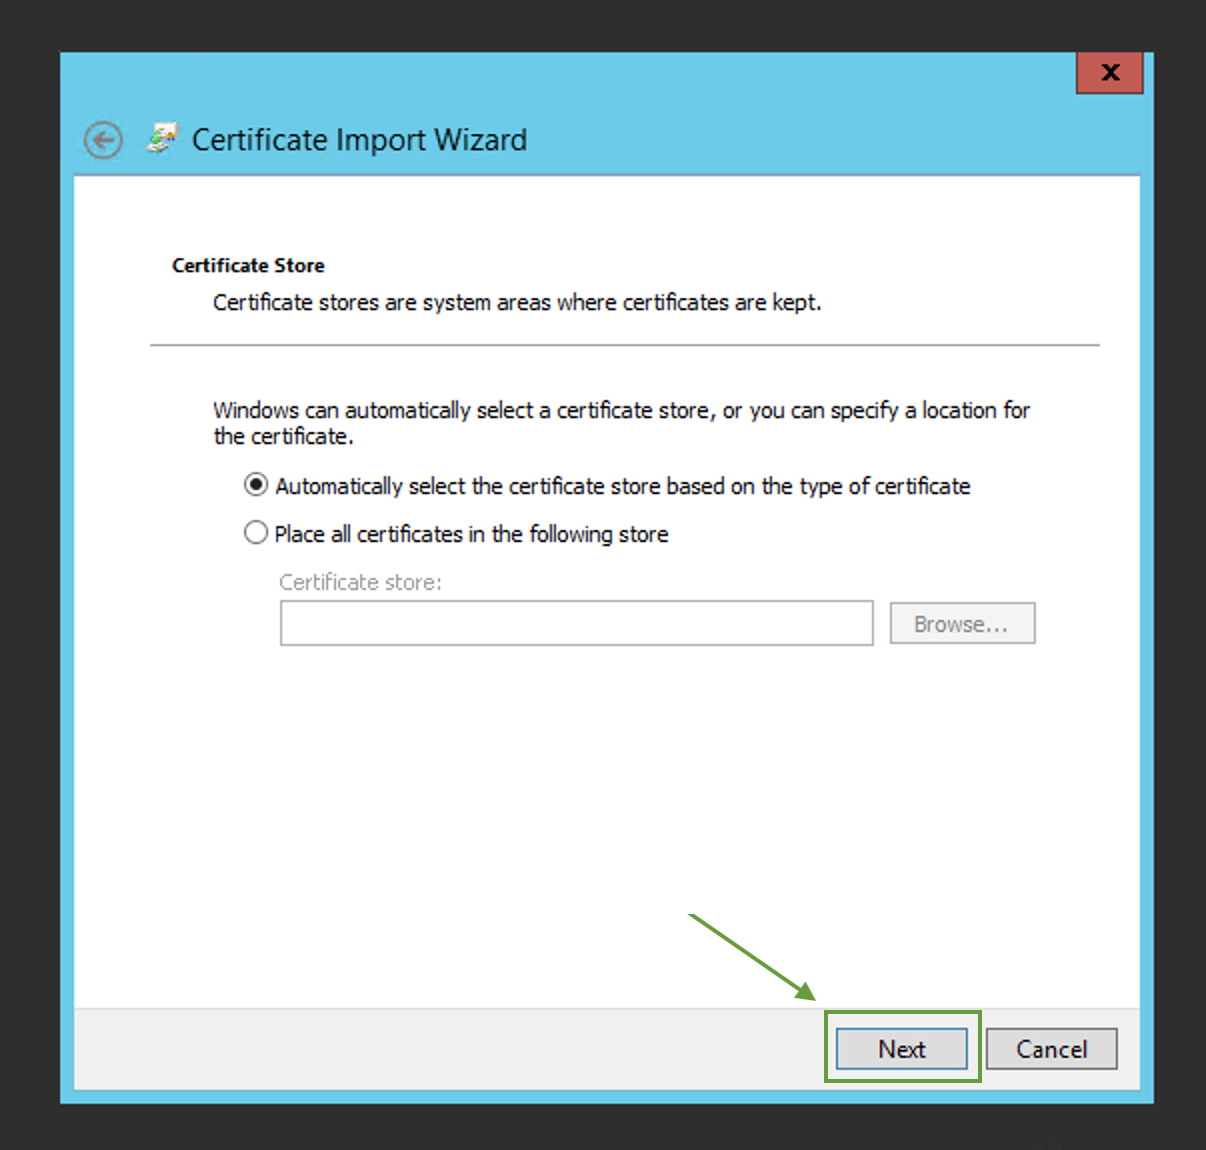
- In the next prompt, you can choose the automatic option to let the Certificate Import Wizard take care of it. Click Next to proceed.
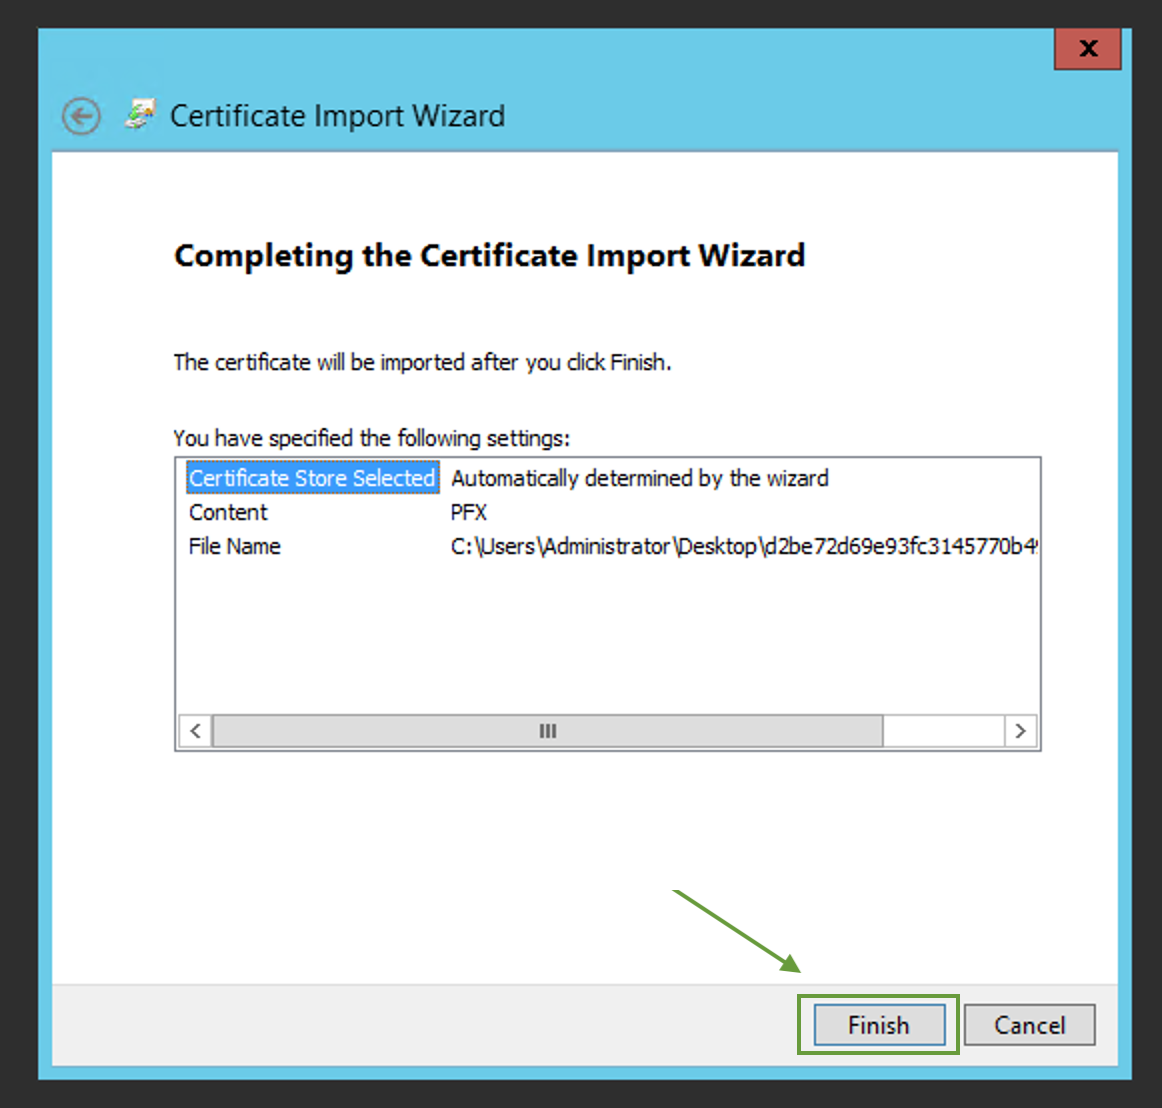
- Then, click Finish to confirm the certificate import.
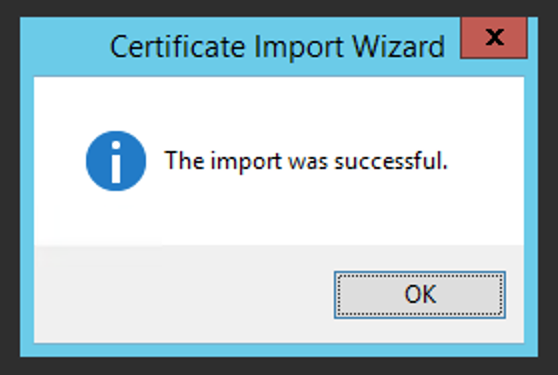
- The following window should appear after that:
The certificate will also be displayed in the IIS console (PC Name >> Server Certificates):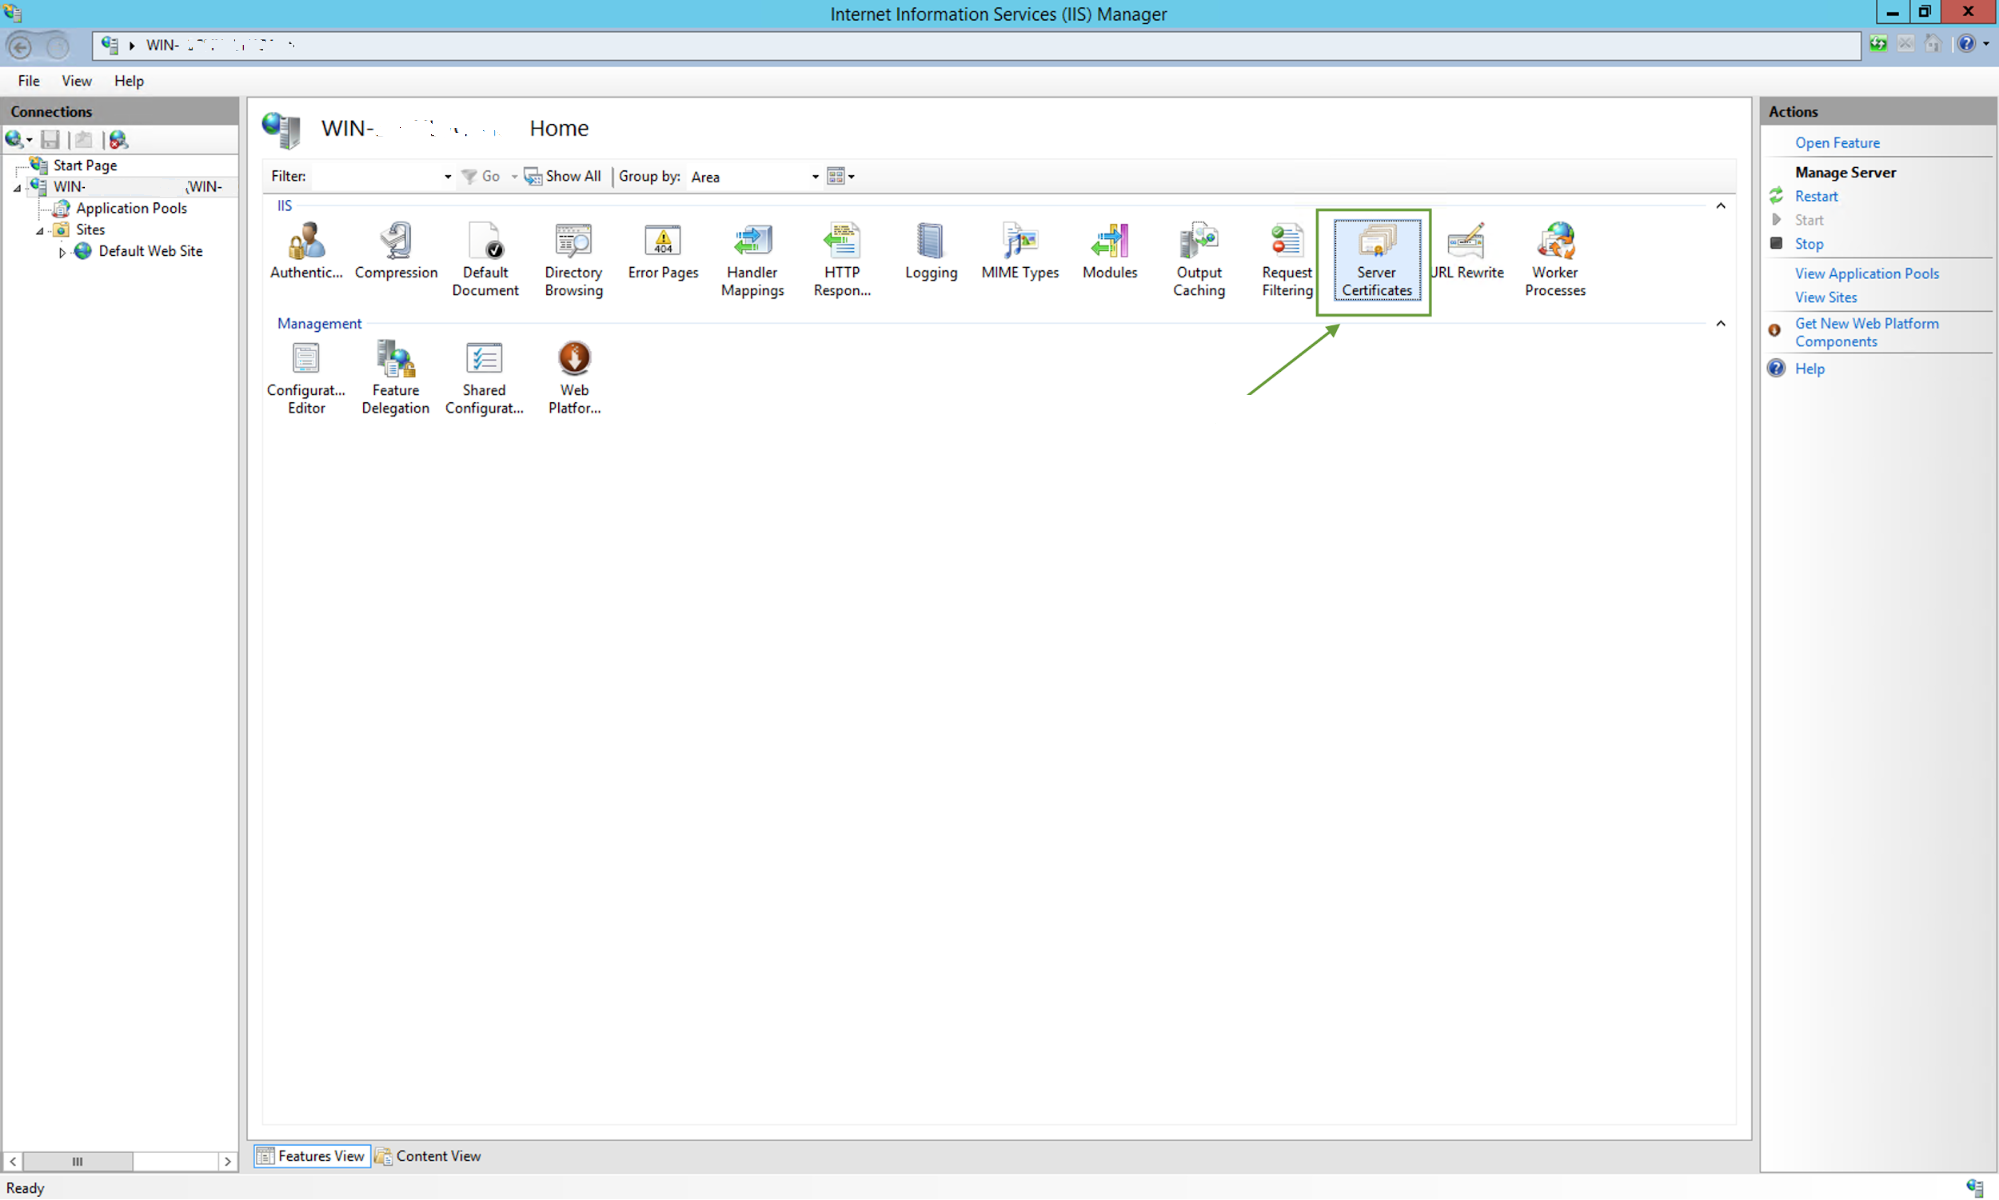
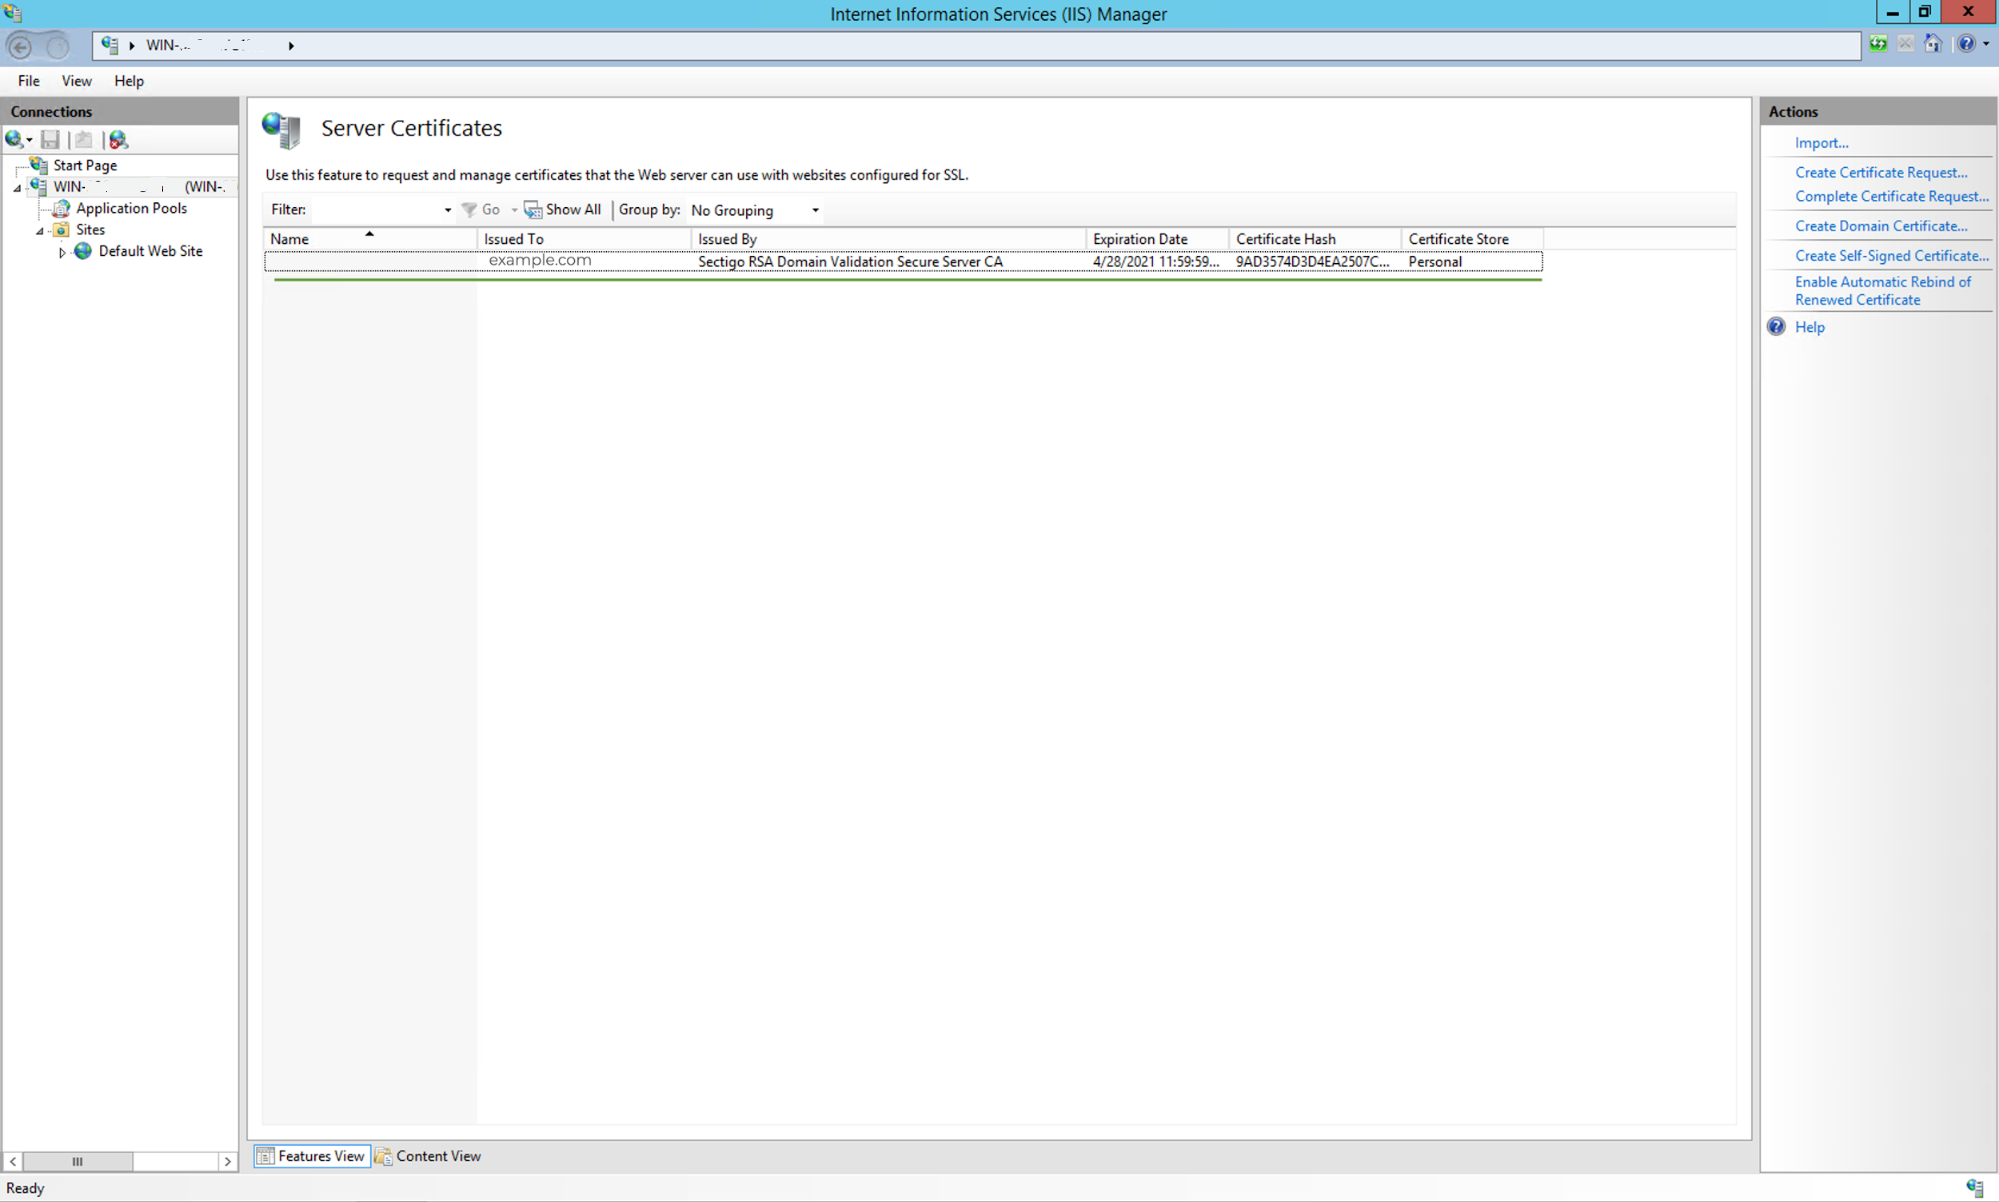
The certificate will not have the “Name” parameter. Instead, it will display the domain name of the website as its name during the binding process. It is advisable to remove old certificates from the console to avoid confusion.
Install the certificate
To enable the certificate for your domain, you should set up certificate bindings. The installation should be straightforward from this point. Here are the guides outlining the procedure for every IIS version available:
Note: On IIS 5 and 6, there’s no need to add site bindings.
You may need to restart your IIS sites to apply the changes.